LCD Side Mount MK3S+ Version 2
prusaprinters
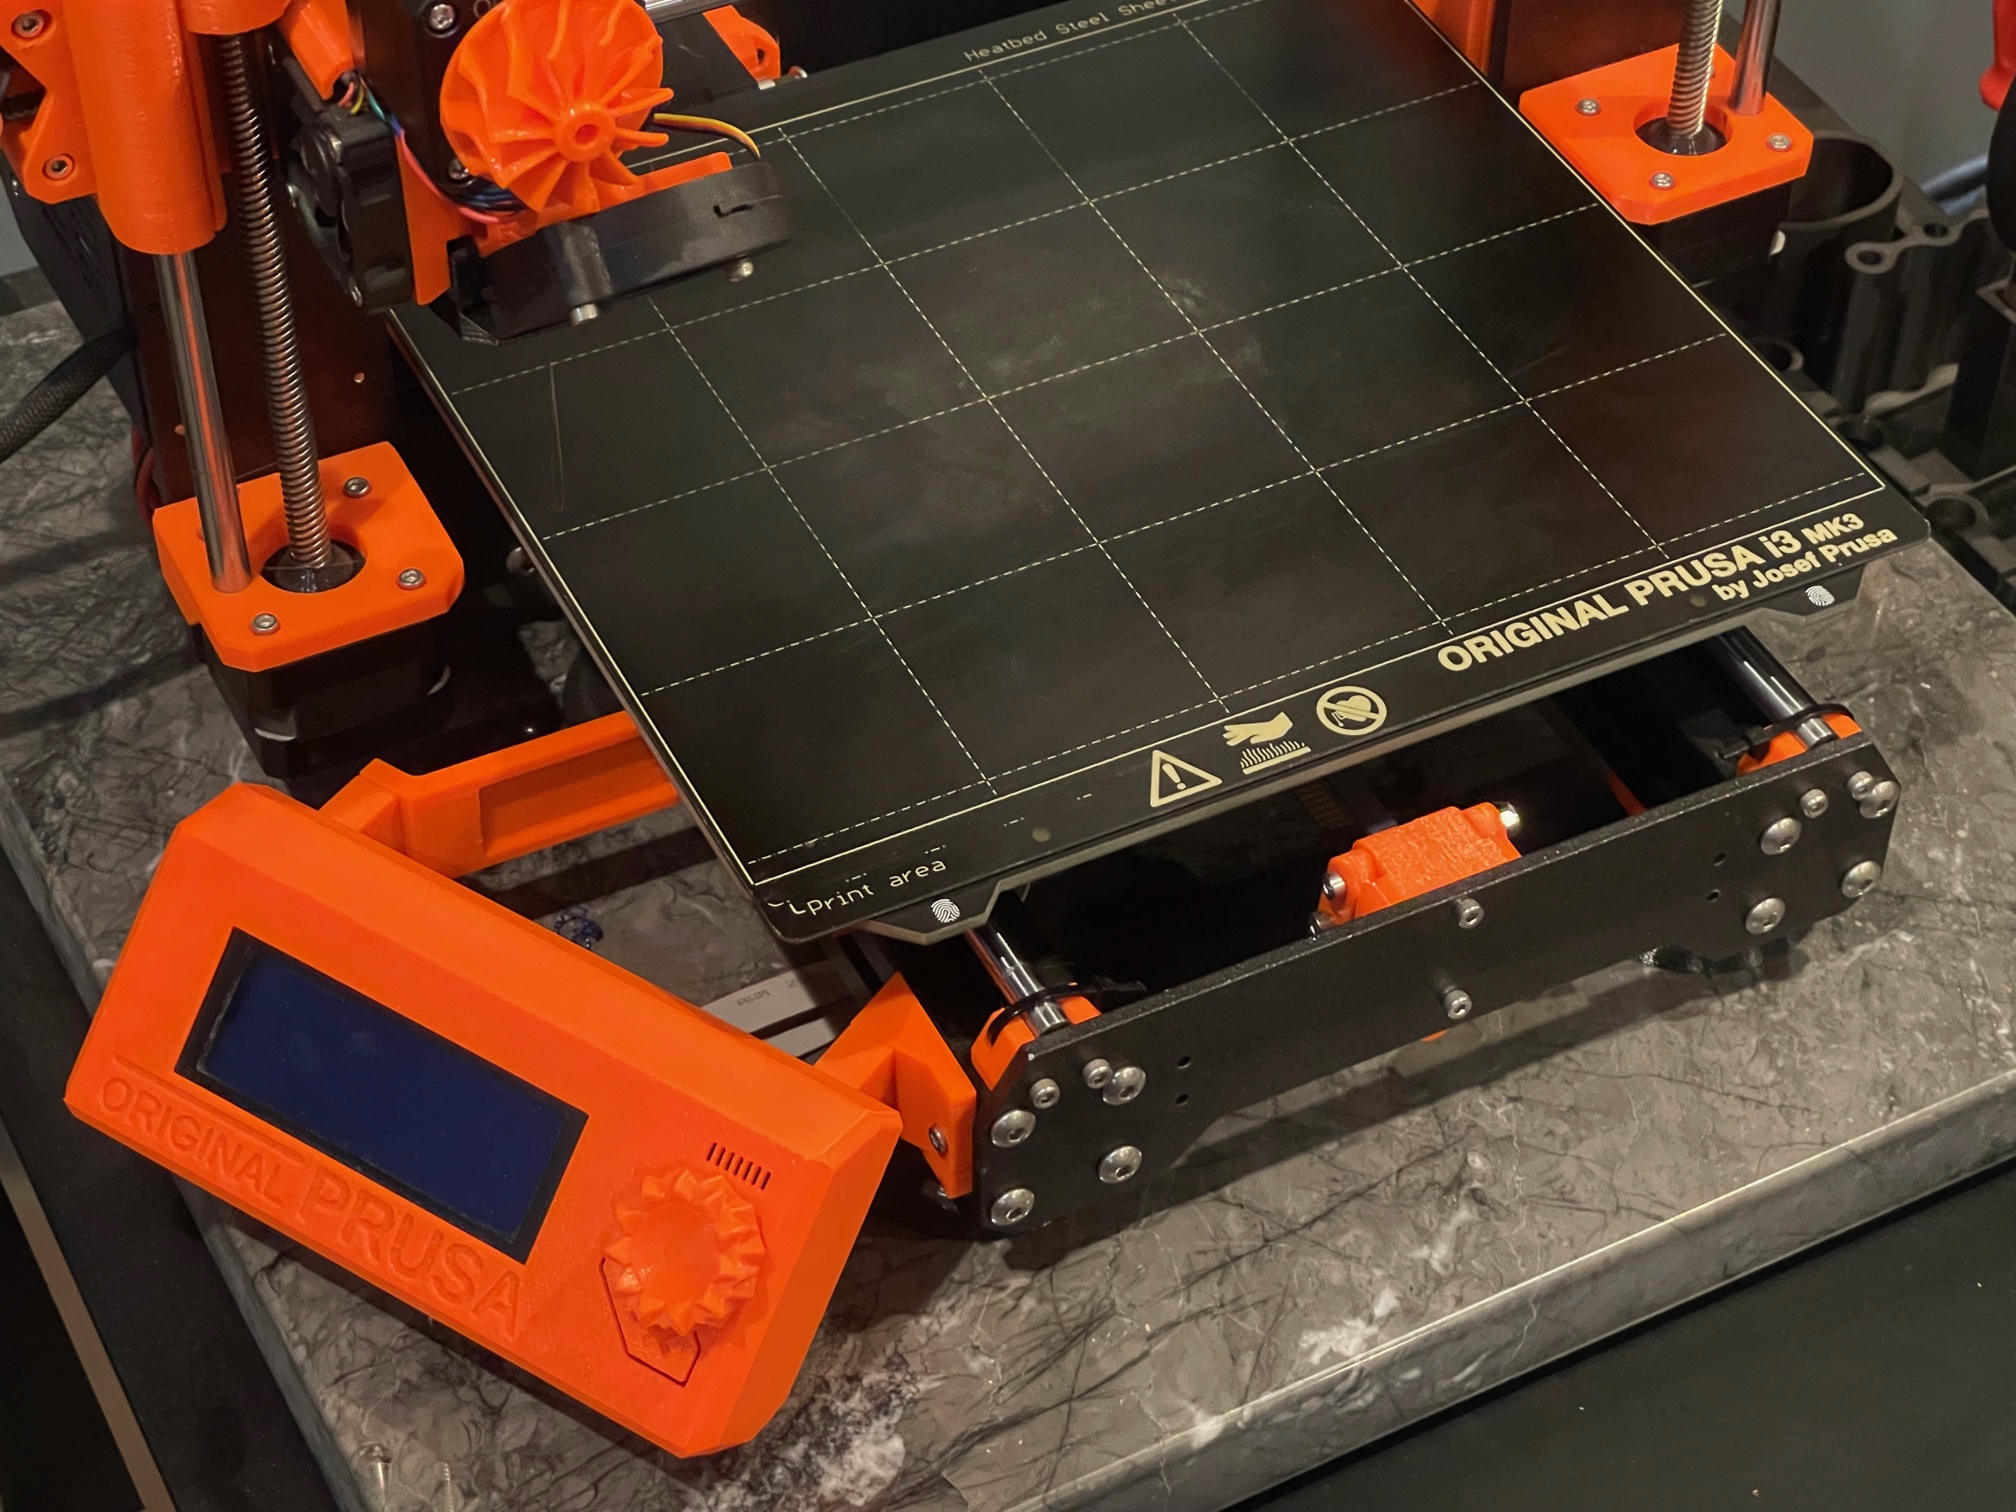
<p>This side LCD Mount allows you to move your LCD panel out of the way to the left or right side of the printer. This is helpful if you sit to the side of your printer or want to free up the space in front of your printer more.</p><p>This is a redesign of an earlier triangular side mount I made. I wanted a model that was leaner and more streamlined. I removed two sides that were not structurally needed, and redesigned the third to simplify it more into the shape of a I-Beam. I did not change the angles or screw holes from that earlier mount that I know work between the frame and the LCD mount. </p><p>This new version works great, prints in half the time, and has a more simple visual appearance. I can't think of anyway to simplify it more.</p><p>You need two 12mm hex screws and two hex nuts as well. </p><p>Gcode for the left side is included for Prusament Orange PETG .2 layer height. This prints in just under two hours with no supports.</p><p>Assembly:</p><ol><li>Pick a side and print the front and back parts, and two Tnuts. When you print them print them upside down. The stl has them oriented the way you use them, not how you print them. The nubs face up. </li><li>Remove the LCD bracket from the printer and disconnect the two cables.</li><li>Unscrew the eight screws on the front frame plate and move that up so you can access the Tbar open ends. Try not to move the Tbars on the left and right of the frame, although it doesn't matter if you do. The second pic shows the frame front unscrewed.</li><li>To prep the Tnuts lightly sand them. test the fit by seeing if you can easily glide them into the frame holes to make sure you have them sanded enough.</li><li>Loosely assemble the Tnuts to each piece as in the second picture. Do not fully tighten as we will slide this in later and tighten then.</li><li>Attach the LCD as shown in the third picture and connect the cables.</li><li>Slide the assembled unit in the T Frame. Fully tighten the 12mm hex screws so the unit is now secure in the frame.</li><li>Replace the front frame plate and insert the 8 larger screws. It is best if you loosely insert them all and tighten them a little at a time evenly on both sides at the same time.</li></ol>
With this file you will be able to print LCD Side Mount MK3S+ Version 2 with your 3D printer. Click on the button and save the file on your computer to work, edit or customize your design. You can also find more 3D designs for printers on LCD Side Mount MK3S+ Version 2.
