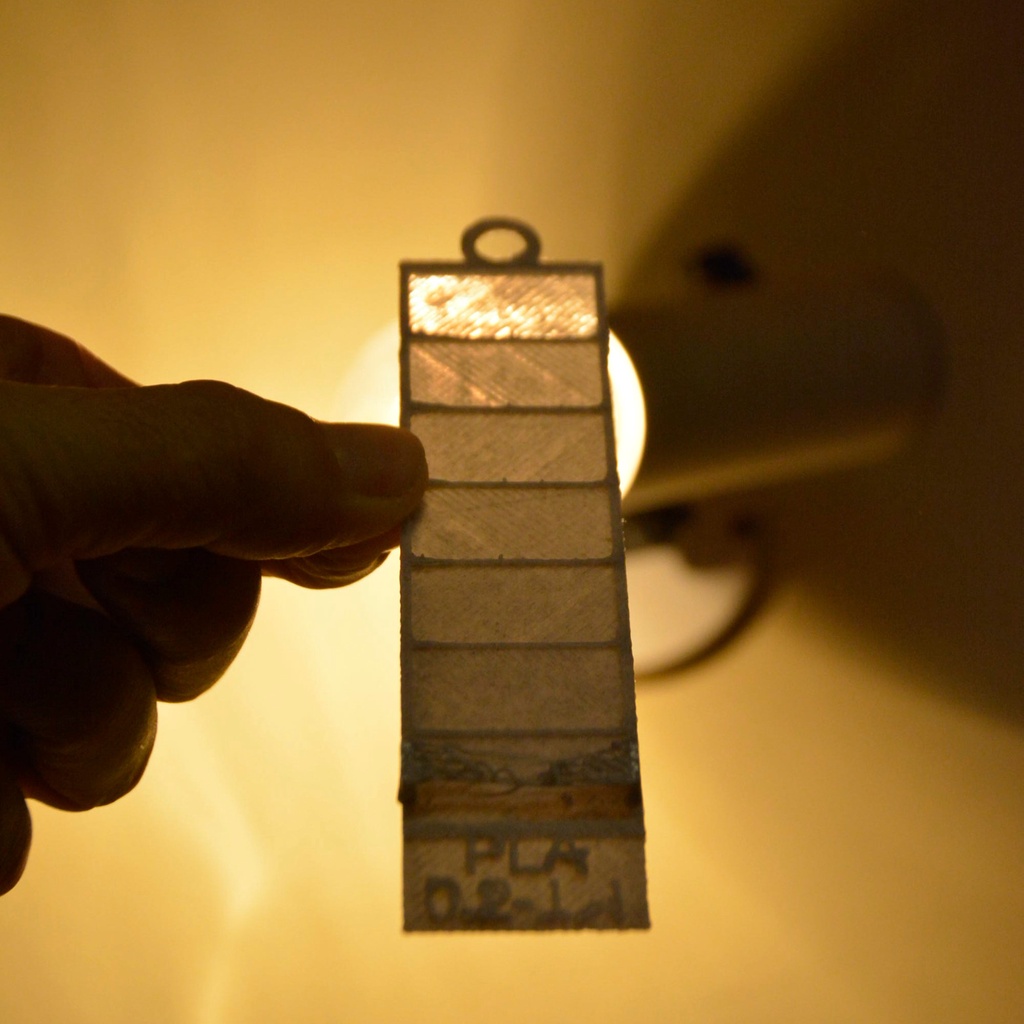
Layer comparer and bridge tester
thingiverse
This tool is designed to demonstrate the impact of varying layer thicknesses and evaluate bridging performance. It features a loop that allows you to hang samples on a pegboard, making it easy to compare filaments side-by-side. To customize the settings, use the built-in customizer to adjust parameters such as the number of rectangles (frames), height increments (layer_step_height), frame dimensions, and label text. Alternatively, stick with the default settings. For example, if you set frames = 4 and layer_step_height = 0.2, the frame layers will be created at 0.2, 0.4, 0.6, and 0.8mm. Ensure that your slicer settings have a first layer height that is less than or equal to the layer_step_height, as frames with inadequate bottom layers may not print correctly. The bridge height is calculated by multiplying the layer_step_height by two, but the first bridge layer does not adequately support the second bridge layer, which prints at an angle. It will be interesting to see how different slicers handle this scenario, as it could significantly impact the quality of prints that utilize bridging. Default settings include: frames=7 layer_step_height=0.2 $fn=20 frame_x = 30 frame_y = 15 frame_z = 2 ring_diam = 12 ring_height=2 label_x=30 label_text = "PLA" font = "Liberation Sans" letter_size=5
With this file you will be able to print Layer comparer and bridge tester with your 3D printer. Click on the button and save the file on your computer to work, edit or customize your design. You can also find more 3D designs for printers on Layer comparer and bridge tester .
