LaunchBox
prusaprinters
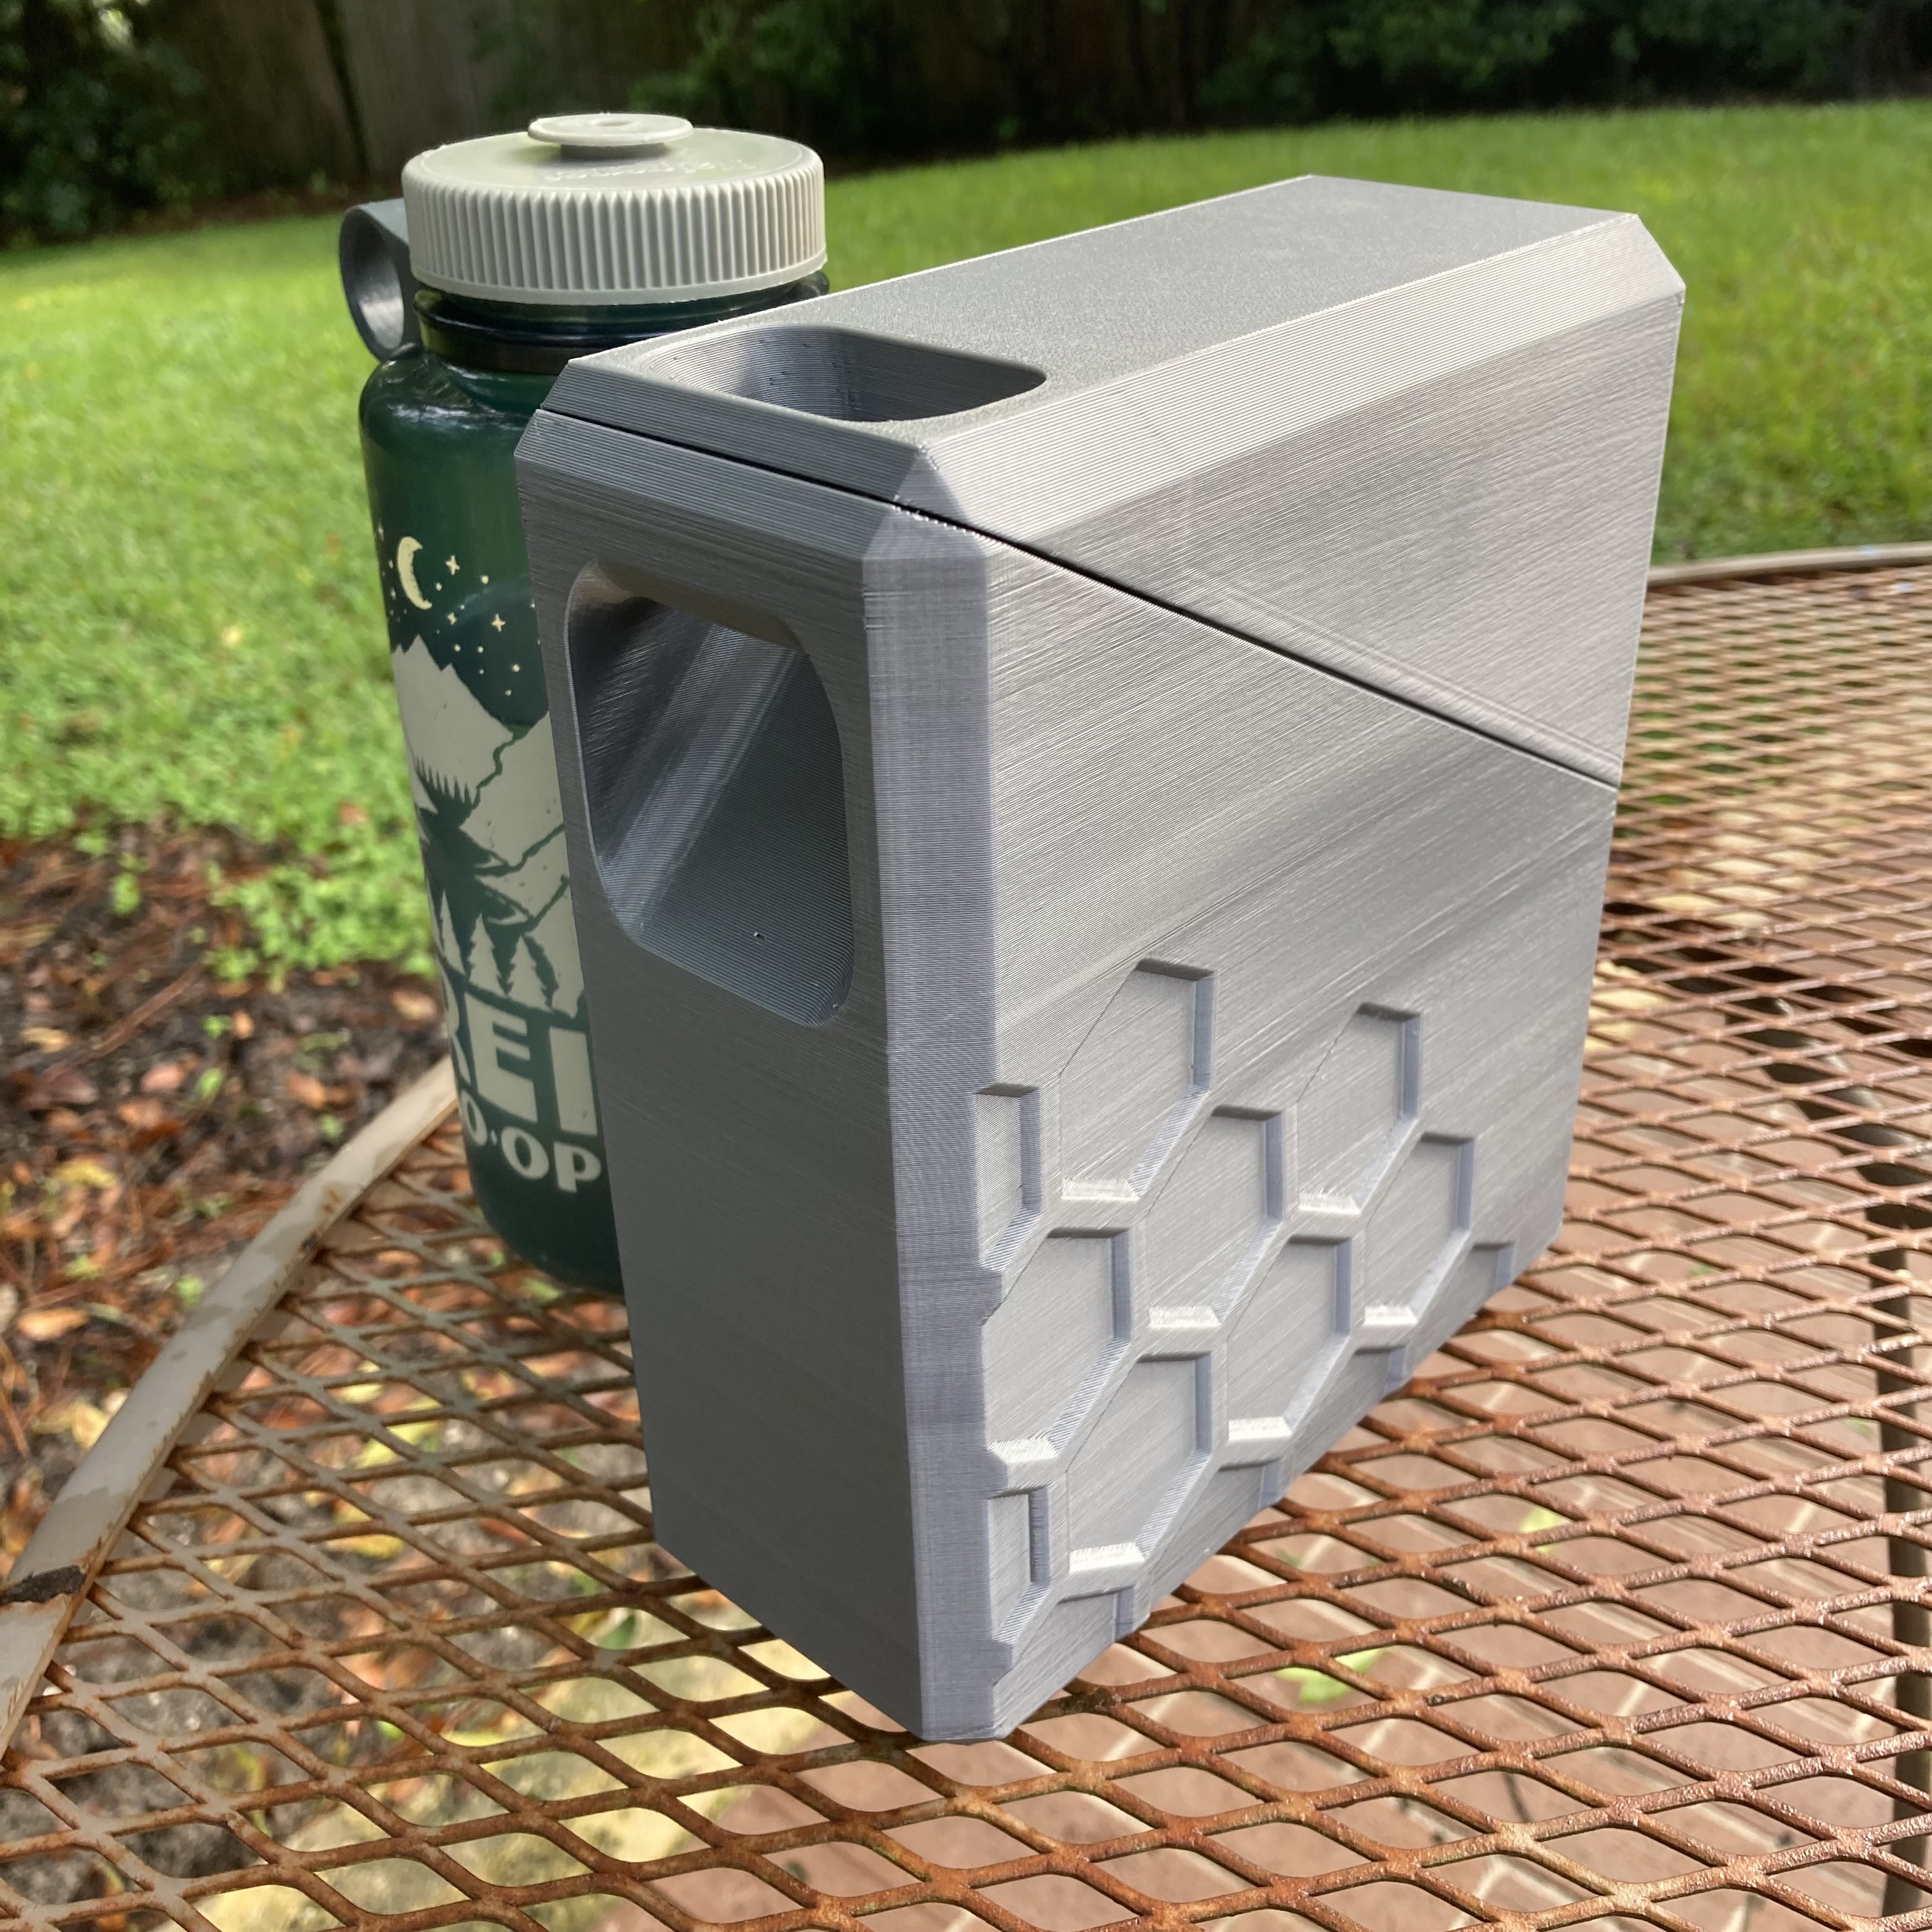
<p><strong>Other Parts Required | </strong></p><ul><li>6mm diameter x 3mm thick magnets, quantity 10. I've ordered from a couple different sellers on Amazon, both have worked well. Here's an <a href="https://a.co/d/0g3Fl0Z">example</a>. </li><li>About 70mm of 1.75mm diameter filament for the hinge pin. Nylon is best but others work well.</li></ul><p><strong>Instructions | </strong>Print at 0.30mm layer thickness. The first layer default of 0.20mm is fine. Add print pauses before 13.7mm (layer 46) and 185.6mm (layer 619) to insert magnets. </p><p><strong>Magnet Latch | </strong>Magnets should be installed with alternating polarity. There are marks at the bottom of some of the holes to guide installation. Orient magnets so that the north pole of the magnet is touching the marked surface and all will line up. If you don't know which end of your magnets are north, you can use a magnetic compass and mark one to use as a reference for the others. If you don't have a compass, stack all your magnets together, pick one end and mark it and call it north. </p><p><strong>Hinge | </strong>You may need to clean out the hinge holes slightly with a drill. A size 50 drill (0.070" diameter) works well. A 5/64" (0.078" diameter) is a bit loose but would work in a pinch. With relatively tight holes you can just trim the filament flush on either end. If it's loose you may want to melt the ends carefully with a soldering iron. If you go the soldering iron route, be careful not to damage the box in the process.</p><p><strong>Handle Supports | </strong>Prusa Slicer painted-on supports work great for the handle cutout on the bottom piece. See the detail in one of the pictures.</p><p><strong>One caution before printing: </strong>It's the tallest print I've ever done on this machine, with a pause near the top. On my first print, my machine crashed during the pause and lost its home position. I re-ran that section of the G-code and found that the wires on the back of my print carriage interfered with the standard filament spool holder during the retract (my mistake during assembly). I tucked the wires into the slot in the back of the print carriage and my second full print worked great. Be sure you have full movement of your printer in the X direction at the very top limit of the build volume so you don't run into the same thing. </p><p><strong>Contest Files | </strong>Designed for Printables contest, 8/2022. Tested in pieces through the week with one full print Sunday afternoon. Model has been improved slightly from the contest submittal: </p><ol><li>I added a shallow emboss feature to the large sides to eliminate some bulging in the print and it makes the box look better, too. </li><li>The designed supports included in the model for under the handle on the original didn't work great. I compromised on the handle shape to use them, too. I changed to painted-on supports in the Prusa Slicer and they work much better. Support constraints shown in one of the pictures if you want to reproduce in your own print. </li></ol><p>Designed in <a href="https://discover.solidworks.com/3dexperience-solidworks-makers">Solidworks for Makers</a>.</p><p>Chicken Salad recipe courtesy of the <a href="https://magnolia.com/blog/recipe/8ae85e2f-f4c2-4de7-93f9-1864f3bf604b/curry-chicken-salad/">Magnolia Blog</a>.</p><p>Nalgene bottle from <a href="https://www.rei.com/s/rei-co-op-nalgene-bottles">REI</a>.</p><p>Hope you find it useful! - Matt Taylor</p>
With this file you will be able to print LaunchBox with your 3D printer. Click on the button and save the file on your computer to work, edit or customize your design. You can also find more 3D designs for printers on LaunchBox.
