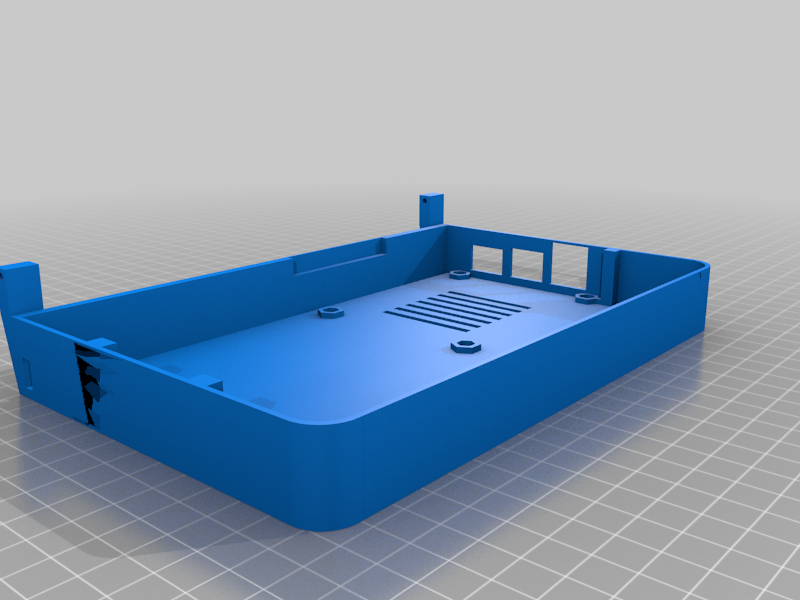
Lattepanda Laptop
thingiverse
I've added 30mm speakers to the design, along with a PAM8403 23W Mini Digital Power Amplifier Board and a USB Interface Power Adapter Board for charging. To get the best performance out of this project, I highly recommend increasing the infill percentage to at least 20% or higher. Trust me, you don't want to make the same mistake I did! This is my remix of Laptop Lattepanda by SchedaGuasta, with a few key modifications. Instead of using 18650 cells, I've opted for a battery from a cell phone power bank, and added a touch screen for an extra layer of interactivity. I've also included a 7mm spacer tray to accommodate my new keyboard, which provides some additional heat dissipation options. Keep in mind that I'm still learning the ropes with 3D software, so bear with me on the design - it's been a fun quarantine project! Here are the parts I used: * Lattepanda 4g/64 * 7" 1024 x 600 IPS Display for LattePanda V1 * 7" Capacitive Touch Panel Overlay for LattePanda V1 IPS Display * 2A Cell Phone Battery Bank * Assorted cables and screws that I had lying around Next up, I plan to add a small amp and speaker - if I can find one that's small enough! I'll also need to run some cabling for charging ports, headphone jack, and an on/off switch. But one thing at a time! Check out the video from SchedaGuasta here: https://youtu.be/uNqswxwOjGw And grab the STL file from Thingiverse: https://www.thingiverse.com/thing:3040132
With this file you will be able to print Lattepanda Laptop with your 3D printer. Click on the button and save the file on your computer to work, edit or customize your design. You can also find more 3D designs for printers on Lattepanda Laptop.
