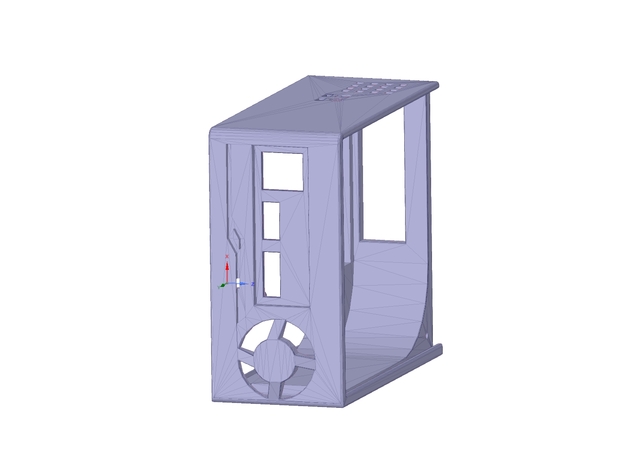
lattepanda casing
thingiverse
I'm still waiting for my 3D-printer, which has been out of commission for almost two weeks now. I'm eager to see if this design prints well, so I'd really appreciate it if you could give it a try or at least provide some feedback after working on it for eight hours. This is actually my very first self-made design - previously, I only created 3D designs for educational purposes and those were just simple things like pyramids with holes in them. Now, let's move on to the instructions: The button tips are meant to be printed twice, once for the reset button and again for the power button. The small lightning-shaped piece is a decorative element that will be made from transparent flexible filament to fit perfectly into the corresponding hole on the front of the casing. It should be glued in place and illuminated by two SMD LEDs inside, which fit snugly into the two small holes. To complete this project, you'll need to create two 106mm x 121mm x 2mm plates out of any material you like (I used acrylic glass). Then simply attach the LattePanda and side plates using screws and nuts, and add a 35mm x 35mm fan if desired. There should be plenty of space for the LattePanda with its CPU fan or some passive coolers. I hope everything works out well for you and that you have a great time building it! I've also released version 2 of the LattePanda case, which is basically the same design but split into seven pieces. After printing these pieces, you can easily assemble them and prepare them with acetone. This new design is much easier to print and assemble than the previous one.
With this file you will be able to print lattepanda casing with your 3D printer. Click on the button and save the file on your computer to work, edit or customize your design. You can also find more 3D designs for printers on lattepanda casing.
