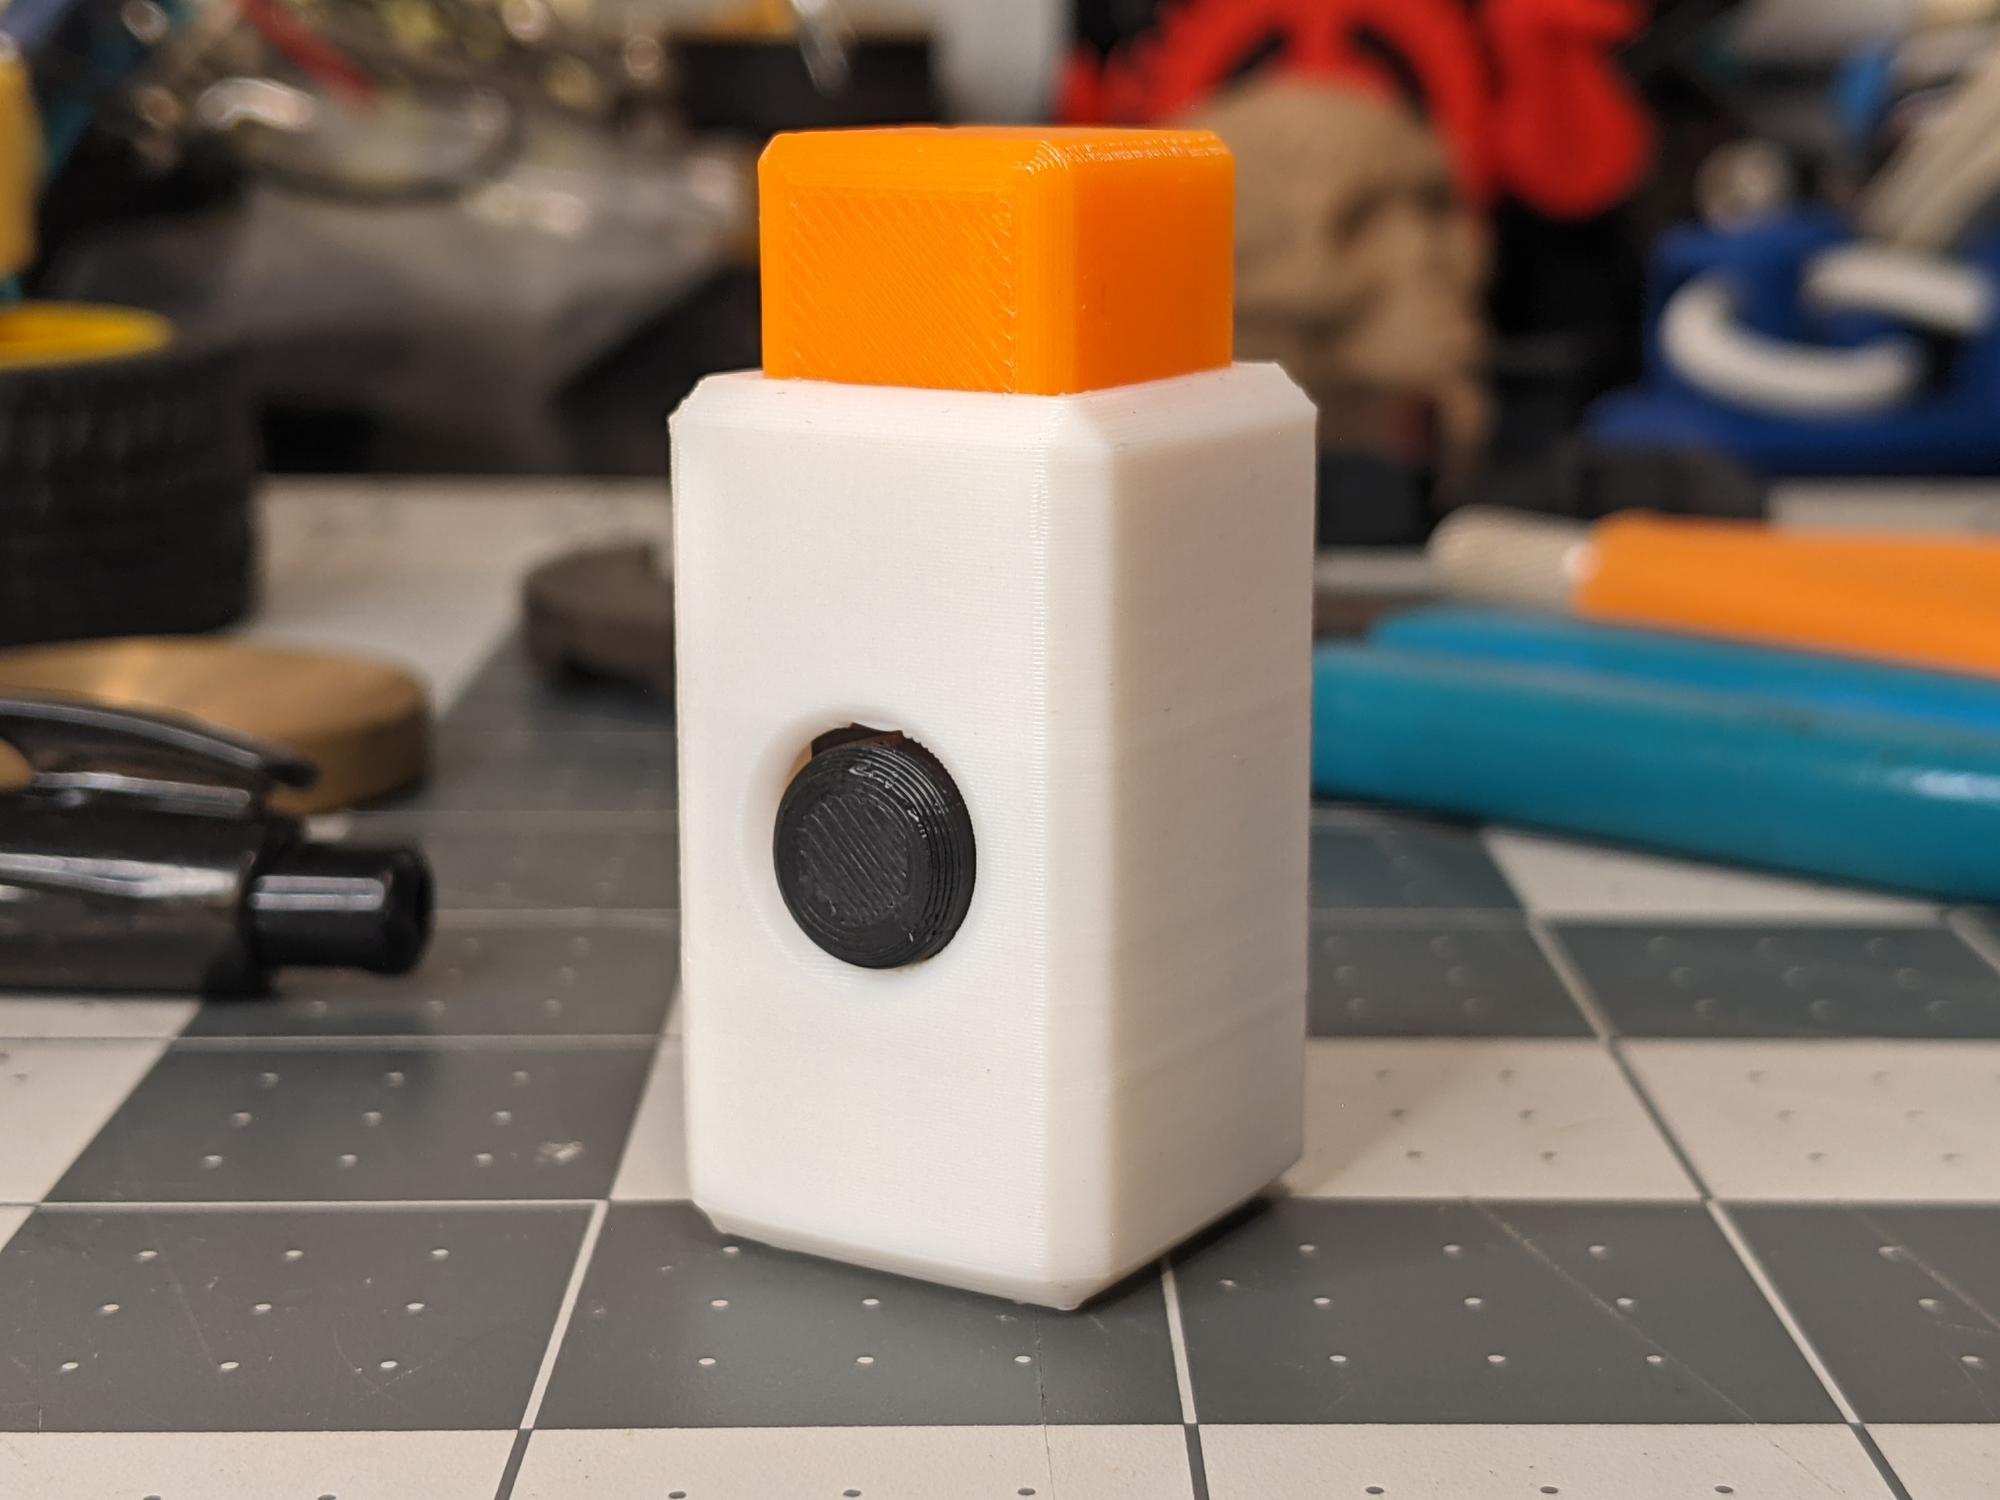
Latching Button Fidget Toy
prusaprinters
<figure class="media"><oembed url="https://www.youtube.com/watch?v=tzwQWZ0np8A"></oembed></figure><p> </p><p>The Latching Button Fidget Toy has a piston that can be pressed in. It remains hidden until the button is pressed. The button releases the piston and it snaps forward with a satisfyingly loud "click!"</p><p>Simply, press the piston until it clicks. Then, press the side button and enjoy that <i>snap</i>!</p><p>This quick print consists of three pieces: a piston, a latch with a button, and a case to hold it all together. All three pieces print in about 1:45. The entire assembly is powered by two pen springs.</p><p> </p><h4>Pen Springs</h4><p>You'll need to provide <i>two</i> pen springs to power this print. The springs need the following dimensions:</p><ul><li>Outer Diameter: no larger than 5mm</li><li>Uncompressed Length: about 20mm</li><li>Compressed Length: no larger than 8mm</li></ul><p>If your spring is particularly stiff, you can use one spring. I used two springs because I like the strong tactile feedback.</p><p> </p><h4>Printing</h4><ul><li>Nozzle: 0.4mm</li><li>Layer Height: 0.2mm</li><li>Infill: 15%</li><li>Vertical Shells: 3 (at least)</li><li>Top/Bottom Layers: 5 (more is better)</li><li>Supports: No</li></ul><p>The print has a 0.3mm tolerance between moving pieces and a 0.2mm tolerance between non-moving parts. This means it's a pretty forgiving print, but you should still take some precautions when printing.</p><p>Avoid elephant's foot and brims, and remove all strings. Any remaining or excess plastic will interfere with the action of the mechanism.</p><p>Check the piston's fit in the case. If there is <i>any</i> resistance, the piston will get stuck. I needed to clean up the inside pocket of the case on two prints. A quick scrape with an X-Acto blade worked perfectly.</p><p> </p><h4>Assembly</h4><p>The video above includes assembly instructions. I suggest watching that before attempting to assemble your print.</p><ol><li>Print all three pieces in the orientation shown (photo 2).</li><li>Check the fit by inserting the piston and latch backwards (photo 3). The piston and latch should fit with absolutely no resistance. If there is <i>any</i> resistance, use a blade to clean up the inside of the case.</li><li>Slide the latch into the case (photo 4). Making sure to only apply pressure to the "body" of the latch (photo 5), press the latch further into the case until the button pops out of the side of the case (photos 6 and 7). <strong>PROTIP</strong>: Use a small flathead screwdriver.</li><li>Slide the springs into the small square holes (photo 8).</li><li>Insert the piston into the case (photos 9 and 10). Make sure the piston's arms are aligned with the spring holes.</li></ol>
With this file you will be able to print Latching Button Fidget Toy with your 3D printer. Click on the button and save the file on your computer to work, edit or customize your design. You can also find more 3D designs for printers on Latching Button Fidget Toy.
