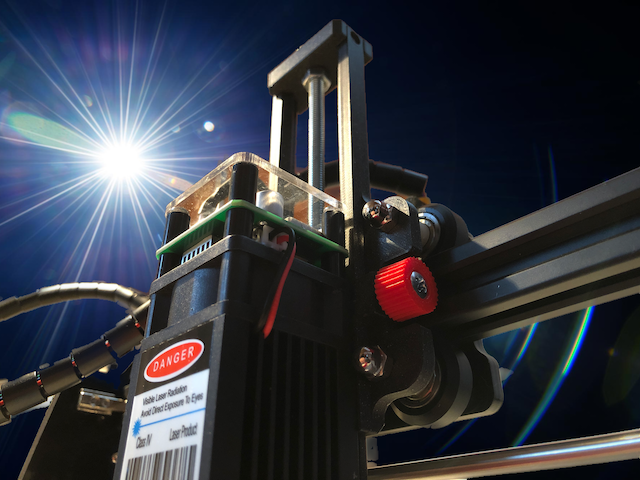
Laser Lifter - Ortur Laser Master 2 (20W)
prusaprinters
<p>First of all, thanks for the postings on Thingiverse of PLAY3Rone977, as well as the remixes by Crabe31350 and Spectra3D! This is a remix from all of them!</p><p>After looking at these models, I saw that they need quite a lot of space (y-axis). A relocation of the micro switch by about 15mm, is hardly possible without extending the two cables. I started the construction of my device with the aim to get a device that is as space-saving as possible, concerning the area of the y-axis and last but not least also the x-axis.</p><p>This laser lifter is only 4.2 mm thicker than the original laser mount. So the micro switch on the left side of the y-axis has to be moved backwards only accordingly! You have to test this. I recommend by about 5-7mm.</p><p>As for the rotating mechanism (crank or knob), different sizes of ball bearings were used in the existing models, among others. In principle, this makes sense! But since I prefer the crank variant and I had no idea for a practical and also visually appropriate implementation for a combination of a crank with a ball bearing, I decided to use a sleeve nut. This also works great!</p><p>Starting from 30mm distance from the edge of the heat sink to the surface of the base plate, the height can be adjusted upwards by approx. 80 mm.</p><p>A locking knob is integrated into the width of the lifter, so there is no restriction in terms of space on the x-axis!</p><p>Besides, it is not to be neglected that this model - in comparison to the others - needs less printing time and therefore less material. In addition, no supports are needed during printing.</p><p>Here you can find instructions on how to assemble it:<br> </p><figure class="media"><oembed url="https://youtu.be/Tr3SMDnANz0"></oembed></figure><p> </p><p>Material needed:</p><p>1x sleeve nut M6 (head Ø 19mm, hexagon socket SW 5, shaft Ø 9mm, shaft length 9mm)<br>1x Allen key SW 5 (optimal as crank)<br>1x threaded rod M6x120mm<br>2x nut M6<br>1x Phillips screw M4x25mm<br>2x nut M4</p><p>2x 2,6 x 9,5mm self-tapping screws<br>1x cable tie</p><p>Required stl. files:</p><p>LaserLifter_guiderail_left.stl<br>LaserLifter_guiderail_right.stl<br>LaserLifter_lasercarrier.stl<br>LaserLifter_liftertop.stl<br>LaserLifter_lockingknob.stl</p><p>Have fun with the LaserLifter!<br>Stay safe!</p><h3>Print instructions</h3><p>Printer brand:<br>Prusa</p><p>Printer:<br>Prusa Mini</p><p>Rafts:<br>No</p><p>Supports:<br>No</p><p>Resolution:<br>20</p><p>Infill:<br>20%</p><p>Filament brand:<br>Prusament</p><p>Filament color:<br>Galaxy Black</p><p>Filament material:<br>PLA</p>
With this file you will be able to print Laser Lifter - Ortur Laser Master 2 (20W) with your 3D printer. Click on the button and save the file on your computer to work, edit or customize your design. You can also find more 3D designs for printers on Laser Lifter - Ortur Laser Master 2 (20W).
