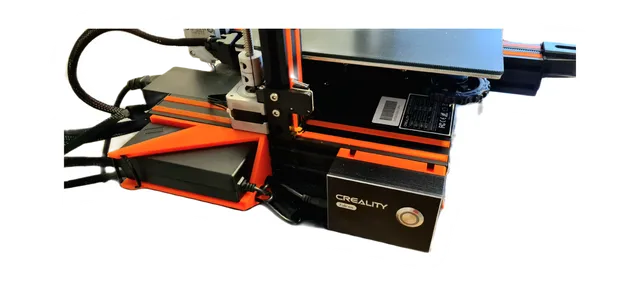
Laser Kit Mount - Creality Falcon
prusaprinters
This is a side mount for the Creality laser kit.It consists of two parts:Control Box MountPower Adapter Mount This is designed with the following key points in mind:print with minimal supportrails are not to tight, for easier installing (and deinstalling) on the printerintegrated cable managementpower supply is located at the rear, for easy switching of the power cable between printer and laser kit TipThis print may require more ground clearance than the original feet provide.I use these Squash Ball Feet (V2 raised): https://www.printables.com/de/model/152248-ender-3-v2-squash-ball-feet Control Box MountThe bottom right screw hole is a slot, as in my control box the scew was not placed with the same spacing as the other three screws.Print lying flat - support for rails neededUnscrew backside of control boxInsert cable clipScrew mount to backside of control boxFasten cable clipWatch out, that no part is looking over the bottomside, otherwise you can not slide it onto the printer Power Adapter MountPrint standing up - no supportput the long small cable of the power adapter into the smaller hole (just for cable management, that the cable is stowed away)put the cable of the control box through the bigger holeplace the adapter in the mount and fixate it with a cable clip
With this file you will be able to print Laser Kit Mount - Creality Falcon with your 3D printer. Click on the button and save the file on your computer to work, edit or customize your design. You can also find more 3D designs for printers on Laser Kit Mount - Creality Falcon.
