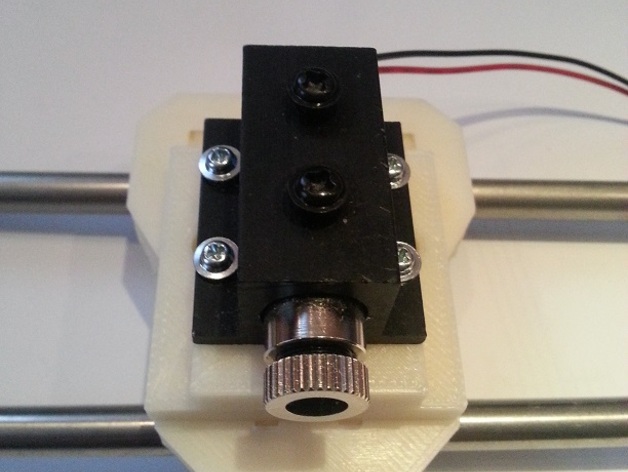
Laser holder
thingiverse
Human: The ultimate solution for Prusa I3 (and maybe more 3D printers) is finally here. This ingenious laser holder fits perfectly on the X-carrier, providing an incredible engraving experience with its powerful 450mW blue-violet laser. A laser that packs a punch - with a staggering output of 200-250 mW, you'll be amazed at how easily it cuts through even the toughest materials. And don't worry about safety - our innovative reverse power protection, anti-static protection, and short circuit protection ensure a worry-free engraving experience every time. But that's not all. This laser module is designed to last, with a supply current that remains constant between 3.2V and 5.0V, giving you peace of mind and maximum efficiency. And the heatsink? Top-notch, of course. Made with high-quality materials, our heatsink ensures that your laser stays cool and runs smoothly even under intense use. With SKU178673, you can be confident in its performance and durability. But safety is key when working with powerful lasers. That's why we've included the essential Blue-violet Laser Safety Glasses (SKU178705), protecting your eyes from harm as you work. Ready to get started? Follow these simple instructions: rotate the laser 180 degrees before printing, and voila! Your Prusa I3 will be up and running in no time. As a bonus, we've created a user-friendly conversion script that enables you to turn any G-code file into a perfect laser-file for seamless engraving. No more headaches or confusion - with our easy-to-use converter/sender in Python, you'll be an expert in no time! Here's how it works: create your design using OpenScad and save it as STL. Then open Cura, load the STL file, position it on the bed where you want to laser, select "Expert Settings," and under "Skirt line-count" put 0. Next, rename the G-code file to "laser1_input.nc." Finally, simply use our Python converter script, strip any unnecessary lines, comment commands, remove tool/machine directives, create an output file labeled "laser1_output.nc." Once complete, take your goggles out, and get started! Have fun exploring our repository where you'll find the required Python programs: http://members.home.nl/hobbycorner/laserengraving/converter.py http://members.home.nl/hobbycorner/laserengraving/player_for_laser.py http://members.home.nl/hobbycorner/laserengraving/header.nc http://members.home.nl/hobbycorner/laserengraving/footer.nc Follow these instructions for creating the G-code file and rename it as described above, and run our player. The speed for laser moves at a speed of 30mm/sec and 150m/min and can be changed according to preference in player_for_laser.py Remember, take care when using high-voltage tools and always wear safety gear. Happy printing and enjoy your newly-converted machine - check out more details on Http://pcblaser.benshobbycorner.nl
With this file you will be able to print Laser holder with your 3D printer. Click on the button and save the file on your computer to work, edit or customize your design. You can also find more 3D designs for printers on Laser holder.
