Laser Dot - Pan & Tilt Gimbal (simple printing, involved integration)
thingiverse
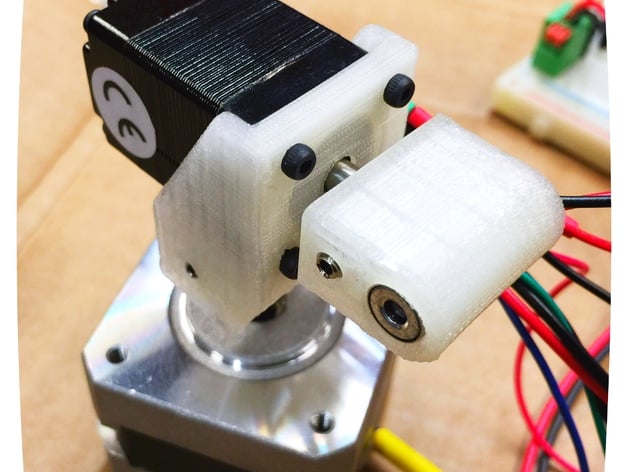
This amazing contraption is comprised of just two distinct printed components, yet it can transform into a remarkable biaxial gimbal system by incorporating a couple of stepper motors and a laser pointer engine! Imagine remotely placing a bright red dot on whatever you desire - or maybe even where your cat thinks it should be! Check out this YouTube video: http://youtu.be/KbmjemYGDg4. As for operation, the possibilities are endless. To get started, you'll need to acquire stepper motor drivers and a suitable controller that can communicate with them. My personal setup employs an Arduino interface, connected via EasyDrivers. I utilize a Quarton Laser Module VLM-650-03 LPA as my laser source. Here's a comprehensive list of required materials: • NEMA 8 Stepper Motor • NEMA 17 Stepper Motor • 4 x M2 x 8 screws (for the NEMA 8 stepper) • A 7mm diameter laser head • 3 x #6-32 x .375" oval point set screws Consider stocking up on these optional supplies: • Drill bits to match the motor shaft sizes, perfect for fine-tuning and cleaning up any excess material. • A #6-32 tap to create threads for secure fastening. To complete your project, simply place a bright red dot wherever you like! **Assembly Instructions** For both components, align the flat side with the driven motor shaft hole against the glass surface.
With this file you will be able to print Laser Dot - Pan & Tilt Gimbal (simple printing, involved integration) with your 3D printer. Click on the button and save the file on your computer to work, edit or customize your design. You can also find more 3D designs for printers on Laser Dot - Pan & Tilt Gimbal (simple printing, involved integration).