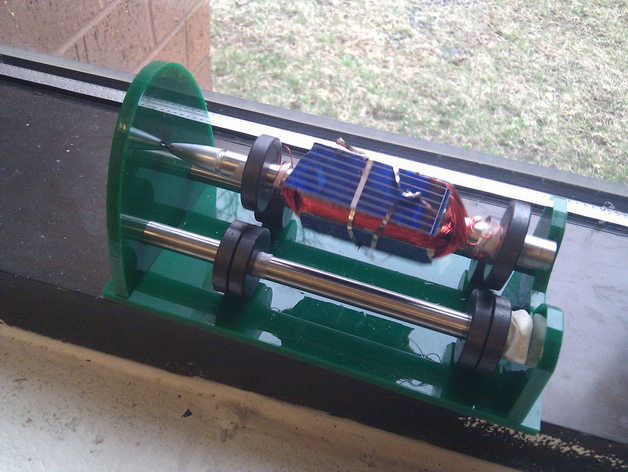
Laser cut Mendocino Motor
thingiverse
This magnet-based polarized motor levitates as incandescent or sunlight hits the solar cells, transferring electron energy from sunlight to charge the copper wiring and make it magnetic. This process counteracts with surrounding magnets, causing the motor to spin while in the air. To build this unique device, you'll need three rods of the same size, a pen tip at the end of each rod facing the side piece, four solar cells, a soldering iron and solder for connections, a block to wrap wire around and solder cells to, a base and side structure, and circular magnets fitting the rods. Use provided .CST (CutStudio) and .ODG (Open Office Draw) files to create your model, ensuring that the magnets are spaced perfectly on the rods. Attach a third rod for the copper wire block, which should be lasercut from acrylic. Wrap 100 feet of wire horizontally around this block, securing the starting end with tape. Once wrapped, glue and tape solar cells onto the sides of the block and solder them together in pairs. Connect each end of a wrap wire to the solar cell connections, and place your motor in sunlight for it to spin. If you have any questions or need assistance, feel free to ask!
With this file you will be able to print Laser cut Mendocino Motor with your 3D printer. Click on the button and save the file on your computer to work, edit or customize your design. You can also find more 3D designs for printers on Laser cut Mendocino Motor.
