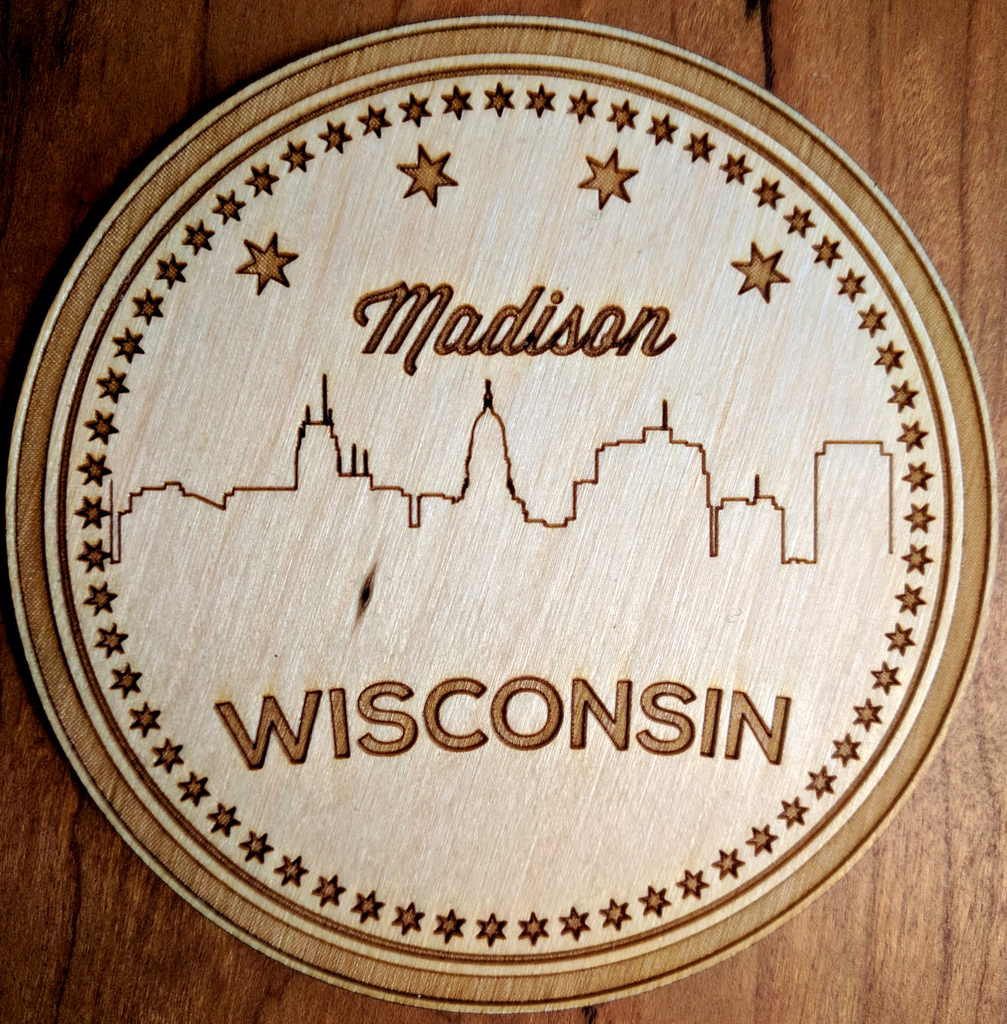
Laser cut coaster of the Madison skyline
thingiverse
This was a Christmas gift for my friends this year, and I'm thrilled to share it with you! Feel free to remix and share your own versions - the possibilities are endless! Here's what went into making these custom coasters: Material: 3mm birch plywood is the perfect choice for this project. Coaster diameter: 3.5 inches gives them a nice size that fits perfectly under any glass or mug. Now, let's get started on the steps to create these amazing coasters! 1. Always test your laser settings on scrap plywood first - it's crucial to ensure each machine has its unique setting. 2. Preset those three colors for cutting, etching, and engraving - this will make the process a breeze! 3. Optional: apply a polyurethane coat for an extra layer of protection (but we'll get to that later). 4. After cutting, sand it down to remove any burn marks and give it a smooth finish. 5. Apply 2-3 layers of polyurethane coating for waterproofing - your coasters are now ready for action! Source: I drew inspiration from the stunning retro Madison, Wisconsin skyline illustration found on Vecteezy.com (vector art #112205).
With this file you will be able to print Laser cut coaster of the Madison skyline with your 3D printer. Click on the button and save the file on your computer to work, edit or customize your design. You can also find more 3D designs for printers on Laser cut coaster of the Madison skyline.