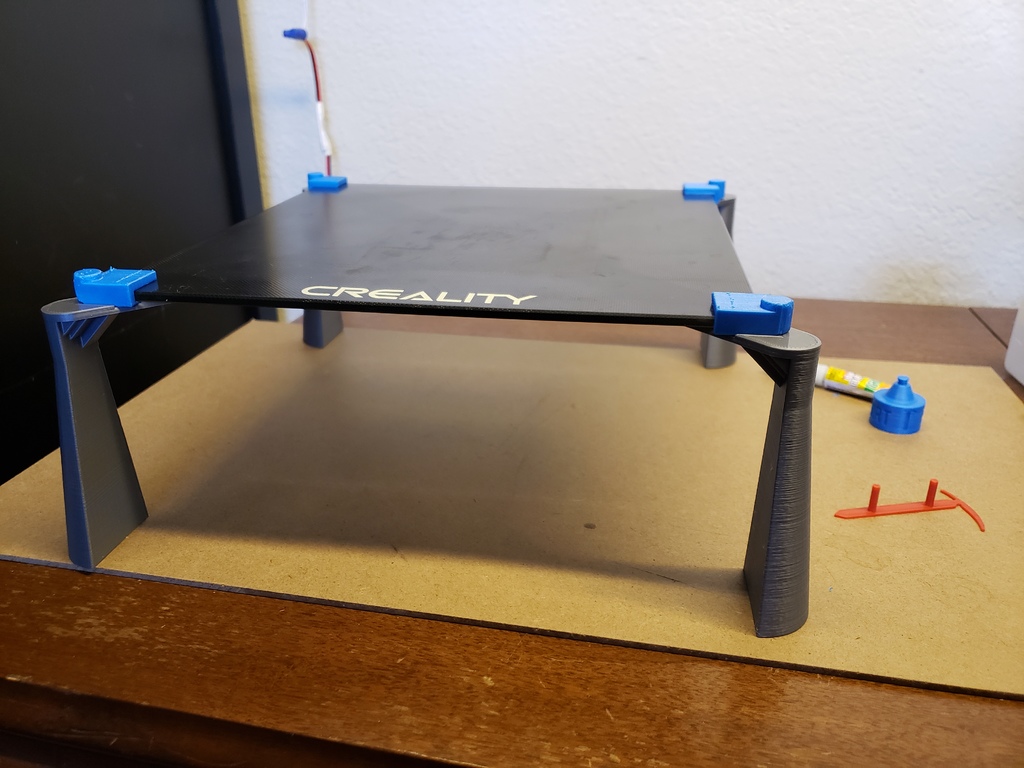
Laptop Stand Utilizing A Creality Borosilicate Glass Bed
thingiverse
This is my first original design here! Yeah, so I ordered the Ender 3 and some glass, but then I realized that mirrors were better suited for me, so I cancelled the glass and bought a pair of mirrors instead. However, they didn't cancel the order for the glass. I still prefer the mirrors over the glass, but not before I accidentally damaged the glass by scraping it up, which the manufacturer failed to warn me about. Thanks for that, Creality. My objectives were: use the expensive glass, clear out some space on my desk below my laptop, find a place to cool the mirrors since I print a lot and hot-swap often, be cost-effective, and as smart as possible without being overly complicated. Mission accomplished! This thing works flawlessly. Nothing has broken in the 12 hours that I've been using it. It's designed to be flexible because my designing skills are questionable. I wanted it to be easily taken apart - hence the zip tie. The pads were intended to be made with TPU and the stands are made from PLA. I glued the pads to the stands with super glue and let them sit there with spacers and weights while I did other stuff. You'll need to print two pairs of stands and two pairs of feet, with left and right sides. The stands should be printed in PLA with 40% infill, and the feet in TPU with 10% infill. However, they could probably be printed in PLA as well. I'll check on this tomorrow, after I've had a chance to sleep off tonight's celebration.
With this file you will be able to print Laptop Stand Utilizing A Creality Borosilicate Glass Bed with your 3D printer. Click on the button and save the file on your computer to work, edit or customize your design. You can also find more 3D designs for printers on Laptop Stand Utilizing A Creality Borosilicate Glass Bed.
