Lane Guide
thingiverse
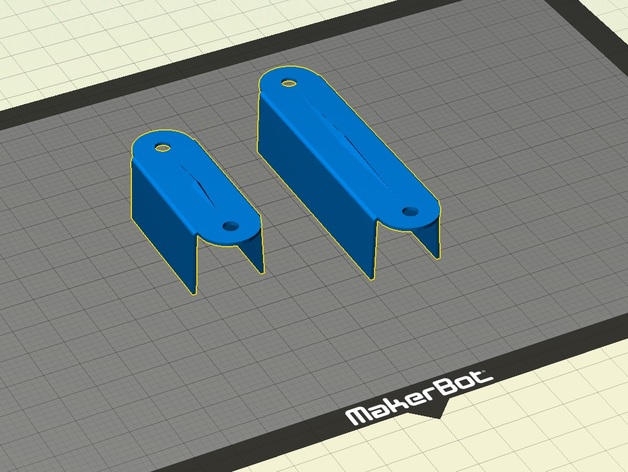
Early Williams Plastic Lane Guide for Beginners Are You Ready to Build the Perfect Lane? Get Started with Our Step-by-Step Guide to Installing an Early Williams Plastic Lane System. Choosing the Right Materials --------------------------- Before you begin, make sure you have all the necessary materials, including a plastic lane base, lane sections, and any additional components required for your specific installation. Don't worry if this seems overwhelming – our guide will walk you through every step of the way! Preparing the Site ------------------- To ensure a smooth and successful installation, choose a flat area with good drainage. Clear away any debris or obstacles that might interfere with your lane's performance. Laying Down the Base --------------------- Begin by laying down the plastic lane base. This will provide a solid foundation for your lane and help it withstand heavy use. Make sure to secure the base firmly in place using screws or adhesive. Adding Lane Sections ---------------------- Next, add the lane sections one at a time, starting from the center of the lane. Use a level to ensure each section is perfectly aligned before securing it with screws or adhesive. Final Touches -------------- Once you've added all the lane sections, take a step back and admire your handiwork! Make any necessary adjustments to ensure your lane is level and even. With our guide, you'll be enjoying perfect lane play in no time.
With this file you will be able to print Lane Guide with your 3D printer. Click on the button and save the file on your computer to work, edit or customize your design. You can also find more 3D designs for printers on Lane Guide.