Lamp/Wall Sconce
pinshape
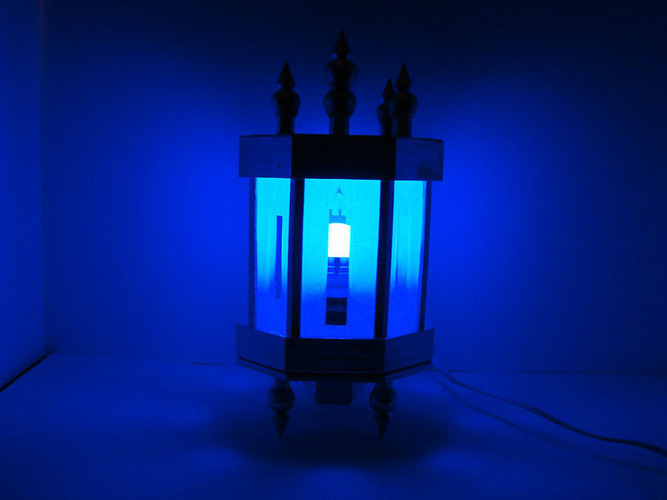
Assemble a Lamp/Wall Sconce \n\n Follow the Lamp Instructions \n\n Attach the Lamp Bottom parts 1 and 2 together with strong adhesive. Secure Corner Spikes firmly to both the bottom and top of the lamp base. Install the Center Spike directly onto the lamp top. Fasten Side Posts securely to the corners of the Lamp Top, leaving space for windows facing inwards. Affix Windows made from clear printer filament to the side posts. Insert a light bulb socket into the center of the Lamp Bottom and feed wires through the tube. Mount the bracket firmly to the wall and connect the light bulb socket to household wiring. Apply adhesive to the mounting arm and attach it to the mounting bracket. Finally, insert a light bulb and then assemble the Lamp Top into the Lamp Bottom.
With this file you will be able to print Lamp/Wall Sconce with your 3D printer. Click on the button and save the file on your computer to work, edit or customize your design. You can also find more 3D designs for printers on Lamp/Wall Sconce.