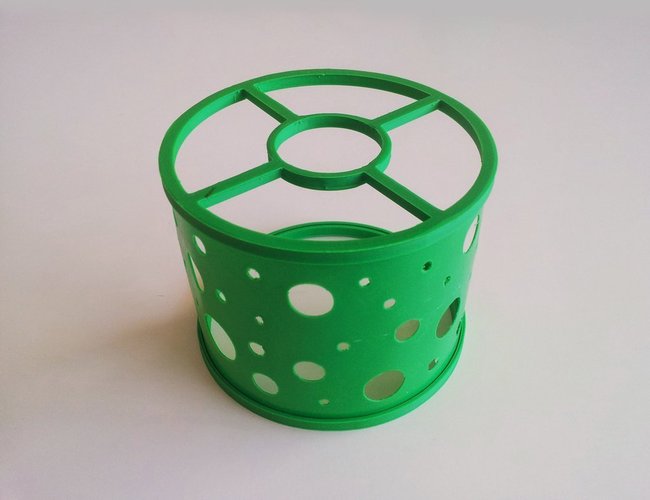
Lamp Shade Kit
pinshape
Get Ready to Shine with Your Very Own Customized Lighting Fixtures! Are you tired of boring lighting fixtures that don't reflect your unique style? Do you want to add a personal touch to your home or office space without breaking the bank? Look no further! This DIY project is perfect for anyone who wants to create their own customized lamp shades. In this video, learn how to make a one-of-a-kind lamp shade using a simple kit. With just a few easy-to-follow steps, you'll be able to transform your ordinary lighting fixtures into extraordinary works of art. Say goodbye to boring lighting and hello to a space that truly reflects your personality! **Materials Needed:** * Lamp Shade Kit (available on Amazon) * Drill * Jigsaw * Sandpaper * Paint or stain (optional) **Step-by-Step Instructions:** 1. Unpack the lamp shade kit and follow the instructions provided. 2. Use a drill to create holes for the cord and harp assembly. 3. Cut out the fabric using a jigsaw, making sure to leave a small border around the edges. 4. Sand the edges to smooth them out. 5. Apply paint or stain (if desired) to add a pop of color or texture. 6. Assemble the lamp shade according to the instructions provided. **Tips and Variations:** * Use different shapes and sizes of fabric to create unique designs. * Add embellishments such as beads, sequins, or lace for extra flair. * Experiment with different colors and textures to match your personal style. * Make it a fun family project by involving kids in the creative process! Don't settle for ordinary lighting fixtures. Create something truly special with this DIY lamp shade kit. Watch the video now and get ready to shine!
With this file you will be able to print Lamp Shade Kit with your 3D printer. Click on the button and save the file on your computer to work, edit or customize your design. You can also find more 3D designs for printers on Lamp Shade Kit.