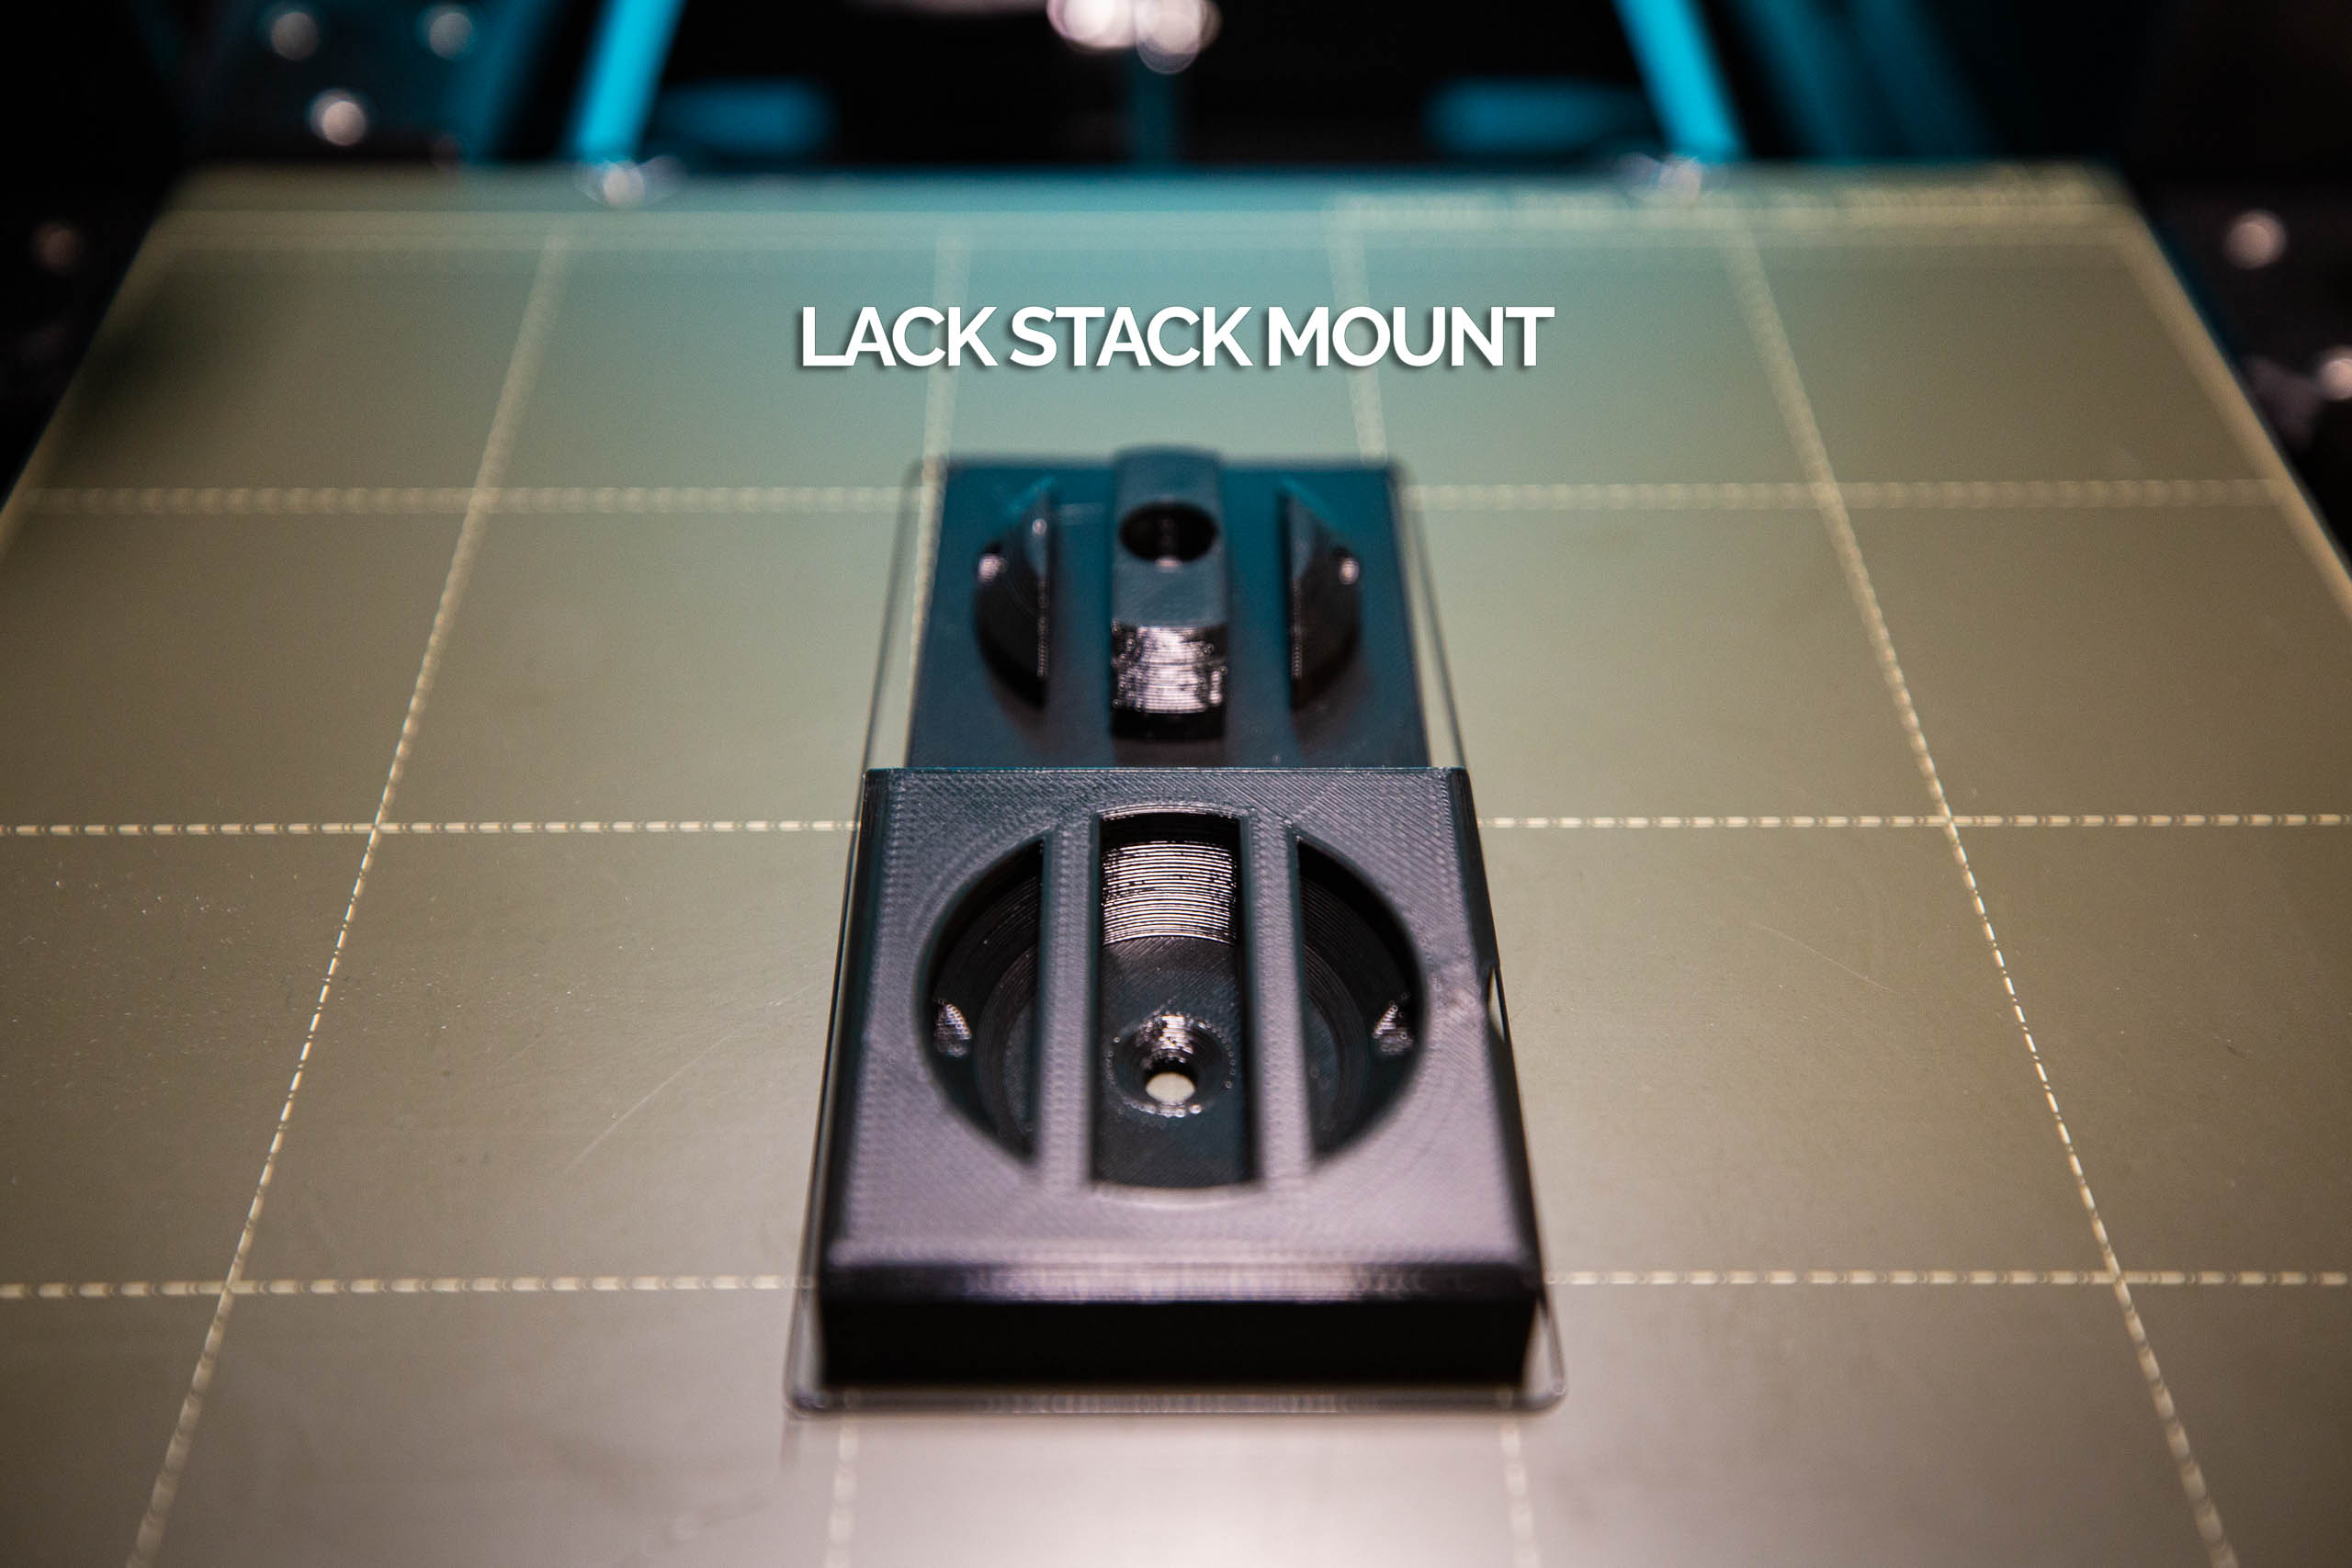
Lack Stack Mount
prusaprinters
<p>I created this design for security. So if the tower is accidentally pushed or bumped it will handle any unforeseen accidents.</p> <p><strong>Required</strong><br/> These mounts are secured with three 1-5/8” or 4.13 cm exterior screws. These screws can be bought at any hardware store.</p> <p><strong>Required</strong><br/> 4 prints per Lack table</p> <hr/> <p>The component that secures to the table top is labeled ‘Table’ it is designed be flush with the edges of the table’s corner for easy alignment with the male component end</p> <p><strong>UPDATE</strong><br/> The table component’s secure hole has been moved to accommodate the Lack’s hardware located directly under/middle of the component.</p> <p>The leg component labeled ‘Leg’ is designed to be flush to all corners of the bottom leg.</p> <p>I recommend using a drill to create pilot holes for the Top and bottom components prior to securing them in with the main screw. This is not necessary but will make the installation process easier.</p> <p>Be sure to keep the outer hole on the ‘Table’ component facing out so you can access the hole.</p> <p>Lastly, when the male and female ends are joined one screw is needed in the middle to join the two components as one.</p> <p>Overall it feels solid, even when four lack tables are stacked on top of eachother.</p> <p>Thanks for checking out my print and design. I hope it can be of help to people.</p> <h3>Print instructions</h3><p>You can print this at any speed and any infill 5% and over.</p> <p>I have included a PLA and PETG version of the model. Please use each one respectively with the correct filament type. This will yield the best adhesion and results.</p>
With this file you will be able to print Lack Stack Mount with your 3D printer. Click on the button and save the file on your computer to work, edit or customize your design. You can also find more 3D designs for printers on Lack Stack Mount.
