Lack Enclosure
thingiverse
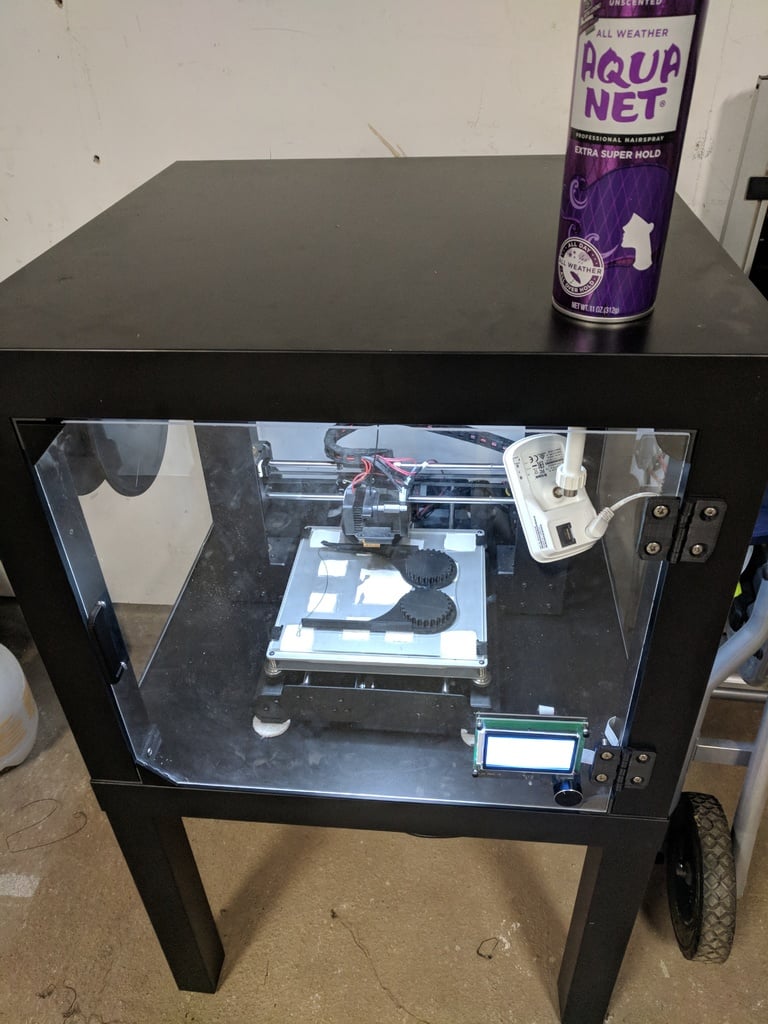
As so many others have done first, I will present my rendition of the Lack Enclosure for my Monoprice Maker Select V2. This enclosure can be customized to fit many printers out there. The enclosed area is slightly larger than 17.5"W x 17.5"D x 15.5"H. Using a Dremel Tool, I modified the Plexiglas walls and door to accommodate my spool holder (2nd picture), my printer controls, and a hole for my printer wires to exit the back of the enclosure. The power supply, printer controller, and my raspberry pi are mounted underneath the enclosure in a plastic bin (3rd picture). PARTS LIST Printed Parts -Top_Back_Brackets.stl (2x) -Top_Front_Left_Brackets.stl (1x) -Top_Front_Right_Brackets.stl (1x) -Bottom_Back_Brackets.stl (2x) -Bottom_Front_Left_Brackets.stl (1x) -Bottom_Front_Right_Brackets.stl (1x) -Filament_Tube_without_Sensor.stl (1x) -Door_Corner.stl (2x) -Door_Handle.stl (1x) -Thing: 1083876 (2x) Purchased Parts -Lack Side Tables (2x) -Plexiglas - .118 thick cut to 15.5"x17.25" (4x) -Screws - #8 x 3/4" (24-32x) -Magnets 0.33"D x .125 thick (I found at Hobby Lobby) (4x) NOTES: -Magnets are inserted into the door corners (one in each of the 2) and the remaining two magnets are hot glued behind the corresponding door bumps. -For my printer, I removed the electronic components from the steel casing it came in (**voiding any warranty I may have had**) and mounted most of them underneath the enclosure, except the screen which is mounted in the door. MORE DETAILS COMING SOON -I also mounted a light inside the enclosure running a wire from my power supply (12V) to a switch i mounted on the left wall then running up to an Angel Eye.
With this file you will be able to print Lack Enclosure with your 3D printer. Click on the button and save the file on your computer to work, edit or customize your design. You can also find more 3D designs for printers on Lack Enclosure.
