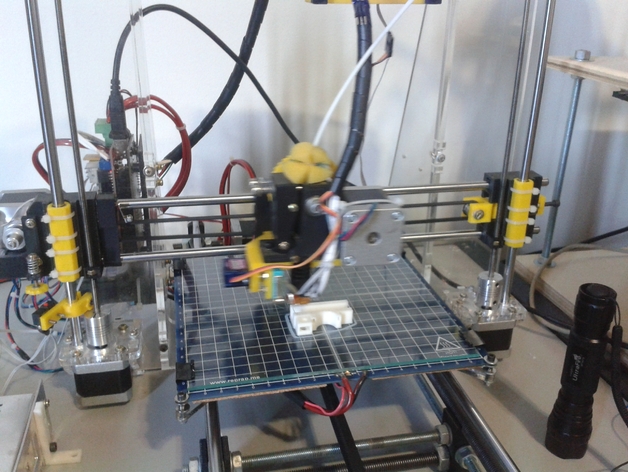
Kuro's i3 X axis
thingiverse
Upon making modifications to my i3 printer, I became content with its X-axis performance. To print components accurately, use a layer height of 0.3mm or lower and an extrusion width of 0.5mm or less. The bearings/bushings are anchored using zip ties in designated holes. For easier zip tie insertion, bend the tip into a J-shape resembling a hook. If encountering nut alignment issues, use a soldering iron to help it slide into place. The tensioner is designed for two 624 or F624 bearings to fit side by side.
With this file you will be able to print Kuro's i3 X axis with your 3D printer. Click on the button and save the file on your computer to work, edit or customize your design. You can also find more 3D designs for printers on Kuro's i3 X axis.
