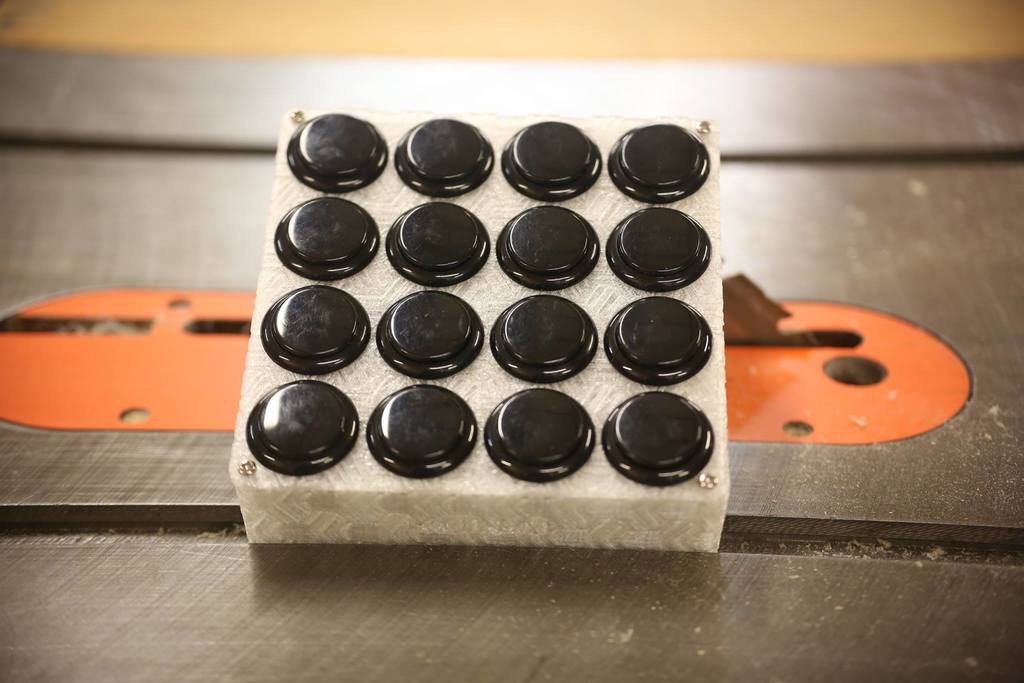
Kunai MIDI Controller
thingiverse
This is a DIY MIDI controller that can almost fully be created from scratch! To build this MIDI controller, gather these materials: You'll need: - 16 high-quality SANWA arcade pushbuttons (or anything with the same pinout) Note: Avoid using cheap arcade buttons; they have different pinouts than top brands like SANWA or HORI. - 32 female fuse clip connectors to connect the buttons to the PCB (available at https://www.digikey.ca/product-detail/en/keystone-electronics/3557/36-3557-ND/2092485) - A Teensy micro controller - A blank PCB - PCB transfer paper Print the included PDF at 100% onto transfer paper to make the PCB. You'll find two images of the PCB to avoid wasting transfer paper. If you prefer not to use a PCB, connect each push button directly to ground and an individual pin. However, note that the included .ino file won't map correctly without the PCB.
With this file you will be able to print Kunai MIDI Controller with your 3D printer. Click on the button and save the file on your computer to work, edit or customize your design. You can also find more 3D designs for printers on Kunai MIDI Controller.
