Kossel Mini Base
prusaprinters
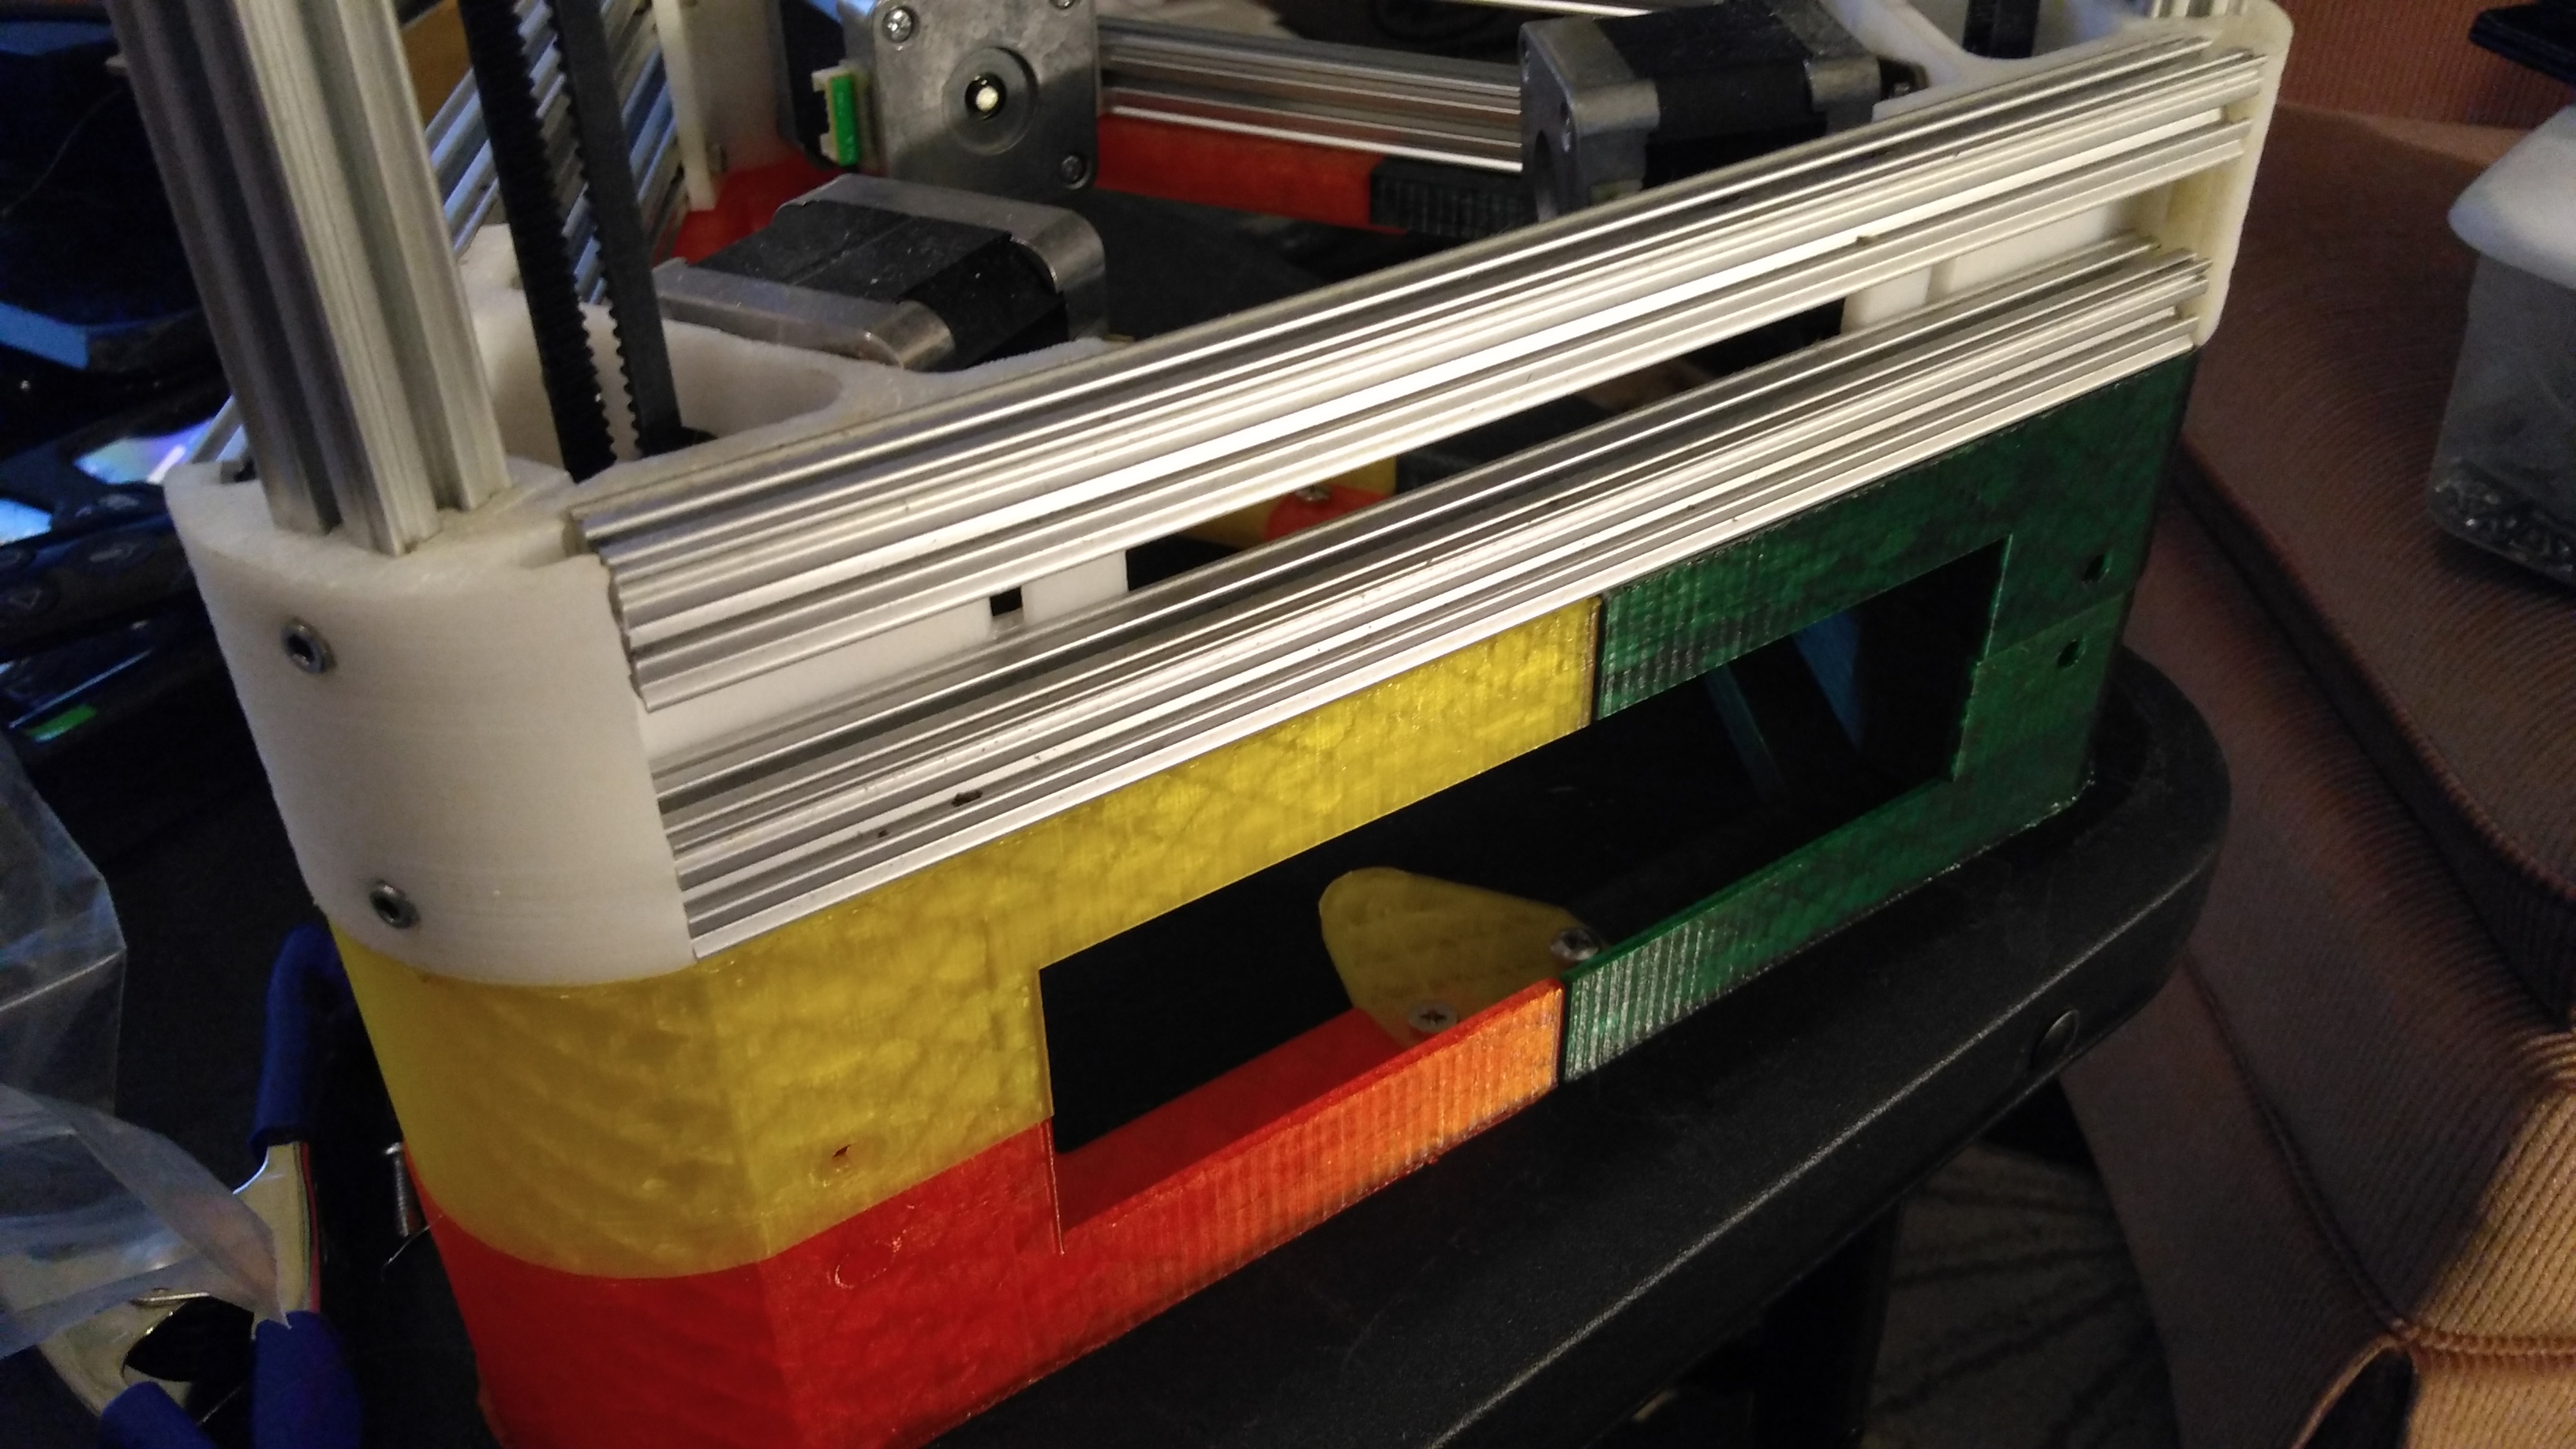
<p>jd52wtf made a nice base for the Kossel Mini that I printed out. Alas, it had one fatal flaw. It's missing pieces, pictured on the original, that connect the top brackets to the bottom brackets on the base.</p> <p>I've created a part and added it in as Pillar_Connector-Rev_2_X_3. I've also corrected the orientation of the rest for easier printing. If you already have the other pieces you only need the Pillar Connector.</p> <p>It might also be desirable to stiffen up the design a bit more.. I'll be reworking it later if I'm not satisfied with the way it works. Be aware that the insert has zero tolerance so try one first and reprint with a slight shrink on the X/Y if necessary</p> <p>M4 threaded bolts were used for the connections. I'm not totally happy with their grip and may end up redesigning the whole contraption around better fastening methods allowing for a nut and washer.</p> <p>Find more of my work at <a href="https://pcburn.com">https://pcburn.com</a></p> <h3>Print instructions</h3><h3>Category: 3D Printer Parts Print Settings</h3> <p><strong>Printer Brand:</strong> Rostock</p> <p><strong>Printer:</strong> <a href="http://amzn.to/2GEXcmB">Rostock MAX V2</a></p> <p><strong>Rafts:</strong> No</p> <p><strong>Supports:</strong> No</p> <p><strong>Resolution:</strong> .2</p> <p><strong>Infill:</strong> 15%</p> <p><strong>Notes:</strong></p> <p>On the Rostock it printed just fine with 15% infill and 3 layers on top. Your mileage may vary.</p> <h3> How I Designed This</h3> <p>Scratch built the additional connector from the original pillars interior dimensions in Sketchup.</p>
With this file you will be able to print Kossel Mini Base with your 3D printer. Click on the button and save the file on your computer to work, edit or customize your design. You can also find more 3D designs for printers on Kossel Mini Base.