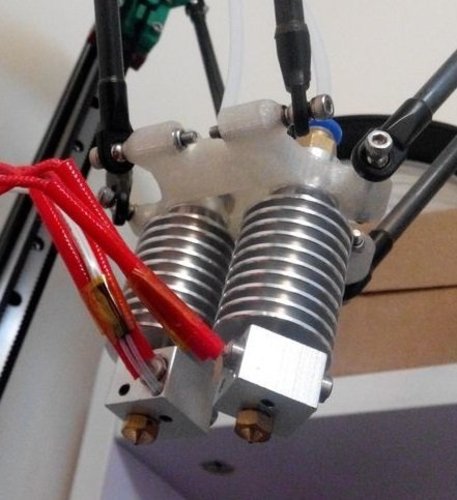
Kossel Dual 3D Printer
pinshape
Upgrading the Kossel Mini 3D printer to dual extruders is a relatively straightforward process that requires some mechanical and electrical modifications. The process involves installing two separate hotends, one for each color or material being printed, along with additional components such as dual nozzles, fan shroud, and temperature control systems. First, prepare the Kossel Mini by disassembling it to access the inner mechanisms. This will allow you to install the new dual extruder assembly. Begin by installing the two hotends on either side of the existing print head. Next, connect the dual nozzles to the hotends and attach them to the print head using the provided screws. After securing the dual nozzles, attach the fan shroud to the top of the print head to direct airflow towards the extruders. This will help cool the filaments during printing. Connect the temperature control systems to the hotends to monitor and regulate the temperature of each extruder. Reassemble the Kossel Mini by putting back all the components you removed earlier, making sure not to overtighten any screws or bolts. Once reassembled, connect the power supply and test the dual extruders by printing a test object with different colors or materials. Make necessary adjustments as needed to achieve optimal results. The modified Kossel Mini 3D printer is now capable of printing complex objects with multiple colors or materials, expanding its capabilities and versatility in various applications such as prototyping, model making, and artistic creations.
With this file you will be able to print Kossel Dual 3D Printer with your 3D printer. Click on the button and save the file on your computer to work, edit or customize your design. You can also find more 3D designs for printers on Kossel Dual 3D Printer.
