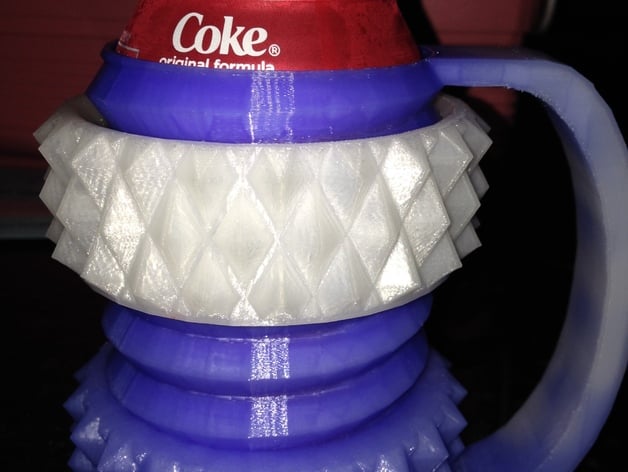
Knurled Nut & Bolt Koozie
thingiverse
Based off the Makerbot Nut & Bolt demo piece, I expanded it to fit a standard sized drink can by adjusting the dimensions and structure to accommodate this larger scale. To achieve this unique result, it's essential to print with at least two shells. One effective method involves printing the nut first, then printing the mug as a separate object. At about 75% completion, pause the print job and screw the nut onto its base on the mug before resuming the printing process. The critical detail lies in allowing the material to build approximately half an inch above the top of where the nut would rest at the base of the screw thread for optimal strength and a smooth finish. The parameters used in this printing were standard Makerbot Settings, specifically the medium level of material. Additionally, I utilized the default width settings for two shells to achieve a precise and accurate print result. If you intend to add any engravings or patterns to the underside of the object, it's advisable to adjust the depth accordingly. A suggested depth for debossing purposes is approximately 1mm, ensuring that the desired design or message stands out effectively while maintaining structural integrity.
With this file you will be able to print Knurled Nut & Bolt Koozie with your 3D printer. Click on the button and save the file on your computer to work, edit or customize your design. You can also find more 3D designs for printers on Knurled Nut & Bolt Koozie.
