Knuckle-Duster - Hanger
pinshape
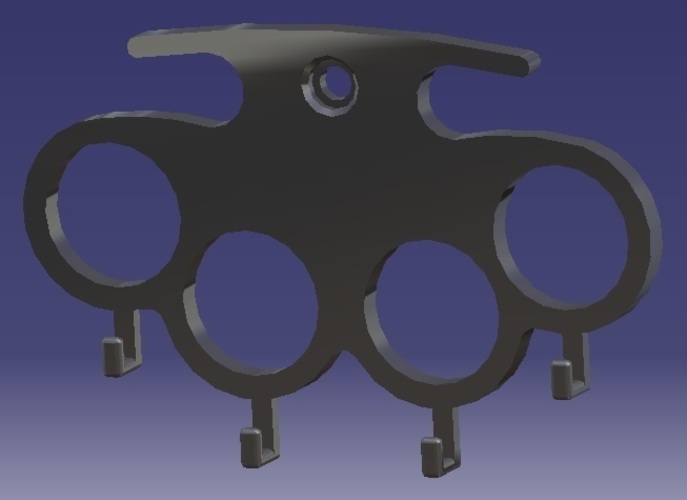
Designing a durable hanger for a knuckle-duster requires careful consideration of its structural integrity and functionality. In this tutorial, we'll create a rugged hanger using CATIA V5, a powerful 3D computer-aided design (CAD) software. First, launch CATIA V5 and select the "Part Design" workbench. Then, click on "Create Part" to start designing your hanger. Next, add a new sketch by clicking on the "Sketch" button. Choose the "Circle" tool and draw a circle with a diameter of about 20 mm. Now, let's create the main body of our hanger. Click on the "Extrusion" tool and select the previously created circle as the base feature. Define the extrusion direction by clicking on the "Direction" button and selecting the Z-axis. Set the height to about 100 mm and click "OK". To add some strength to our hanger, let's create a reinforcement rib. Click on the "Sketch" button again and draw a rectangle with dimensions of about 50x20 mm. Place this sketch below the main body of the hanger, making sure it's centered. Next, we'll use the "Molded Feature" tool to add some curvature to our hanger. Select the entire part and click on the "Molded Feature" button. Choose the "Spherical" option and set the radius to about 10 mm. Click "OK" to apply the feature. Now that we have our basic hanger design, let's focus on creating a secure attachment system for the knuckle-duster. Click on the "Assembly Design" workbench and create a new assembly. Add the hanger part from the previous step as a component in this assembly. To attach the knuckle-duster to the hanger, we'll use a simple screw mechanism. Create a new part for the screw by using the "Part Design" workbench again. Draw a cylindrical shape with a diameter of about 5 mm and a length of about 20 mm. Next, create a hole in the center of our hanger where the screw will go. Click on the "Hole" tool and select the Z-axis as the direction. Set the diameter to about 5 mm and click "OK". Now that we have our parts ready, let's assemble them together. Select the screw part and drag it into the assembly from the previous step. Place the screw in the hole created earlier. Finally, let's add some cosmetic touches to our design. Click on the "Surface" workbench and use the "Sweep" tool to create a smooth surface around our hanger. Set the sweep direction to the Z-axis and click "OK". With these steps, you've successfully designed a sturdy hanger for your knuckle-duster using CATIA V5. This rugged design is perfect for withstanding rough handling and ensuring your weapon remains securely in place at all times.
With this file you will be able to print Knuckle-Duster - Hanger with your 3D printer. Click on the button and save the file on your computer to work, edit or customize your design. You can also find more 3D designs for printers on Knuckle-Duster - Hanger.