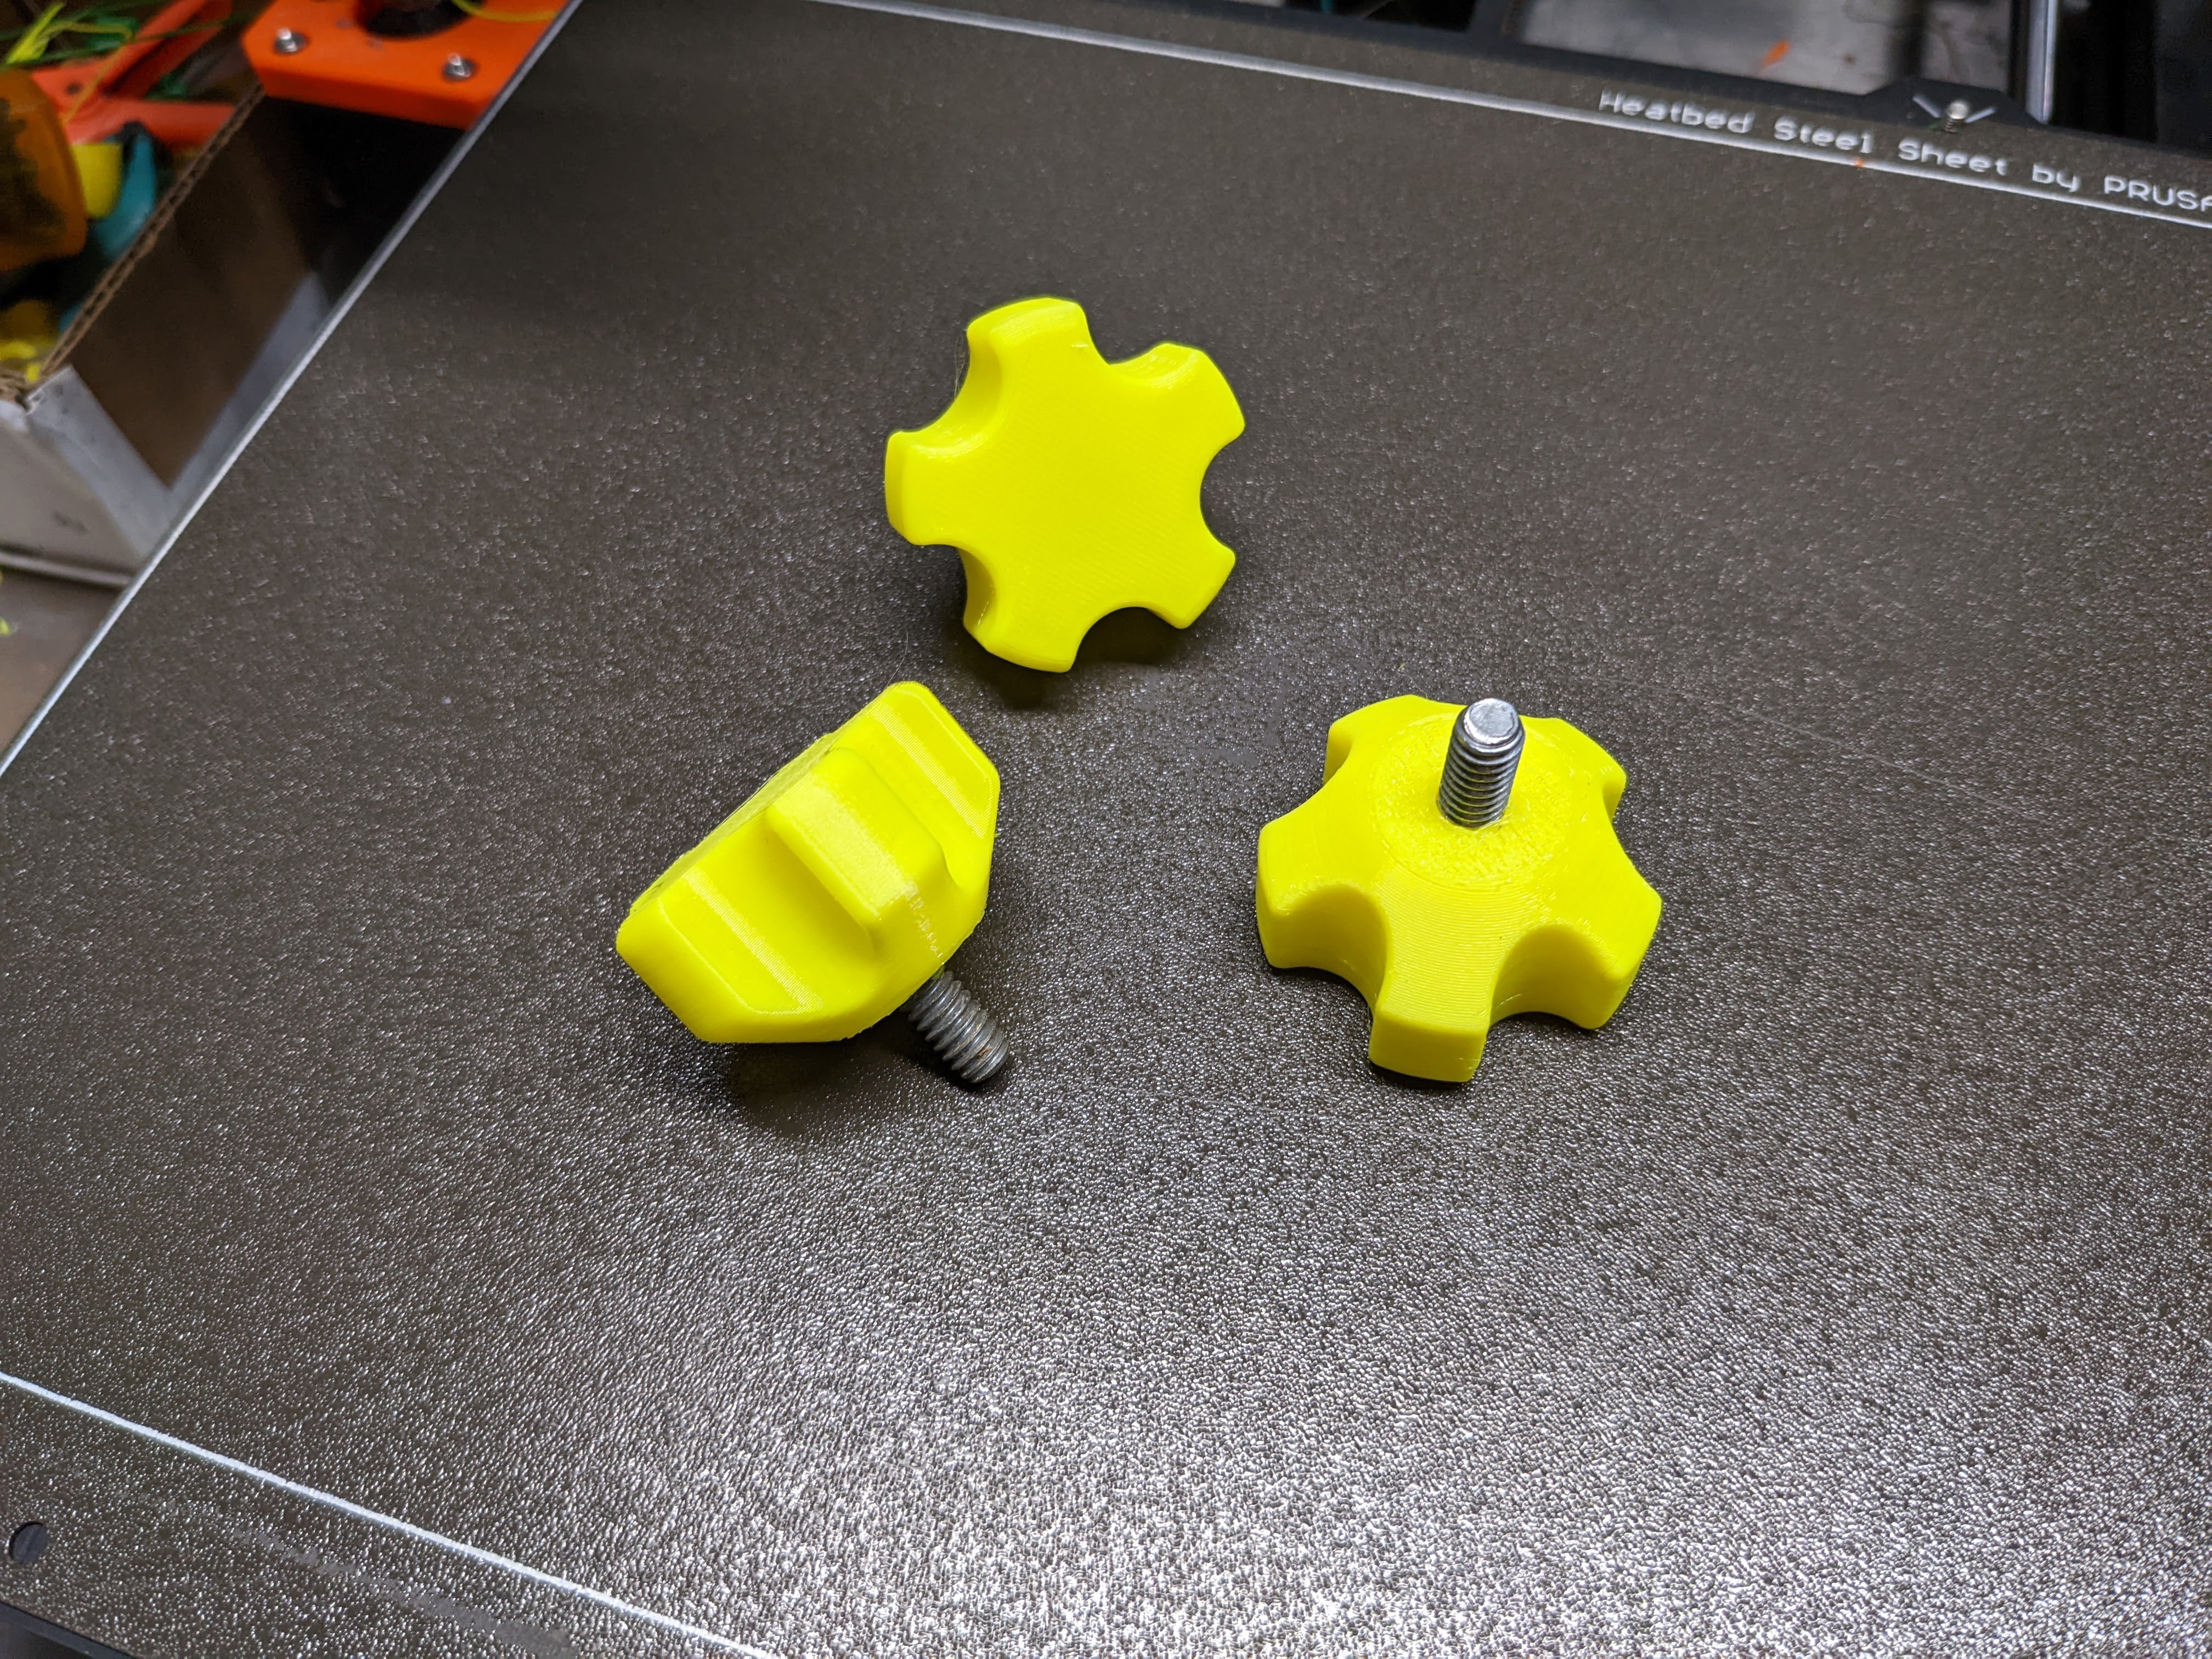
Knob with Enclosed Hex Screw - 1/4 Inch and M6 Metric
prusaprinters
<p>[Note : If you use OctoPrint, see special note below.]</p><p>This print will create a knob with an embedded ¼" X 1" or M6 x 25mm hex bolt. Bolts of different length can be used with a simple modification explained below.</p><p>This print is the result of a discussion in this group :</p><p><a href="https://groups.io/g/3D-Printing-for-Metal-Hobbyists/messages">3D Printing for Metal Hobbyists</a></p><p>The discussion was about methods for printing a knob with a fully enclosed hex head screw. Typically knobs of this type use a hex bolt or nut which is inserted in the completed print, as shown in the reference re-mix (this print is not really a re-mix, but I included the reference as an alternative method).</p><p>The goal was to design a print which would fully enclose the head of the hex bolt, and would work for hex bolts of different lengths. In the ideal case, this would be done without support material, or at least minimal support material (my solution). </p><p>My method was to </p><ul><li>create a knob design with an internal hexagonal pocket </li><li>print until the pocket is fully formed, then pause the print</li><li>insert the hex bolt into the pocket</li><li>resume printing and complete the print</li></ul><p>Since the hex bolt will protrude downward through the knob, it is necessary to somehow “raise” the print above the print bed to allowance clearance for the bolt thread. See the print instructions below on how this is done.</p><p> </p><h4>Note for OctoPrint Users</h4><p>For the <i>pause</i> instruction to work properly when you are using OctoPrint, you must make the following configuration additions [go to <i>Settings</i> and select <i>GCode Scripts</i>]:</p><ul><li><code>M601</code> in <code>After print job is paused</code></li><li><code>M602</code> in <code>Before print job is resumed</code></li></ul><p>See here for more details :</p><p><a href="https://github.com/prusa3d/Prusa-Firmware/issues/3148">https://github.com/prusa3d/Prusa-Firmware/issues/3148</a></p><p> </p><h4>Print Instructions</h4><p>Print in PETG using the provided 3mf or gcode files. Note that your printer must accept the <i>pause</i> command. After starting the print, wait for the print to pause, then insert the bolt and restart the print.</p><p>Before printing, the knob must “raised” above the print bed as follows :</p><ul><li>Using the “Add part” option in PrisaSlicer, create a small cylindrical part</li><li>Add <i>Infill</i> and <i>Layers and perimeters </i>settings to the cylinder and change all settings to zero so that the cylinder will not print</li><li>Center the part in the hole in the bottom of the knob</li><li>Use <i>Paint-on-supports</i> to add support enforcers to the bottom of the knob (flat part only). </li><li>Adjust the Z position of the part to move it just below the bed</li><li>Merge the part with the knob</li><li>Use the “Drop to bed” position option to place the merged parts on top of the bed</li><li>Select <i>Supports : For support enforcers only</i></li></ul><p>The cylindrical part should have the same diameter as the hole for the screw threads. Adjust the height of the cylinder to be the length of the screw.</p><p>The following <i>Support material</i> settings should be modified :</p><ul><li>Style : Snug</li><li>Pattern angle : 90</li><li>Interface pattern spacing : 0.6</li></ul><p> </p><h4>CAD</h4><p>The OnShape 3D CAD files for this are here :</p><p><a href="https://cad.onshape.com/documents/338cab86041df567373c75f2/w/5a5a1c35b9191efd3db37149/e/4a8c2a9b3898882b06e55ced">https://cad.onshape.com/documents/338cab86041df567373c75f2/w/5a5a1c35b9191efd3db37149/e/4a8c2a9b3898882b06e55ced</a></p><p> </p>
With this file you will be able to print Knob with Enclosed Hex Screw - 1/4 Inch and M6 Metric with your 3D printer. Click on the button and save the file on your computer to work, edit or customize your design. You can also find more 3D designs for printers on Knob with Enclosed Hex Screw - 1/4 Inch and M6 Metric.
