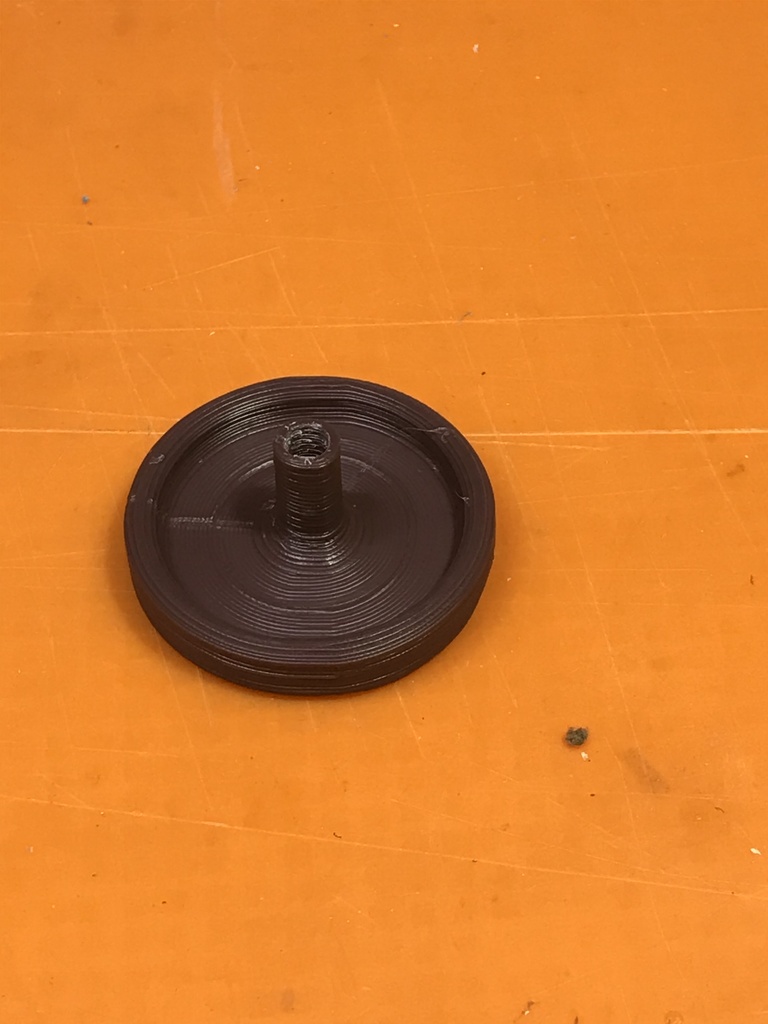
KNOB - IKEA UPPHETTA Coffee/tea maker
thingiverse
Replacing a Knob on an IKEA Upphetta Coffee Maker is a Relatively Simple Process Start by gathering your tools and parts, including the replacement knob, a screwdriver, and possibly some wire nuts. Locate the old knob on your coffee maker and take note of how it's attached. On most models, you'll find small screws or clips holding it in place. Begin by removing any visible screws with your screwdriver. If there are no screws, you may need to use a bit of force to pry the old knob off. Be careful not to damage any surrounding parts. Once the old knob is removed, take a look at how it was connected to the machine. You may see wires or a small rod connecting it to the internal workings. To install your new knob, start by aligning it with the machine's opening. You'll likely need to screw it into place, so make sure it's securely fastened before moving on. If there are any wires or rods that were attached to the old knob, reconnect them to the new one. Make sure they're secure and not loose. Test your coffee maker by brewing a cup of coffee or tea to ensure everything is working properly. If you encounter any issues, double-check that the knob is securely fastened and that all connections are intact. With a bit of patience and some basic tools, replacing a knob on an IKEA Upphetta Coffee Maker is a task that can be completed in just a few minutes.
With this file you will be able to print KNOB - IKEA UPPHETTA Coffee/tea maker with your 3D printer. Click on the button and save the file on your computer to work, edit or customize your design. You can also find more 3D designs for printers on KNOB - IKEA UPPHETTA Coffee/tea maker.