KlipperScreen Housing
prusaprinters
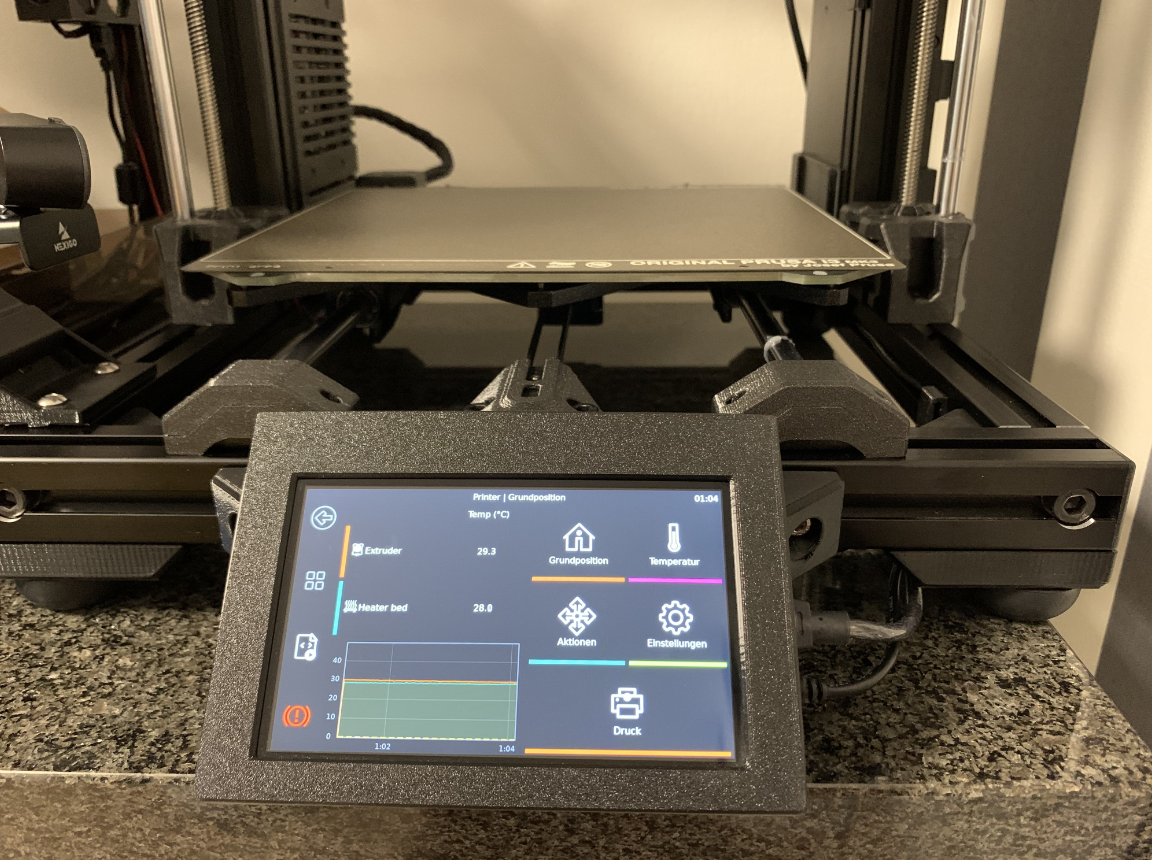
<h3>KlipperScreen Housing</h3><p>This is my solution to upgrade one of my printers (that is currently mostly like a Caribou Cartesian (https://caribou3d.com/de/3-caribou-3d-drucker)) to use Klipper and KlipperScreen.</p><p>To run Klipper (https://www.klipper3d.org), i used an Raspberry Pi, that's screwd to a 5 inch Touchscreen. The USB ports of the Pi are still accessible and are used to connect the Pi to the printer mainboard and to a USB webcam.</p><p>Everything is quite easy to install. I used a Rasbian Lite image and Kiauh (https://github.com/th33xitus/kiauh) to install all components.</p><h4>BOM</h4><p>I used the following things for my build</p><ul><li>Housing (see STL files)</li><li>Bracket (see STL files)</li><li>5" Touchscreen for Raspberry Pi (https://www.amazon.de/gp/product/B093K2HDZF)<ul><li>Screws for mounting the Pi on back of the screen have been included in the package i bought from Amazon</li></ul></li><li>Raspberry Pi 3B (i had lying around from another project)</li><li>4 Spax 3x12 Torx (T10) screws to secure the screen with the bracket</li><li>90 degree Micro USB adapter (also from another project)<ul><li>It's something like this (https://www.amazon.de/gp/procuct/B015PTT290), but i'm not sure if this one fits, but it looks like it should. See the pictures for my Adapter.</li></ul></li></ul><h4>Assembly</h4><ul><li>screw the Pi on back of the Screen</li><li>connect the Pi with the cable to the screen</li><li>put the 90 degree Micro USB adapter in the Pi</li><li>place the screen with the Pi in the KlipperScreen Housing</li><li>place the bracket in the KlipperScreen Housing and secure it with the screws</li></ul>
With this file you will be able to print KlipperScreen Housing with your 3D printer. Click on the button and save the file on your computer to work, edit or customize your design. You can also find more 3D designs for printers on KlipperScreen Housing.