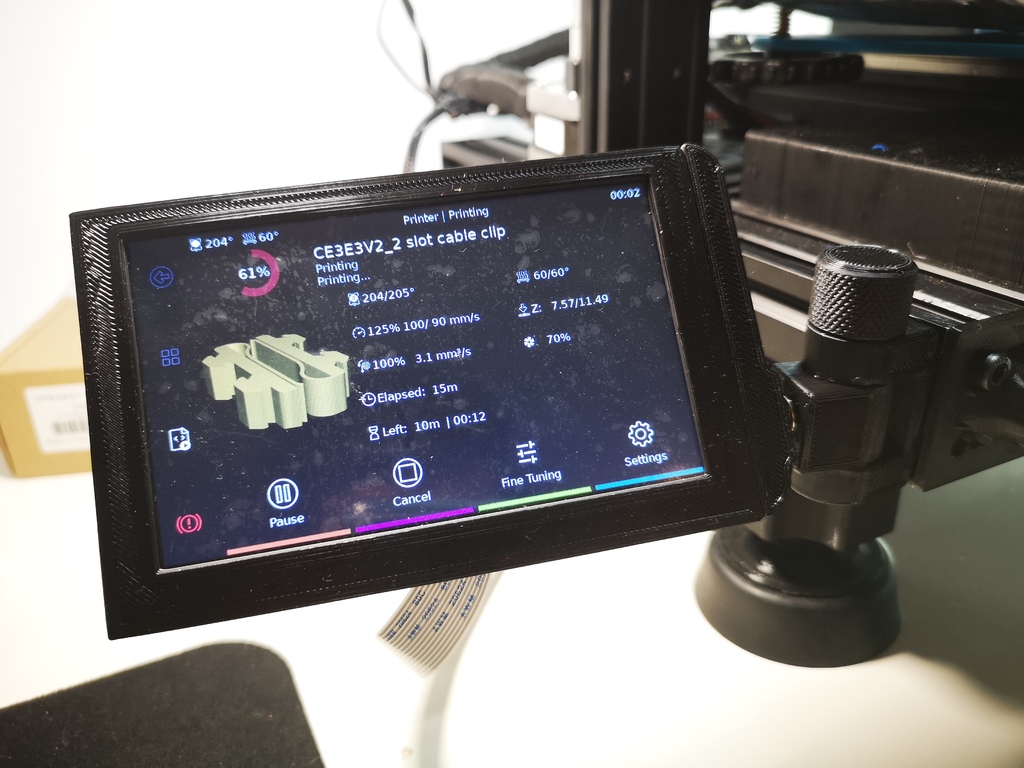
Klipperscreen ender 3 retractable console
thingiverse
Stock Ender3 screen was bothering me. Not so much because of the screen itself. but because of how it stuck out. Went with a RPi compatible screen to run klipperscreen, Mine is a 800x480 5'' unit from DFrobot -> model DFR0550 Wanted to have it coupled with the printer and not sticking out, minimizing footprint. designed this little console that is doublehinged. and very practical actually. BoM: 2 - M5 nuts 1 - M5x45 (for the vertical hinge) 1 - M5x16 (for the horizontal hinge) 2 - M3x5 (outer side of screen, screws directly on the side flanges of the backpanel) 2 - M3x12 (inner side of screen, screws direclty on the side flanges of the backpanel) 1 - Pen spring between the yellow and red parts for tension Instructions: 1 - Insert M5 nut on the housing on the hinge (yellow part); 2 - Attach coupler (red part) to the hinge with the smaller M5 bolt (don't forget the spring) and calibrate the tension; 3 - Install back and front panels on the screen and bolt the smaller M3 screws (outer side) 4 - Attach coupler using the bigger M3 bolts. There is a cutout for the lower M3 bolt for the allen wrench to fit 5 - pressure fit M5 nut to the knob; 6 - Insert bigger M5 bolt from below throughboth hinges and tighten with the knob. I recommend putting some lube in the plastic hinge interface. 7 -slide the console through the profile 8 - Bonus : added cable clips for the ribbon cable management below the printer that can be inserted through the cut that Ender 3 (non V2 non pro has) 9 - Profit.
With this file you will be able to print Klipperscreen ender 3 retractable console with your 3D printer. Click on the button and save the file on your computer to work, edit or customize your design. You can also find more 3D designs for printers on Klipperscreen ender 3 retractable console.
