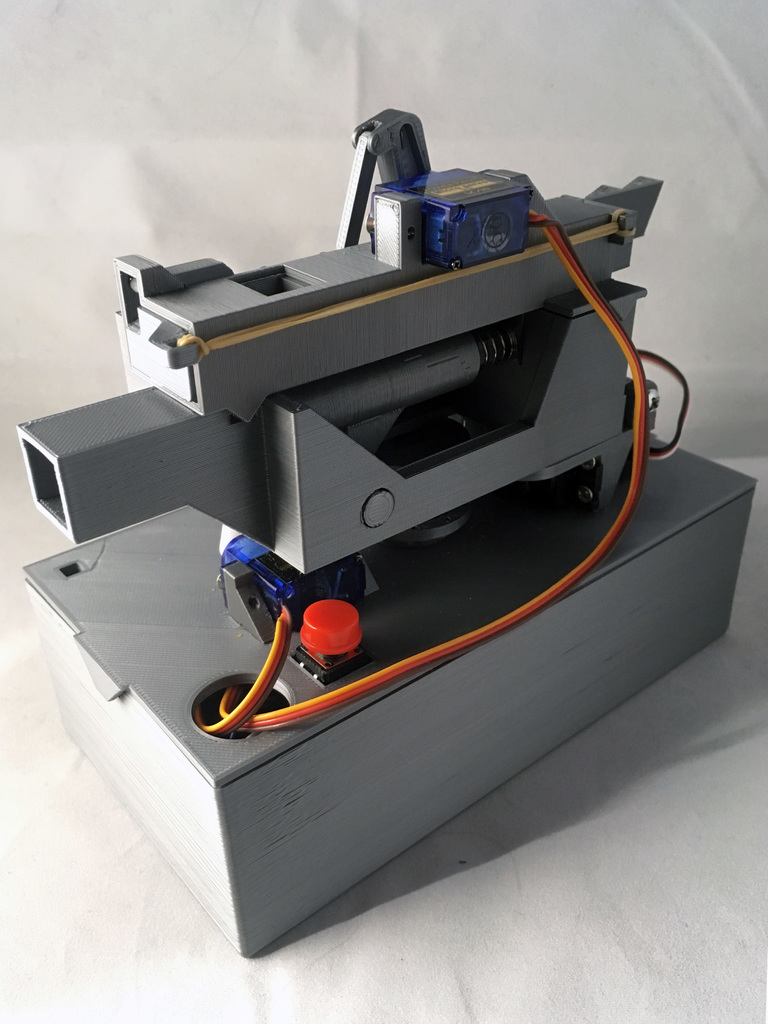
Kitty Candy Cannon
thingiverse
The code you've posted appears to be for an Arduino-based robot designed to fire a Nerf gun. It includes various functions for controlling the movement of servos, handling user input, and firing the cannon. Here's a breakdown of how the code works: 1. Setup Function: - Initializes all necessary pins and attaches servos to their respective pins. - Moves all servos to their starting positions. 2. Loop Function: - Checks if the start/stop button is pressed. If it is, the `repositionAndFire` function is called. 3. Reposition And Fire Function: - Calls the `reloadCannon` function to move the reload servo to its end position. - Moves the vertical and horizontal servos to random positions using the `moveServoRandom` function. - Fires the cannon by calling the `fireCannon` function. - Resets the position of the servos by calling the `resetPosition` function. 4. Reset Position Function: - Moves the vertical servo back to its minimum position and the horizontal servo back to its reset position. 5. Reload Cannon Function: - Moves the reload servo from its start position to its end position, then back to its start position after a delay of 1.5 seconds. 6. Move Servo Functions: - `moveServo`: A wrapper around `moveServoWithDelay` that takes into account the minimum and maximum possible positions. - `moveServoRandom`: Similar to `moveServo`, but chooses a random position within the specified range. - `moveServoWithDelay`: Moves a servo from an old position to a new position with the specified speed. It uses a loop to increment or decrement the servo's position until it reaches the target. 7. Fire Cannon Function: - Runs the motor to pull back and fire the spring-loaded Nerf gun. 8. Map Position Function: - Maps a value from one range to another, in this case, mapping positions of servos from 0-180 to 0-254. The hardware required includes an Arduino board, a motor/servo shield, breadboard components, Lego pieces for the cannon structure and battery holder, micro-servos for aiming, a standard servo for the reload mechanism, a Lego L-motor for firing, AA batteries for power, wire for connections, rubber bands, nuts & bolts for assembly, and glue.
With this file you will be able to print Kitty Candy Cannon with your 3D printer. Click on the button and save the file on your computer to work, edit or customize your design. You can also find more 3D designs for printers on Kitty Candy Cannon.
