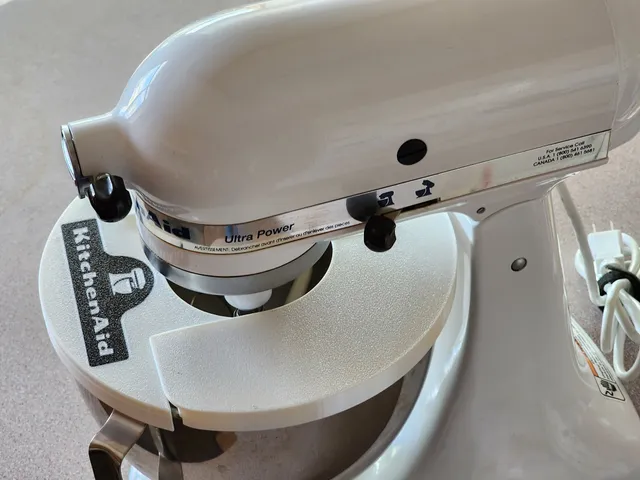
KitchenAid Mixer splash guard
prusaprinters
I wanted a textured surface on my print, so I remixed this to be able to print the parts laying flat on the 180x180mm bed.You'll need to print them with supports, but without a skirt or brim when printing on a Mini/Mini+; after which they'll need to be glued together.This lets you give your final top surface a nice texture (assuming that you like & own a textured print surface).I've also created a remix of the Splash Guard Door, by simply adding the KitchenAid logo.Note: The original designer appears to have made the lid/door to sit on top of the main cover. However, I find that it can slide below it and sits much better that way. Instructions for use of the G-code file to print the Splash Guard Door with the logo, using two different colours of generic PLA.Assuming that you're printing in White & Black the same as my print:1) Start with the White filament loaded on your Prusa Mini or Prusa Mini+2) About 18 minutes after it started printing, your Mini/Mini+ will begin the process of ejecting the White filament and then prompt you to insert the next filament (i.e. Black in my example).3) After about 9 minutes, the Black logo (consisting of two layers) is finished and your Mini will start ejecting the Black filament and then prompt you to insert the next filament (i.e. White in my example).4) Since that was the final filament change, you just need to sit back and let the remainder of your print complete (which should be about 2 hours & 7 minutes).
With this file you will be able to print KitchenAid Mixer splash guard with your 3D printer. Click on the button and save the file on your computer to work, edit or customize your design. You can also find more 3D designs for printers on KitchenAid Mixer splash guard.
