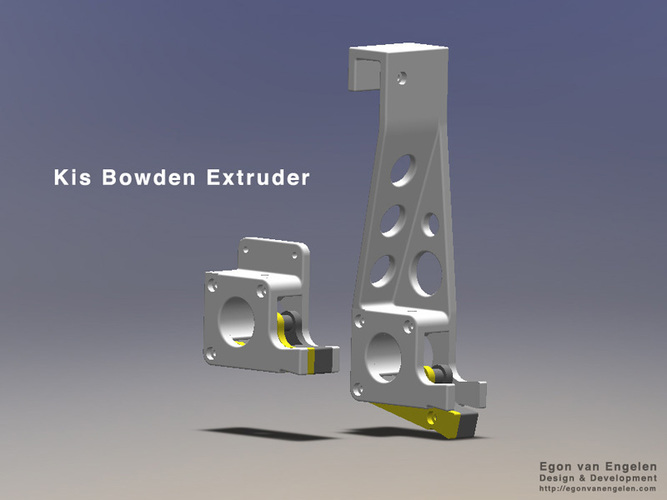
Kis Bowden Extruder
pinshape
Summary My previous extruder finally gave up, so I built a brand new one from scratch, and I opted to go with a fresh design since I was planning to hang it right above the printer. The result is a unique blend of features inspired by some of my favorite extruders, including the sleek acrylic model that came with my Kossel Clear printer from Blue Eagle Labs and another clever design on Thingiverse created by ChiggerPepi. So far, this new extruder has been working incredibly well for me, but I'm still tweaking it to make it even more efficient and versatile. If you decide to build one, I'd love to hear about your experience with it - just let me know if there's anything that could be improved upon! You can download the print-ready STL files or a zip file containing all the separate parts. For those interested in knowing which version of drive gear to use (MK7 or MK8), check out this helpful guide on Reprap.org: http://reprap.org/wiki/Drive-gear Instructions I printed my extruder with a .5mm thickness for both the bottom and top, as well as the shell. I also set my layer height to .15mm and opted for an infill of 30%. Be cautious not to drill all holes up to 3 mm after printing - two of them in the barring plate need to be threaded with M3 bolts. You should be able to thread these directly using M3 bolds. Additionally, I've increased the size of the holes where the tubing goes to 4.2mm, which will allow you to use tube-nuts. If you prefer to use tube connectors with M5 threading instead, simply drill these holes out to 4.5mm. This extruder is designed specifically for use with 1.75mm filament, but you might be able to get away with using it for 3 mm filament if you're willing to drill out the relevant holes.
With this file you will be able to print Kis Bowden Extruder with your 3D printer. Click on the button and save the file on your computer to work, edit or customize your design. You can also find more 3D designs for printers on Kis Bowden Extruder.