kingroon KP3 upgrade set
thingiverse
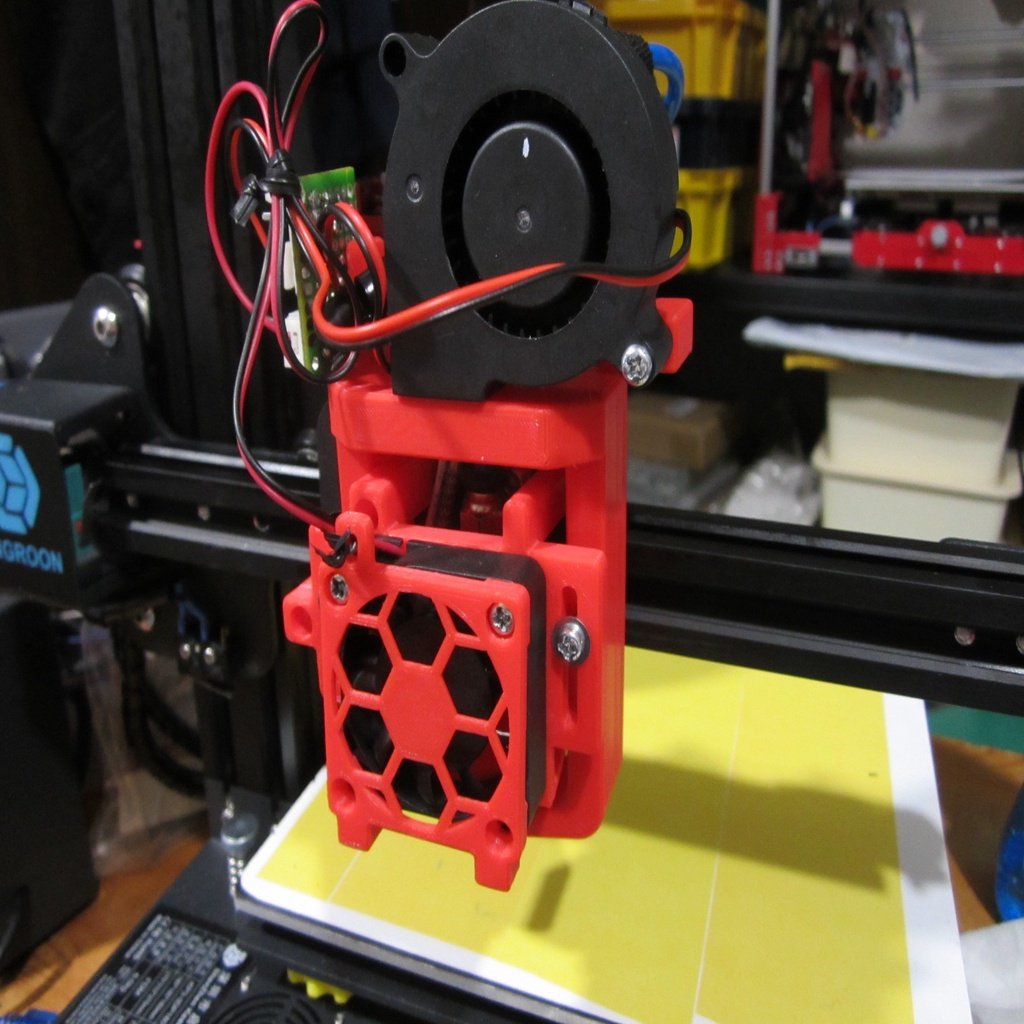
Fan Holder Base.stl, Fan Holder wFan.stl To install a 24V Blower Fan on the 5015, you will need to extend the wiring with an 80cm extension cable and M3-10mm x 4, M3-20mm x 3, and 2 M3 Washers. You can just screw them in and they will be self-tightening. Just don't overtighten the screws. Insert the extended connector of the 5015 into the fan connector marked with a pinset on the fifth photo. Note: The positive wiring of the blower fan is on the right when looking from the Y-axis motor side. Some blower fans may have reversed polarity. The Y-type jig (fan_holder_jigu.stl) is used to adjust the height by moving the hotend to the center and then inserting it into the work fan nozzle, tightening the left and right screws, and adjusting the height. Fan Holder 40x40 LED.stl is used when attaching parts to the fan guard. When not using any parts, use either Fan Holder 40x40.stl or your favorite data. Zrod Nob.stl To install the Z-axis upper nob, simply insert it and then secure it with a 10cm tie band. Zrod Top.stl To install the Z-axis top guide, you will need to install two T-slot bolts M4, two M4-10mm, and one 608ZZ bearing. SD Card Guard (KP3_SDcade.stl) Insert the short end of the SD card into the slot at the top and secure it with double-sided tape. If the size doesn't match, you can modify the XAXIS_STEPS_PER_MM and YAXIS_STEPS_PER_MM values in robin_mini_config.txt to 80 and restart the machine.
With this file you will be able to print kingroon KP3 upgrade set with your 3D printer. Click on the button and save the file on your computer to work, edit or customize your design. You can also find more 3D designs for printers on kingroon KP3 upgrade set.
