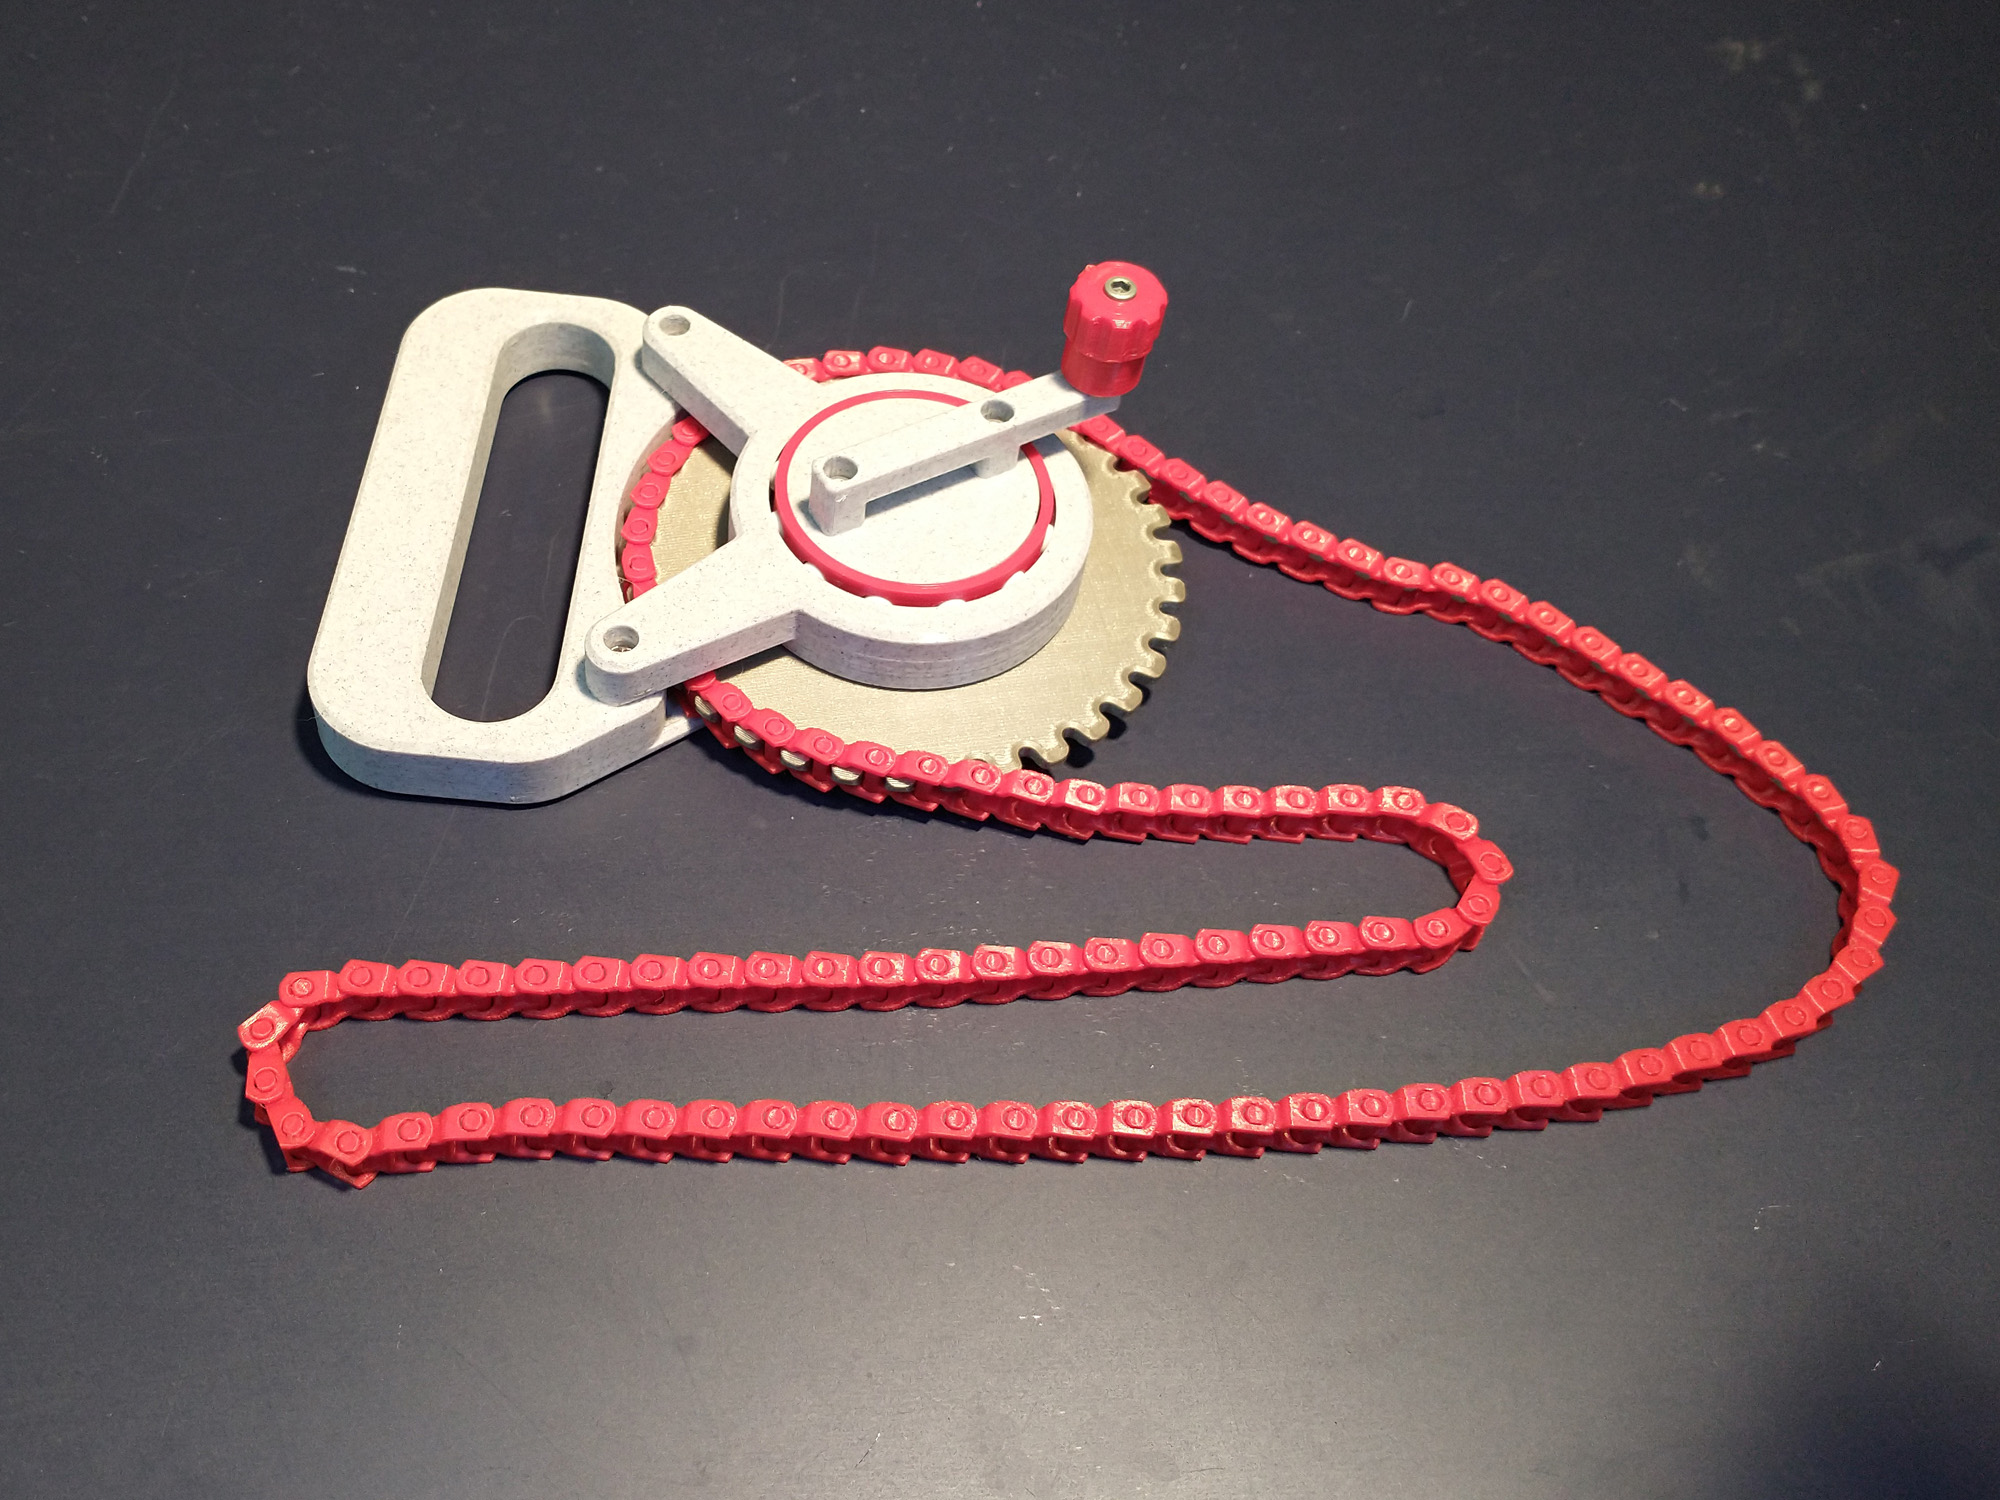
Kinetic Chain Demo
prusaprinters
<figure class="image image-style-align-left"><img src="https://media.printables.com/media/prints/296093/rich_content/b29d00df-765a-4675-9af2-6bea3ddb9da8/kchain.gif#%7B%22uuid%22%3A%228b8c3fe3-d84d-4495-9915-8764e552d9cc%22%2C%22w%22%3A190%2C%22h%22%3A338%7D"></figure><p><br>You've seen those string fountain toys that shoot a loop of string, creating weird loopy patterns. I got it in my head to create the same sort of thing but using roller chain. It turns out the dynamics look quite different, but still interesting. Both demonstrate the phenomenon of standing waves in an unconstrained moving flexible chord. The patterns created in the chain when you change speeds slowly morph as energy is lost in the chain link friction.</p><p>This demo thingy uses a 1:6 planetary speed multiplier to get things going, driving a <a href="https://www.printables.com/model/283151-roller-chain-and-sprockets">3D printed roller chain</a> on the large sprocket. The animation shown was done with 80 links in the chain. You can get different effects and behaviors by experimenting with more or fewer links.</p><p> </p><p> </p><p><strong>Printing</strong><br>Print 3 of the gear24 parts, 80 of the roller chain links (or more for experimentation), and one each of the rest of the parts. I would recommend PLA, but other filaments would probably work as well. Use a 0.2mm or finer layer height. All parts print without supports.</p><p><strong>Assembly</strong><br>In addition to the 3D printed parts, you will need:<br>12 - airsoft BBs (or any other 6mm diameter metal or plastic balls) <br>5 - 6-32 x ½" socket cap screws (or M4 x 12mm long)<br>4 - 6-32 nuts (or M4)</p><p>Then proceed with the following steps:<br> </p><figure class="table"><table><tbody><tr><td><figure class="image"><img src="https://media.printables.com/media/prints/296093/rich_content/264b3c84-23a3-4fbf-b81a-67ee1d29b88c/kchain3.jpg#%7B%22uuid%22%3A%224c409b8b-fc2a-43e6-b22d-a3b5c073b175%22%2C%22w%22%3A2000%2C%22h%22%3A1500%7D"></figure><p>Hold the ring60 part vertically in a vise and (carefully!) stack 12 balls in the race groove.</p></td><td><figure class="image"><img src="https://media.printables.com/media/prints/296093/rich_content/a4f37412-c1eb-4a43-9ed6-c813f096ff38/kchain4.jpg#%7B%22uuid%22%3A%22a1d22cf4-bd7b-4761-89b4-9c03d629aab0%22%2C%22w%22%3A2000%2C%22h%22%3A1500%7D"></figure><p>Tilt the spider piece into the row of balls, trying not to dislodge any of them.</p></td></tr><tr><td><figure class="image"><img src="https://media.printables.com/media/prints/296093/rich_content/d32dbf5a-f1b3-4b21-ad46-f17debf77acd/kchain5.jpg#%7B%22uuid%22%3A%22fa01544b-667a-40ae-9950-14e9aae1ae6d%22%2C%22w%22%3A2000%2C%22h%22%3A1500%7D"></figure><p>Carefully space the balls evenly around the circumference. The minute you start sliding the balls apart, they'll all be locked in place, and you can stop holding your breath.</p></td><td><figure class="image"><img src="https://media.printables.com/media/prints/296093/rich_content/c52ab1a1-3a07-4cbc-98f1-1b7c14fa226d/kchain6.jpg#%7B%22uuid%22%3A%229af13692-9baf-4c99-94f7-20e0427058e8%22%2C%22w%22%3A2000%2C%22h%22%3A1500%7D"></figure><p>Press the ball cage in over the balls. You'll probably have to tease the balls into position with something pointy as you go.</p></td></tr><tr><td><figure class="image"><img src="https://media.printables.com/media/prints/296093/rich_content/cde01bd3-ce05-4632-a887-e66194d55b35/kchain7.jpg#%7B%22uuid%22%3A%2233fa37e7-5468-4cfd-bdcc-adaa20f593b8%22%2C%22w%22%3A2000%2C%22h%22%3A1500%7D"></figure><p>Assemble the knob onto the crank with one of the screws. It should be left loose so the knob can rotate. Using 2 nuts on the inside of the spider and 2 more screws, assemble the crank to the spider.</p></td><td><figure class="image"><img src="https://media.printables.com/media/prints/296093/rich_content/f7e9d800-e0cb-4a1b-a833-7e4c65cdf225/kchain8.jpg#%7B%22uuid%22%3A%22c8697f8d-18f0-4e15-8d70-552d56fc383a%22%2C%22w%22%3A2000%2C%22h%22%3A1500%7D"></figure><p>Slip the 3 gear24 parts over the posts of the spider. At this point, you may want to apply a little light grease or vaseline to the gears for lubrication. (Although the grease is not really necessary.)</p></td></tr><tr><td><figure class="image"><img src="https://media.printables.com/media/prints/296093/rich_content/cd1fabb5-5063-4128-9864-8f3e220e76da/kchain9.jpg#%7B%22uuid%22%3A%22419e1050-4cdc-4ace-a27a-12b72087a5e5%22%2C%22w%22%3A2000%2C%22h%22%3A1500%7D"></figure><p>Slide the sun gear side of the Sprocket/Sun part in between the three planet gears.</p></td><td><figure class="image"><img src="https://media.printables.com/media/prints/296093/rich_content/ee355f21-f866-4875-a9fe-06dbd5b994f8/kchain10.jpg#%7B%22uuid%22%3A%228cf59eaf-7c15-4d1b-a11a-468068dd1019%22%2C%22w%22%3A2000%2C%22h%22%3A1500%7D"></figure><p>Using 2 more nuts and 2 more screws, attach the handle to the gearbox assembly.</p></td></tr></tbody></table></figure><p>Lastly you'll need to assemble your roller chain <a href="https://www.printables.com/model/283151-roller-chain-and-sprockets">following the instructions here</a>. Make sure you work each link in well because the chain needs to have very little friction for this to work. Leave the chain open and thread one end onto the large sprocket and through the handle. Once through, just link the two ends of the chain together.</p><p><strong>Play</strong><br>You are now ready to spin away. It is easiest if you start with the chain hanging down from the handle. Start spinning slowly, and then start to vary speed, and even reverse the direction. Speed changes should be gentle, because abrupt changes will cause the chain to jam and fly apart. (This happens all the time.) If it does come apart, just click the ends back together and you are good to go again.</p>
With this file you will be able to print Kinetic Chain Demo with your 3D printer. Click on the button and save the file on your computer to work, edit or customize your design. You can also find more 3D designs for printers on Kinetic Chain Demo.
