Kids learning clock
prusaprinters
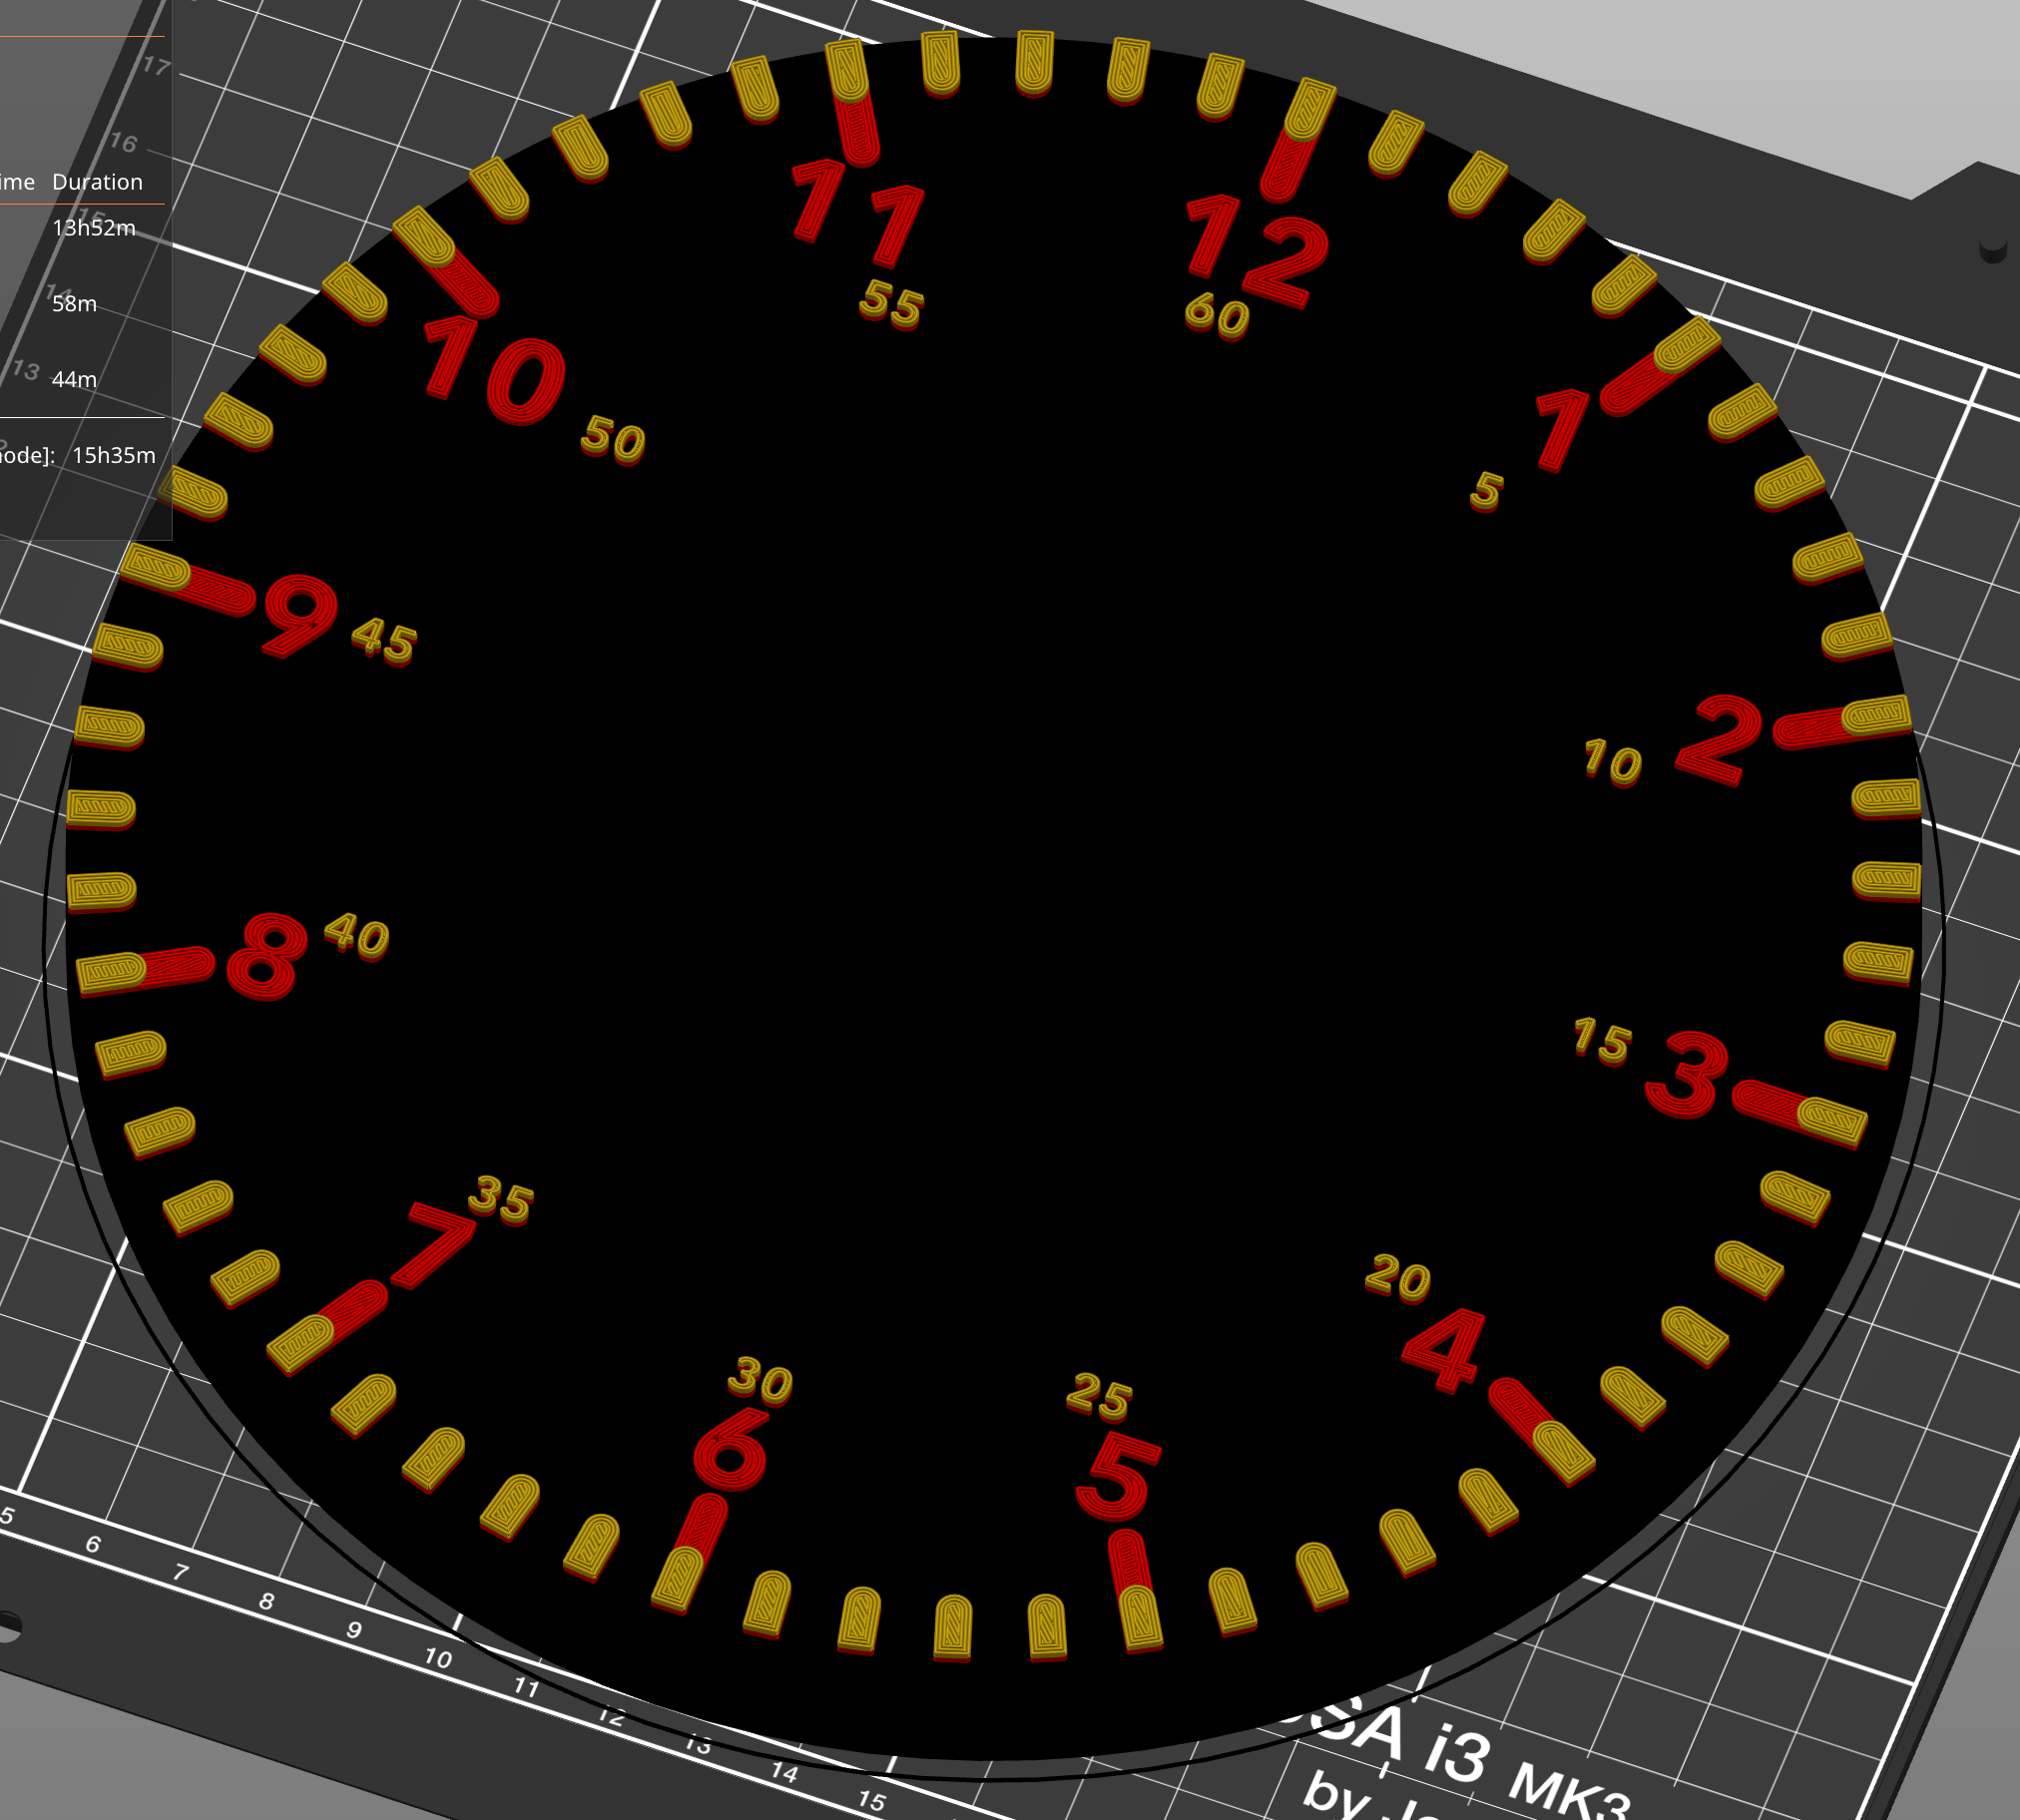
<p>My oldest kids of 7yo loves 3D printing and technology, he's becoming a real maker already. And I wanted to support this by creating a real clock with internal clockwork together with him. He loved doing this together!</p><h3>The design</h3><p>For the design I got inspired by the teaching clock (see link). That design is really clear for kids who are learning to read the clock, however I would create one with a real internal clockwork.</p><p>For the clockwork I bought the <a href="https://www.amazon.nl/gp/product/B07TXJ3KR4/ref=ppx_yo_dt_b_asin_image_o01_s00?ie=UTF8&psc=1">QLOUNI Ultra Silent Quartz</a> on Amazon. It silent so I can put the clock easily on the kids room without having this ticking noice. It does come with handles for hours, minutes and seconds, however they are too big and did not fit the color I wanted so I designed new handles, only for hours and minutes. The seconds handle I tried but is hell to get printed correctly. Therefore I have added a seconds cap so the end result still looks clean. For the cap I chose to print it in black, same color as the clock body. For the hour and minute handle I printed it in red and yellow so they match with the colors of respectively the hours and minutes on the clock.<br>The coloring is done because the hours are a few millimeters on top of the body, the seconds are double the millimeters on top of the body which makes coloring them with layer color changes easy!</p><p>The clockwork fits perfectly in the back of the clock body which also has insert for putting the clock against the wall with a nail/hook. </p><h3>Print instructions</h3><p>I printed the body in 3 colors, one color for the body, one for the hours and for the minutes. If you wonder why red, yellow and black, it's not because the clock I got inspired by used the same color, it's because we are from Belgium and supporting for the EUFA Euro 2020 :-)<br>Instead of 3 colors you could do 2 colors as well, one for the body and one for both minutes and hours.</p><p>The 3MF file included is predefined for 3 colors, so the 2 color changes are at layer 22.10 and 23.10.</p><figure class="image image_resized" style="width:50%;"><img src="https://media.prusaprinters.org/media/prints/69610/rich_content/158495a9-24f4-4a3f-a48a-388d2cd89cb6/screenshot-2021-06-21-at-232154.png#%7B%22uuid%22%3A%229324b781-38df-4f42-8f39-b6823eb7ba0f%22%2C%22w%22%3A560%2C%22h%22%3A578%7D"></figure><p>I recommend to print the body in PLA with quite basic settings at .10mm, only change I made was to put infill to 10% and it needs supports for the clockwork inset.</p><p>For the handles and the seconds cap I printed them at .5mm layer height, infill 0% (actually doesn't matter since it's too small).</p><h3>Putting the clock together</h3><p>First you need to insert the clockwork in the back of body, the orientation does not really matter, however I recommend to put the battery towards the bottom of the clockwork.</p><figure class="image image_resized" style="width:50%;"><img src="https://media.prusaprinters.org/media/prints/69610/rich_content/a4cb83ed-3af2-4722-967e-e849dd01ca16/pxl_20210621_214920112.jpg#%7B%22uuid%22%3A%22d03c1cfa-f508-439d-97aa-2cdc0a43669e%22%2C%22w%22%3A3024%2C%22h%22%3A4032%7D"></figure><p> </p><figure class="image image-style-align-right image_resized" style="width:50%;"><img src="https://media.prusaprinters.org/media/prints/69610/rich_content/2530f26a-4c2c-4af4-a3ed-84a63916570c/pxl_20210621_214956290.jpg#%7B%22uuid%22%3A%2278ba2281-6466-4f1c-8a8d-8554cd1d5d54%22%2C%22w%22%3A4032%2C%22h%22%3A3024%7D"></figure><p>The clockwork gets delivered with a gasket and a nut, you need to then put on the gasket followed by the nut on the front of the body, tighten the nut, but carefully, it's still plastic, make sure you do not tighten it too hard or you will break it. </p><p>Next you can snap on first the hour handle (shortest with the biggest hole), next the minutes handle and finally the seconds cap. The easiest way to assemble is to make sure that the hour and minutes handle both are set at midnight.</p><p> </p><p>Now set the correct time by using the using the red knob on the back of the clockwork.</p><figure class="image image-style-align-center image_resized" style="width:50%;"><img src="https://media.prusaprinters.org/media/prints/69610/rich_content/0e1062c0-c0d4-4f35-ab47-5a31f1605148/pxl_20210621_214931660.jpg#%7B%22uuid%22%3A%22d7da156c-e101-47ab-ba79-d6f259ffc471%22%2C%22w%22%3A3024%2C%22h%22%3A4032%7D"></figure><p>Finally you can insert an AA battery and see your clock in action. Enjoy!</p>
With this file you will be able to print Kids learning clock with your 3D printer. Click on the button and save the file on your computer to work, edit or customize your design. You can also find more 3D designs for printers on Kids learning clock.
