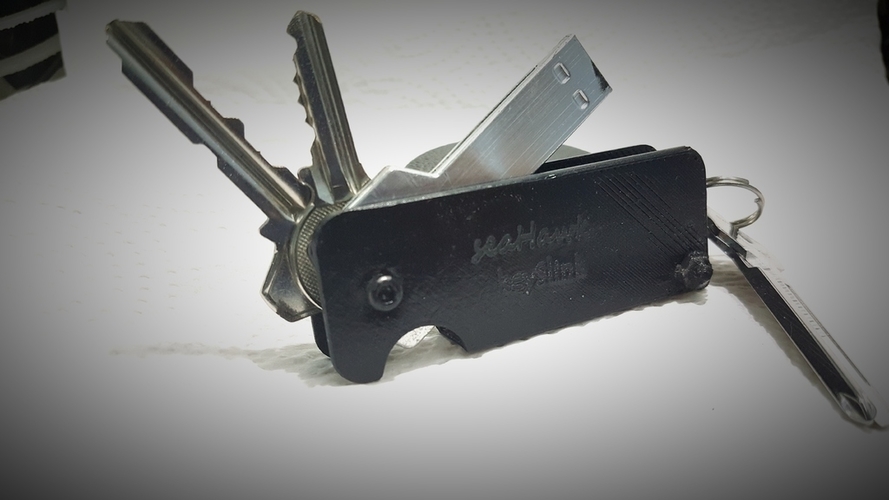
Keyslink Seahawk
pinshape
Here we go again, friends! I'm back with another Keyslink design, inspired by a successful Kickstarter campaign but made my own way. I wanted something similar yet easy to print and functional. To use it, simply push up the keys using your finger on the small arch, which will lift them out. Print Settings: Printer Brand: Printrbot Printer Model: Printrbot Simple Metal Rafting: Not necessary Supports: Yes, only for the keychain loop at the top Resolution: I printed mine at 0.4mm, but feel free to experiment with different settings. Infill: 25% worked well for a balance of flexibility and rigidity. Instructions: 1. Print both sides on their backs, as this is where the support is located - only for the keychain loop at the top. 2. To adjust the key layout and smoothness (when it turns), I recommend printing 8 spacers. You can add or remove them to get the perfect fit. Assembly: 1. Install the first screw and nut on the "back" of one half, which is the side without the keychain loop. 2. Once tightened, this becomes a pivot point. 3. Slide your keys and spacers onto the shaft, then swivel it closed so the shaft lines up with the hole on the other platform. 4. Run a screw through and secure it on the other side. That's it! If you build one, I'd love to see how it turns out.
With this file you will be able to print Keyslink Seahawk with your 3D printer. Click on the button and save the file on your computer to work, edit or customize your design. You can also find more 3D designs for printers on Keyslink Seahawk.
