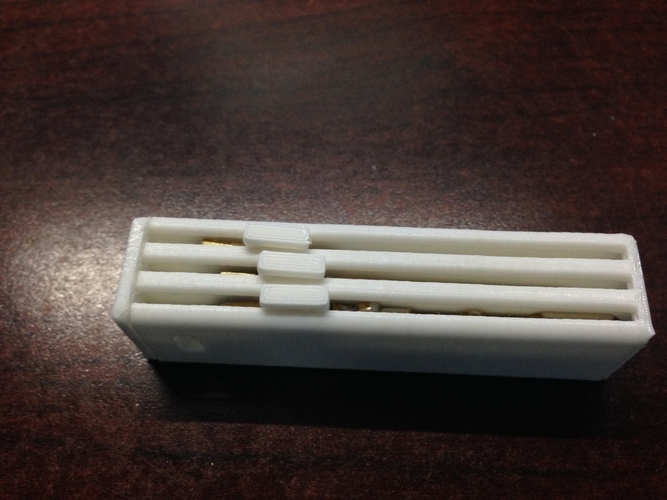
Keyslink E2
pinshape
Summary Edition 2 of Keyslink design - a minimalist masterpiece that's a breeze to carry around, prints faster, and uses less filament than its predecessor. A bit more tinkering is required to modify the keys, but if you're not intimidated by a Dremel or any rotary tool, this project should be a walk in the park. Instructions Print the main case vertically to minimize support material and boost accuracy. I recommend printing on the finest setting your printer can handle. Next, print the back of the case and create two extra copies of the key driver. When printing these drivers, position the thumb part flat on the bed for optimal precision. Cut the key to a height of 10-12mm and use the driver to draw an outline on the key (refer to the picture above for correct positioning and orientation). Cut the grooves and attach the driver to the key, then slide it into the case from the back. Finally, place the cover onto the back of the case, securing it with epoxy if desired.
With this file you will be able to print Keyslink E2 with your 3D printer. Click on the button and save the file on your computer to work, edit or customize your design. You can also find more 3D designs for printers on Keyslink E2.
