Keyslink Auto
pinshape
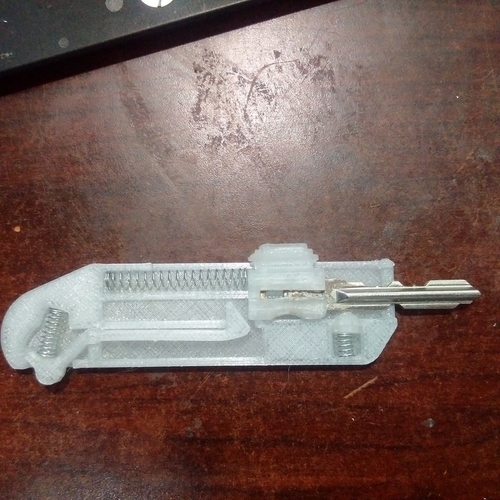
Keyslink Auto is a spring-loaded version of my original Keyslink design. The key springs out from the front when the button is pressed and must be manually retracted. To build Keyslink Auto, you'll need some springs that can be purchased in small kits or individually, as well as a few machine screws and nuts. The key modification remains the same as the previous Keyslink version, except the back has been ground to fit more flush with the height of the key. You may need to tweak this adjustment to ensure proper fitment into the carriage. To print Keyslink Auto, set your raft settings to "Doesn't Matter." Similarly, support settings can be left unchanged as well. Infill density should range from 60-90 for a solid construction. When assembling the parts, orient them without supports. Attach the tiny carriage slot to the bottom of the carriage using super glue, then secure it in place. Next, drill into areas with solid infill and screw everything together. Alternatively, you can also use epoxy for a more messy but reliable bond. I designed Keyslink Auto by refining my original Keyslink design to incorporate spring-loaded functionality. This innovative mechanism allows for easy key deployment when the button is pressed and manual retraction afterwards. By using readily available springs and basic assembly techniques, anyone can build their own Keyslink Auto at home. The modified key design ensures a seamless fit into the carriage, while the adjustable infill density provides flexibility in terms of print quality and construction strength.
With this file you will be able to print Keyslink Auto with your 3D printer. Click on the button and save the file on your computer to work, edit or customize your design. You can also find more 3D designs for printers on Keyslink Auto.
