Keurig Fix
thingiverse
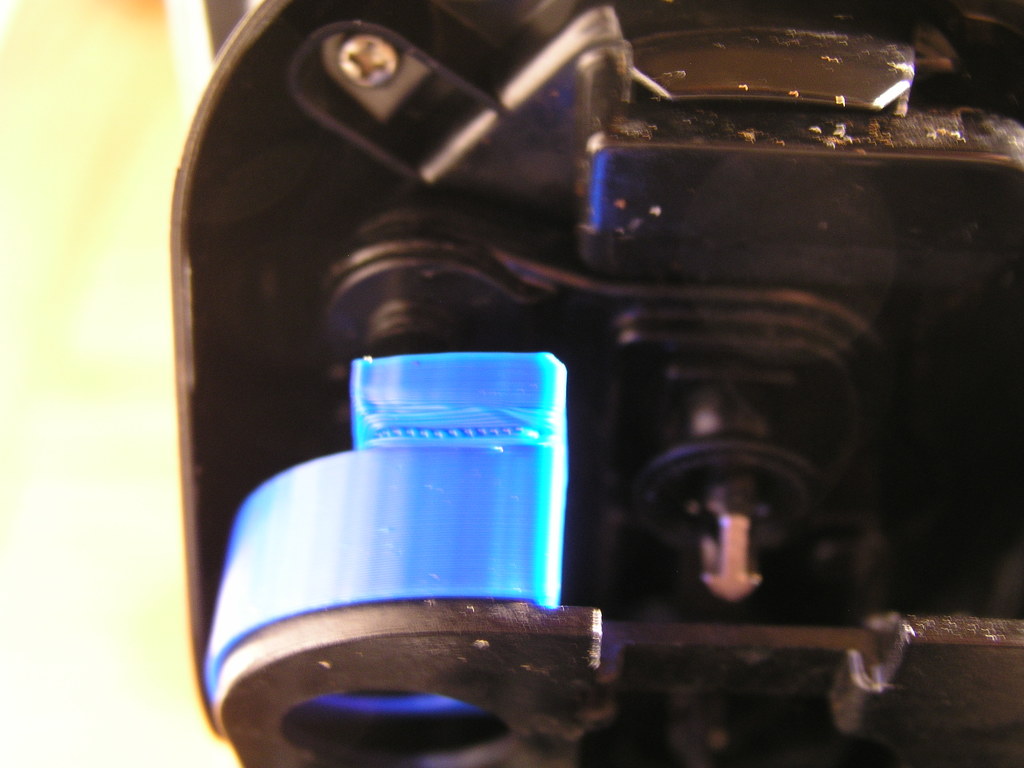
My trusty Keurig 2.0 coffee maker met an untimely demise the other day. I attempted to load it by lifting the handle and was rewarded with a loud snap. When I tried to close the handle, it stubbornly refused to budge. Frustrated, I decided to investigate further and soon discovered that the issue was a common problem where small tabs break off, preventing the part from moving upwards correctly. After scouring the internet for a solution, I stumbled upon a brilliant video on YouTube by Tim Petrosky that showcased a fix using washers and double-sided tape. However, I thought to myself, "Why bother with washers and tape when I have a 3D printer?" So, I set out to design my own fix. Here's how it works: simply print out the part, push it down onto the malfunctioning mechanism, and voila! Your Keurig should be good as new. Just be sure to exercise caution when working in this area, as there are many sharp needles lurking nearby. If you're a Creality CR-10 user, I've included the G-code files that worked for me. Alternatively, if you'd like to improve upon my design, feel free to use the Shetchup file provided. Thanks again to Tim Petrosky for his inspiration and expertise! His video was instrumental in sparking my creativity, and I'm thrilled with the results of my DIY project.
With this file you will be able to print Keurig Fix with your 3D printer. Click on the button and save the file on your computer to work, edit or customize your design. You can also find more 3D designs for printers on Keurig Fix.
