Kendama
thingiverse
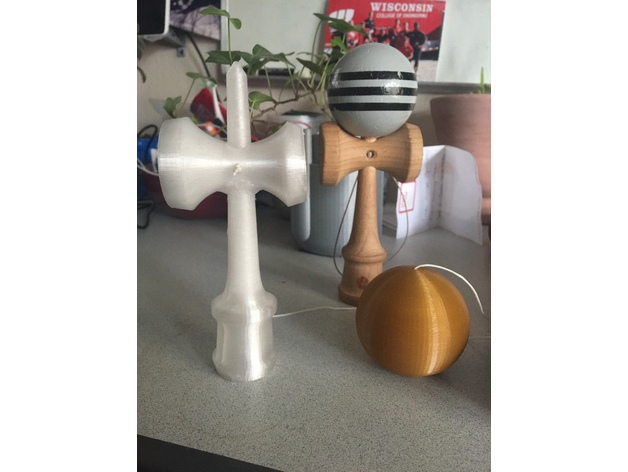
These toys have remained popular since my high school days, and I still play with mine today. Fed up with the spike on my wood kendama dulling, I reverse-engineered the design to allow me to print new spikes whenever they wear out. The process is surprisingly easy, and this fun toy makes it an excellent gift for kids during the holidays. I printed my ball as a single unit but, not unexpectedly, the underside warped slightly, so I added separate files for printing the ball in two halves that can be glued together to prevent warping. When printing a kendama, it's crucial to get the weights right to achieve a natural and authentic feel when using it. To replicate my wood kendama's weight, I used Simplify 3D's mass estimate feature after weighing my original kendama. The ball should weigh around 73g, while the cup and stem combined should have a total weight of 64g. Remember that your slicer's mass estimate feature includes the support structure's mass when calculating the total weight, which I recommend using for printing the stem and cups. You'll only need to purchase the string, which can be easily made with a small bead and some thin string. I've included an Amazon link to a selection of kendama strings available.
With this file you will be able to print Kendama with your 3D printer. Click on the button and save the file on your computer to work, edit or customize your design. You can also find more 3D designs for printers on Kendama.
