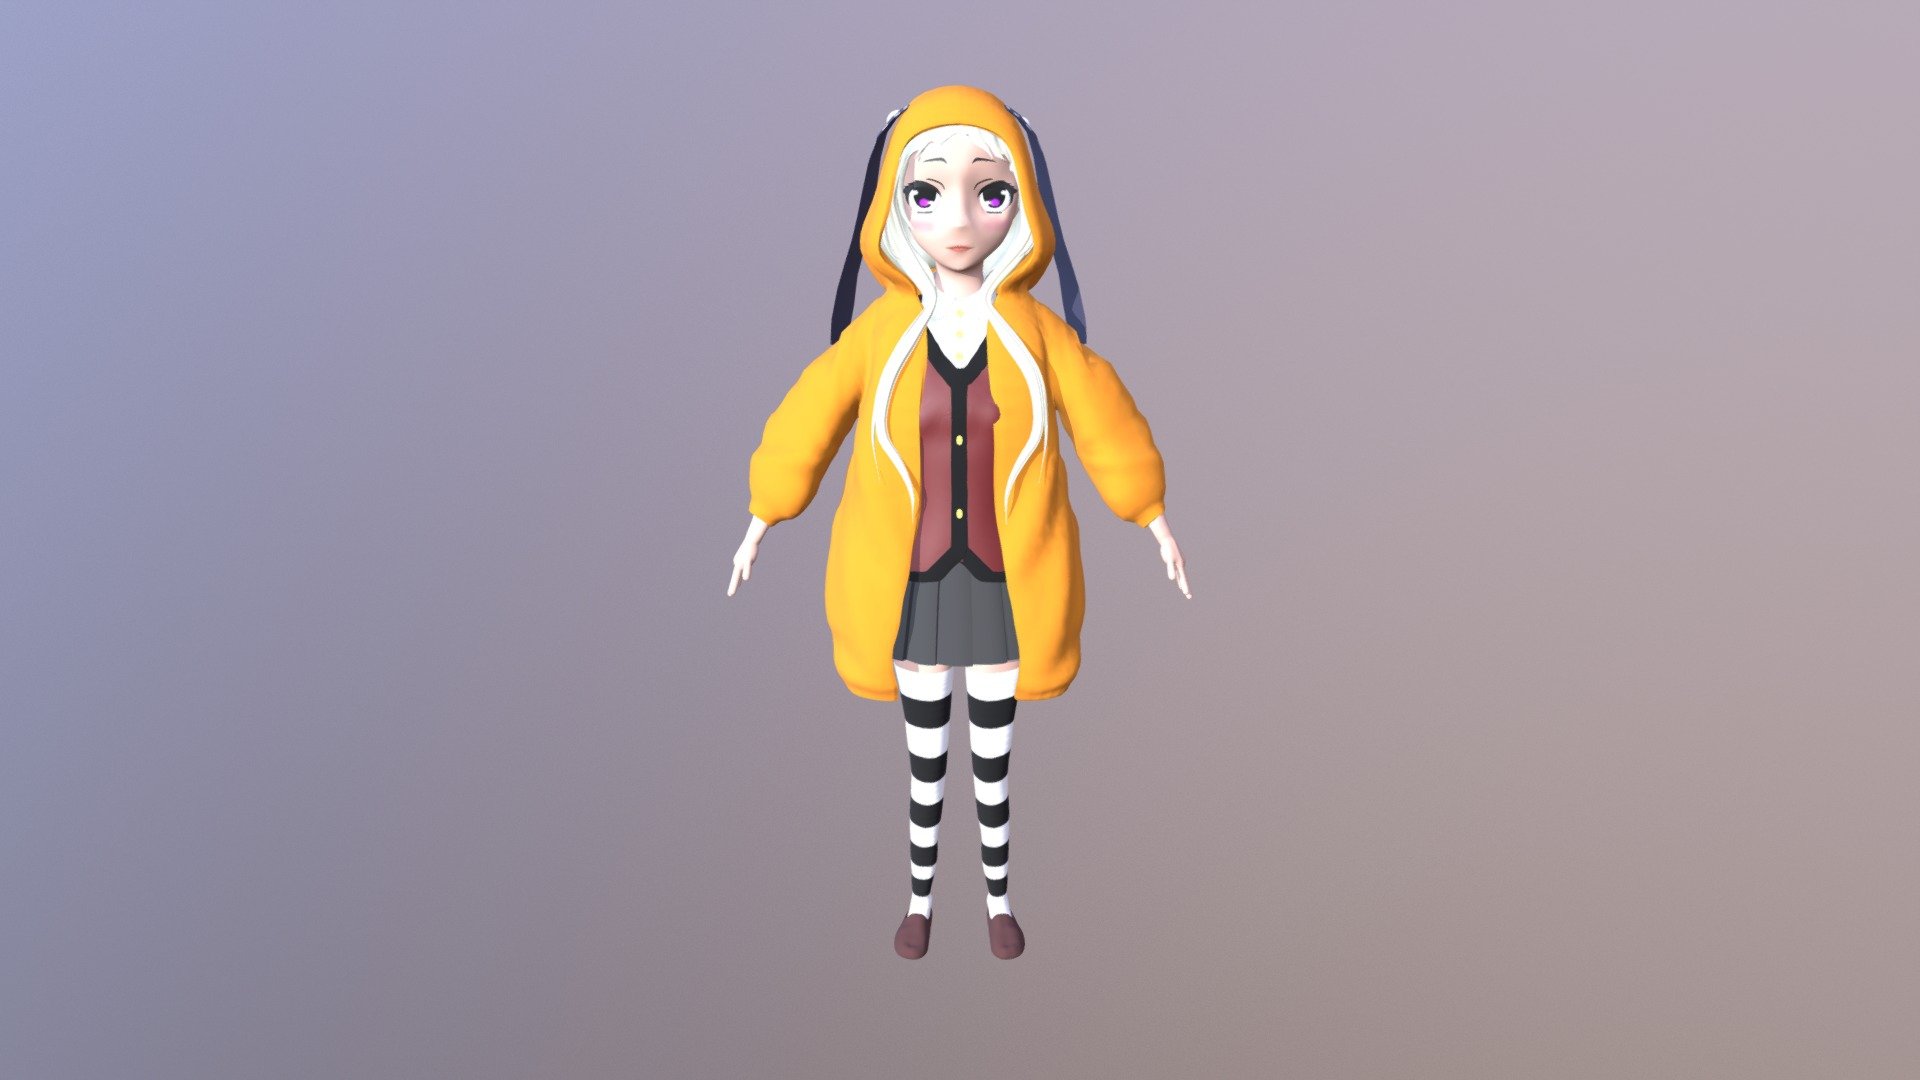
kakegurui runa
sketchfab
ZBrush users start by creating a new document and selecting a default brush size to quickly establish the overall shape of their sculpture. This initial step lays the foundation for what will eventually become a highly detailed, textured surface. Next, artists use ZBrush's dynamic brushes to add volume and depth to their model. These specialized tools allow users to build up layers of detail with ease, creating realistic features such as muscles, wrinkles, and other organic shapes. The brush engine in ZBrush also allows for precise control over the level of detail, enabling users to achieve subtle gradations of texture and surface variation. As the sculpture takes shape, artists begin to refine their model using ZBrush's various sculpting tools. These include the Inflate tool, which adds volume to a selected area, and the Decimate tool, which reduces the number of polygons in a mesh while preserving its overall shape. By combining these tools, users can achieve a high level of detail and realism without sacrificing performance. Finally, artists use ZBrush's Subtool feature to create complex, multi-part models. This powerful tool allows users to sculpt multiple objects within a single document, making it easy to create intricate scenes or detailed environments. With the ability to work in 3D space, artists can manipulate their model from any angle, further enhancing the level of detail and realism they achieve. Throughout the process, ZBrush's intuitive interface and powerful tools make it easy for users to experiment with different techniques and styles. Whether creating a realistic character or an abstract sculpture, ZBrush provides a flexible and expressive platform for bringing imagination to life.
With this file you will be able to print kakegurui runa with your 3D printer. Click on the button and save the file on your computer to work, edit or customize your design. You can also find more 3D designs for printers on kakegurui runa.
