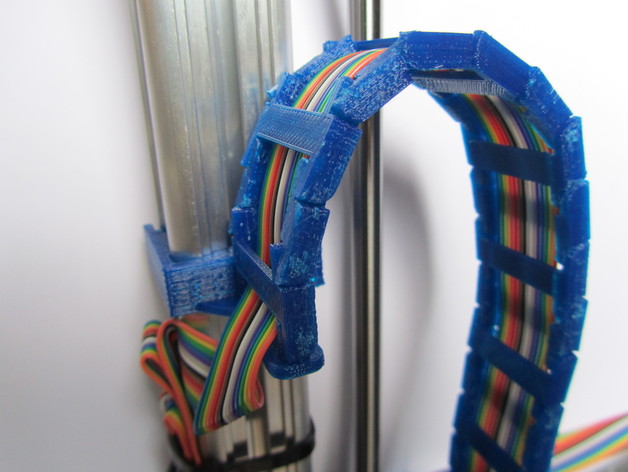
K8200 Z axis cable chain
thingiverse
Users will discover that installing this innovative cable chain system doesn't require removing the planar cable, as components A and B can be attached directly to its sides through simple assembly. Carefully matching each component's dimensions is crucial to secure a perfect fit with multi-wire cables. Here are some additional guidelines to help users complete their project successfully. Instruction Manual Resolution Setting: 0.2mm (Optimal Layer Height) Extrusion Settings: Minimum extrusion width required for successful printing is 0.4mm Advanced Mode Recommended (Adjust via Slick3r Interface) The necessary components needed for completion are approximately eight each of the z_cable_chain_A and z_cable_chain_B variants, as well as two supports. Start by installing these A-B assemblies directly next to one another around your planar cable, swapping out components at every juncture to prevent tangles or entanglements. Once this arrangement is completed and securely fixed in place, move forward with attaching both pre-prepared support elements for ultimate durability.
With this file you will be able to print K8200 Z axis cable chain with your 3D printer. Click on the button and save the file on your computer to work, edit or customize your design. You can also find more 3D designs for printers on K8200 Z axis cable chain.
