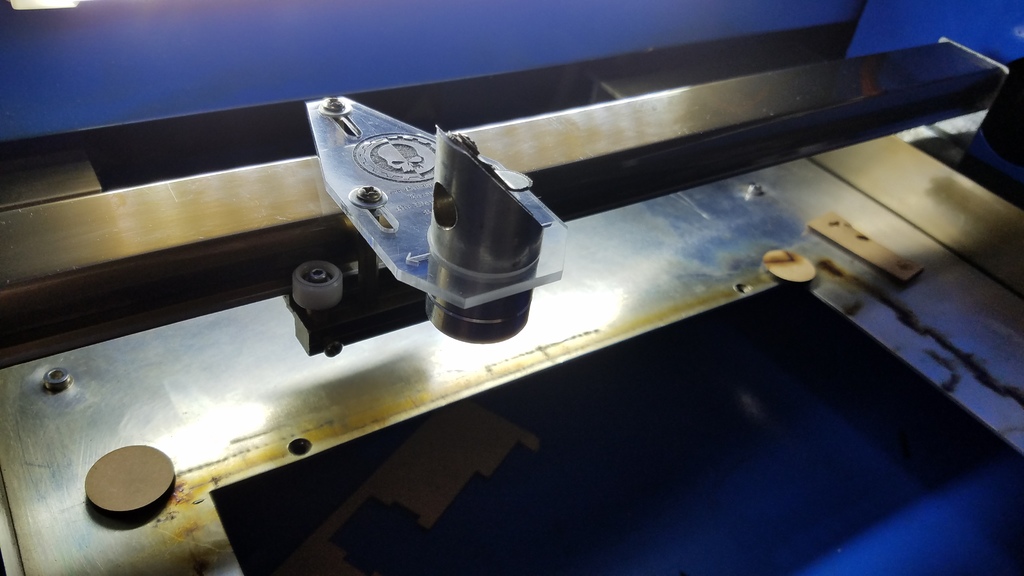
K40 Laser Head Plate
thingiverse
++Design for air assist for this plate available in my Things++\r\n++File provided does not have the 40k engraving on it++\r\n++Meant to be cut from 3mm Acrylic or other 3mm material++\r\n\r\nI've battled alignment issues with my K40 for months now. My entire experience has been plagued by them. I could get the spread from the upper left/lower left to the upper right/lower right to acceptable levels, at about 2-2.5mm of drift from one another. Recently, I replaced the caster wheels on the machine with elevator bolts and some nuts to allow me to level the machine, and I had decently leveled the gantry and ensured it was squared with an electronic micrometer. Still, I could not solve for the drift.\r\n\r\nToday, I got creative and took my X axis apart to parts and noticed a subtle bend that was hard to notice while standing over the machine, but clear once I had it in my hand. I then went to my PC upstairs where I design my projects on, and got to work. This is simple design that is basically the standard plate, to be cut from 3mm acrylic, and have more spacing to adjust the plate itself.\r\n\r\nWhile mine has some Warhammer 40k heraldry and what not on it, I have uploaded the design without them.\r\n\r\nThis simple, 5 minute run plate completely eliminated my drift, and while the drift I had was okay and passable, the mirror being squared and perfectly level and on top of one another greatly improves cut quality, and the sloping you will see in cuts made by a machine that the beam is not centered and aligned properly.\r\n\r\nAlso, in the design I included two reference points to use in aiding squaring the laser head with mirror 2. I used a laser level, and a dowel to make sure mine was fine. But if you don't have access to either of those, you can just as easily remove the last mirror and stick a pen through the entrance hole, which is lower than the mirror hole, but you can use your imagination and ingenuity to get it done.\r\n\r\nDesign note: As the standard plate from China is about 2mm, and the design calls for 3mm acrylic, the engraving section of the build where the last mirror goes is there so you can engrave roughly 1 mm of material away. While I don't know exactly where to set your machine, I can tell you my k40 took away ~.7 of the .76 I needed removed at 2 passes of 20% at 200mm/s. Also be sure to check the measurements on any attachments you may use, as the plate itself is sized slightly larger than the stock plate, to maintain rigidity and space to place any bubble level or whatnot.\r\n\r\n++May the Omnissiah smile upon you++
With this file you will be able to print K40 Laser Head Plate with your 3D printer. Click on the button and save the file on your computer to work, edit or customize your design. You can also find more 3D designs for printers on K40 Laser Head Plate.
