Joy-Con Drift Fix
thingiverse
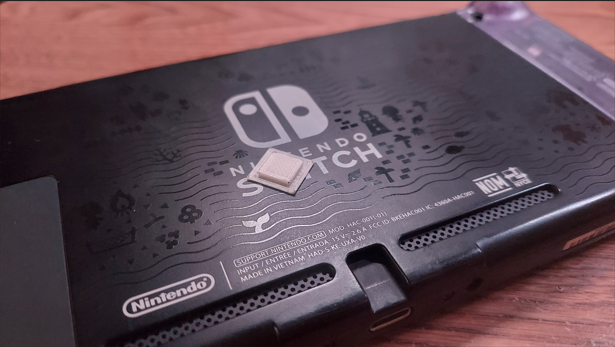
If you have a Switch controller with drift, and don't want to use paper or other similar materials to DIY a fix, then this plastic piece will fix it. It will put pressure on the stick housing, giving the contacts a better connection and making them function properly. Simply disassemble the controller past the midframe, place the printed part between the joystick housing and the midframe that holds the battery, and reassemble. The smaller, raised square will fit into the cutout, preventing it from moving around. Tools needed to disassemble: 00 Philips head driver Y00 Tri-wing driver Optional: Plastic flat-ended tool (such as the spudger from IFixit) to pry the battery out and remove/reconnect the battery connector
With this file you will be able to print Joy-Con Drift Fix with your 3D printer. Click on the button and save the file on your computer to work, edit or customize your design. You can also find more 3D designs for printers on Joy-Con Drift Fix.
