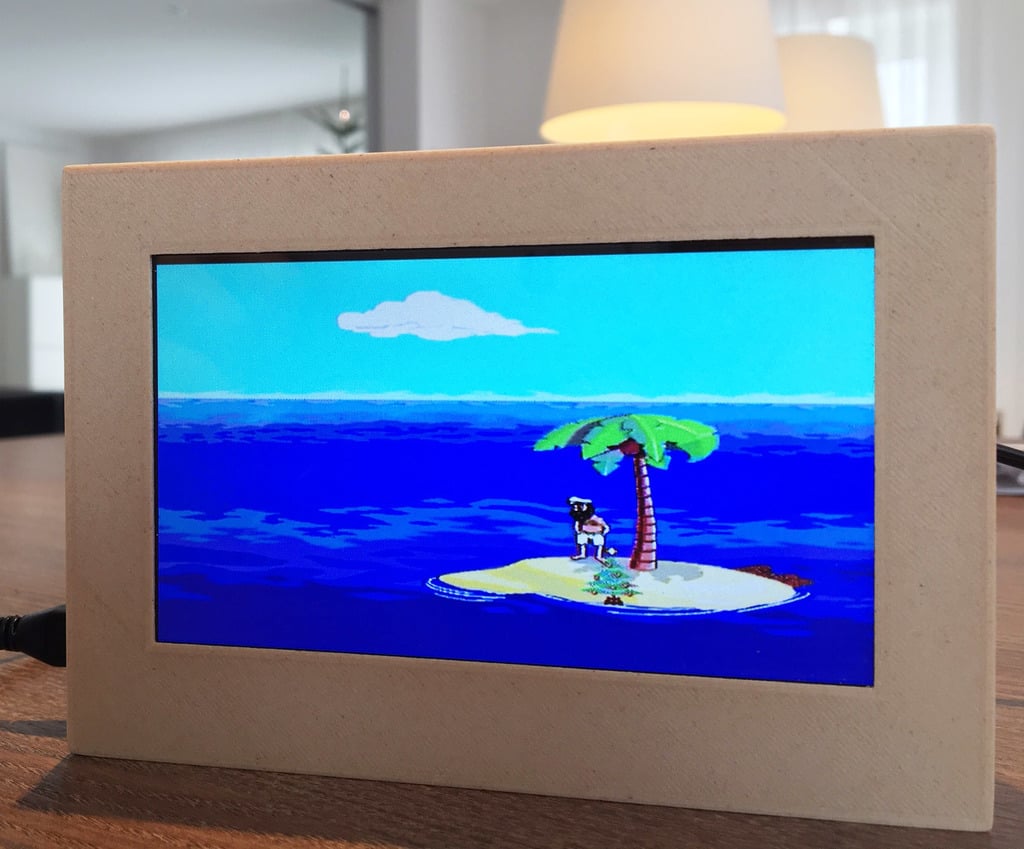
Johnny Castaway Standalone Screensaver
thingiverse
Screen Antics: Johnny Castaway Standalone Screensaver This standalone version of the iconic Johnny Castaway Screensaver from the 90s is finally here! After years of wanting to create it, I'm jumping straight into action. It's not as complicated as you might think. You'll need some basic RaspberryPi and soldering knowledge, but it's relatively straightforward. ## Getting Started ### Printing I printed both sides of the panel using Wood PLA. However, due to the low melting point of PLA, I noticed a slight bending issue on the back panel due to heat. But don't worry; there's minimal heat involved in this project. ### Building Here are the parts I used: * Raspberry Pi 3 * 5" TFT LCD Car-Monitor * Adafruit 2.5W ClassD Mono Amplifier * USB Soundcard * 8 Ohm Speaker * Push Button * Audio On/Off Switch * DC/DC 12V Converter, like the RNM-0512S 1. First, install RecalBox from https://www.recalbox.com/. This comes with a functional DOS BOX Emulator. In DOS, follow this guide to install the screensaver: https://www.screensaversplanet.com/help/guides/windows/how-to-run-johnny-castaway-on-windows-64-bit-28. 2. Solder the USB Soundcard and connect the sound output to the amplifier. Then, connect the amplifier to the speaker. 3. Mount the display. You may need more voltage than the pi can supply, so you'll need to convert 5V up to what you need. I used a 12V DC/DC Converter. Read the data sheet; it's simple: 5V in, 12V out! 4. I added a push button to start the screensaver in recalbox since autorun wasn't working for me. I also added an audio switch. Any questions? Ask in the comments! Have fun building your own Johnny Castaway Standalone Screensaver!
With this file you will be able to print Johnny Castaway Standalone Screensaver with your 3D printer. Click on the button and save the file on your computer to work, edit or customize your design. You can also find more 3D designs for printers on Johnny Castaway Standalone Screensaver.
