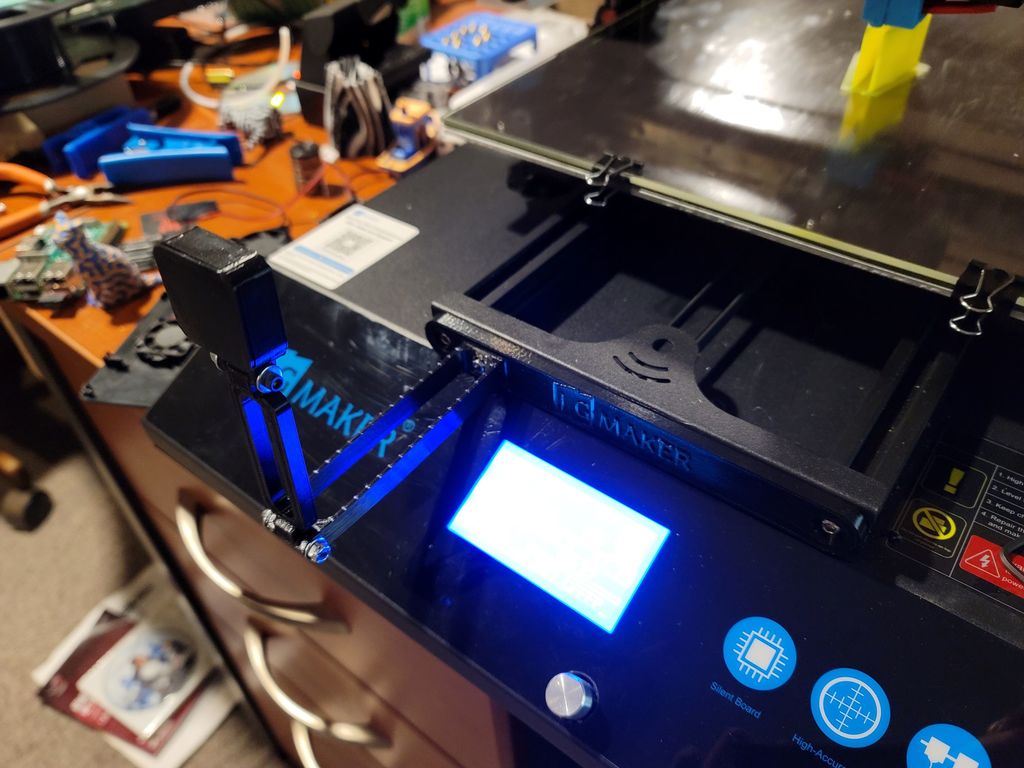
JGMaker Artist-D Raspberry Pi Camera Mount
thingiverse
UPDATE: I added an adapter for webcams that use a 6mm bolt style attachment. Here's a quick and easy way to add a Raspberry Pi camera to the front of your Artist-D printer. The arm extending out from printer is to the left of the LCD and places the vertical arm far enough out that the bed will not hit it in the most forward position. **Assembly:** To attach the bracket remove the two bolts on either side. You can re-use these to attach the bracket. Next you will need one 3mm x 8mm bolt and nut to attach the arm to the bracket. Once you've attached the arm to the bracket you can put the bracket back on. To attach the arms together and the case to the arm you will need two 2.5mm x 25mm bolts. I put washers and locknuts on so that I could tighten everything down without squishing and breaking things. The ribbon cable for the Raspberry Pi camera will pass under the guards
With this file you will be able to print JGMaker Artist-D Raspberry Pi Camera Mount with your 3D printer. Click on the button and save the file on your computer to work, edit or customize your design. You can also find more 3D designs for printers on JGMaker Artist-D Raspberry Pi Camera Mount.
