Jewelry Casket
prusaprinters
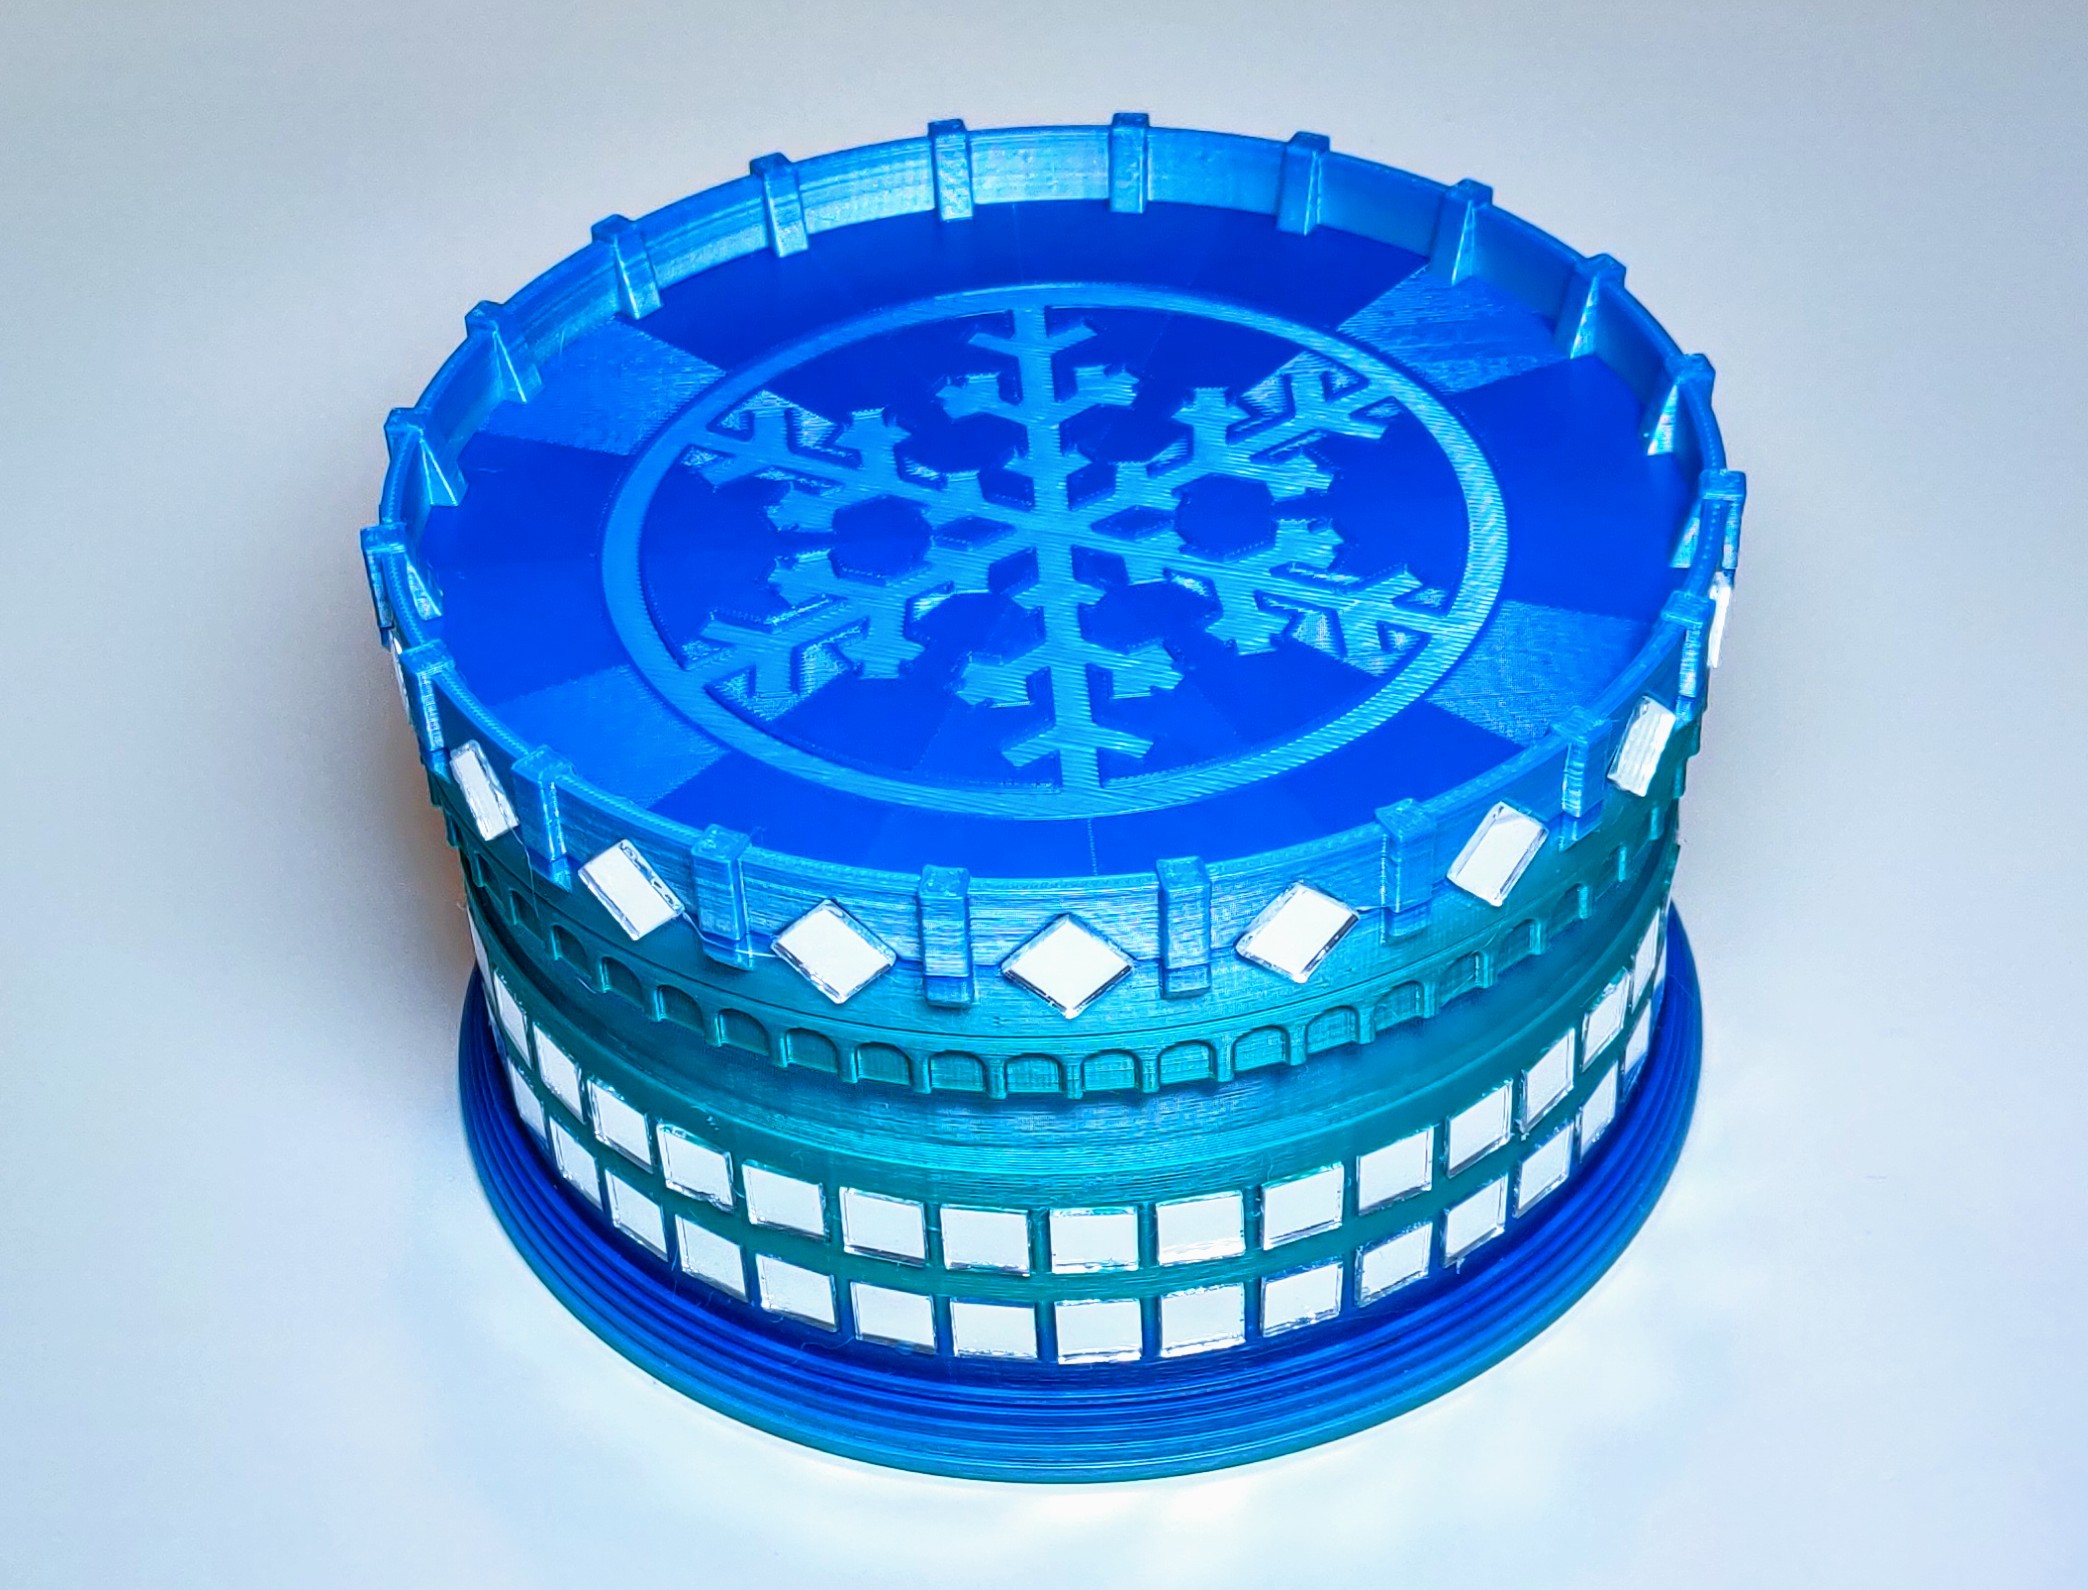
<p>I made this for my little niece. She loves the frozen movie and wanted some nice box to store her jewelry. Since she is a kid I made it a little bit bigger so that there is enough space to store her treasures. I also expect she will use it to play with her mini figures.</p> <p>I used a<strong>multi color filament</strong> to generate this look. I also bought a package of<strong>200 mirrors</strong> that I attached with a glue gun. And a<strong>acrylic glass</strong> that I sanded with a fine sanding sponge and used some glue to prevent rotation while the printer adds the first layer of filament on top of the glass.</p> <p>Bill of materials:</p> <ul> <li>200 mirrors (1x1 cm) - 8 €</li> <li>1 acrylic glass (d=50 mm / h=2.5 mm) - 3 €</li> <li>1 multi color filament - 20 €<br/> <strong>Note:</strong><br/> The source file is included. You can use it to modify the space for the acrylic glass. I bought one glass with 3 mm height that was actually only 2.5 mm high.</li> </ul> <h3>Print instructions</h3><h3>Category: Jewelry Summary</h3> <p>I made this for my little niece. She loves the frozen movie and wanted some nice box to store her jewelry. Since she is a kid I made it a little bit bigger so that there is enough space to store her treasures. I also expect she will use it to play with her mini figures.</p> <p>I used a<strong>multi color filament</strong> to generate this look. I also bought a package of<strong>200 mirrors</strong> that I attached with a glue gun. And a<strong>acrylic glass</strong> that I sanded with a fine sanding sponge and used some glue to prevent rotation while the printer adds the first layer of filament on top of the glass.</p> <p>Bill of materials:</p> <ul> <li>200 mirrors (1x1 cm) - 8 €</li> <li>1 acrylic glass (d=50 mm / h=2.5 mm) - 3 €</li> <li><p>1 multi color filament - 20 €<br/> <strong>Note:</strong><br/> The source file is included. You can use it to modify the space for the acrylic glass. I bought one glass with 3 mm height that was actually only 2.5 mm high.</p> <h3>Print Settings</h3> </li> </ul> <p><strong>Printer Brand:</strong> Prusa</p> <p><strong>Printer:</strong> I3 MK3S</p> <p><strong>Rafts:</strong> No</p> <p><strong>Supports:</strong> No</p> <p><strong>Resolution:</strong> 0.3mm</p> <p><strong>Infill:</strong> 20%</p> <p><strong>Filament:</strong> DasFilament PLA Multicolor Polarlicht<br/> <strong>Notes:</strong></p> <ul> <li>Use Octagram Spiral as bottom fill pattern for the lid (part 2)</li> <li>Use Octagram Spiral as top fill pattern for the base</li> <li>Define a color change for the base part in order to be able to add the acrylic glass<h3>Post-Printing</h3> </li> </ul> <p><strong>Use a 5-6 mm long filament piece to fix the two halfs of the lid. Each hole is 4 mm deep.</strong></p> <p><strong>Both parts of the lid ready to join. You can add some liquid glue if you do not add the mirrors to the part.</strong></p> <p><strong>Add a drop from the hot glue gun and put the mirror in the cutout. You only have one try before the glue hardens!</strong></p> <p><strong>The glue from the mirrors keeps the two parts together.</strong></p> <h3> How I Designed This</h3> <p><strong>Used materials</strong></p>
With this file you will be able to print Jewelry Casket with your 3D printer. Click on the button and save the file on your computer to work, edit or customize your design. You can also find more 3D designs for printers on Jewelry Casket.
