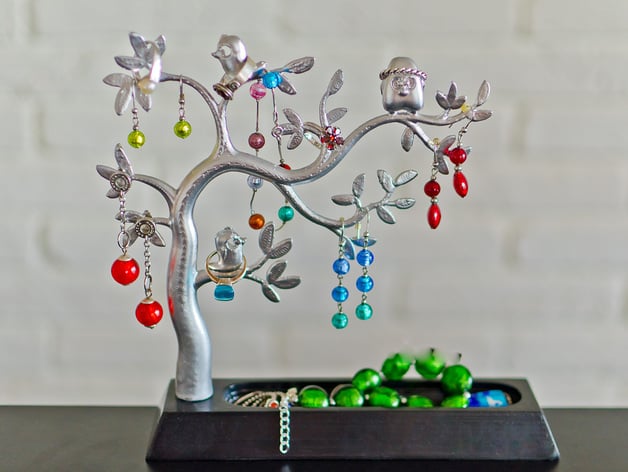
Jewellery tree
thingiverse
Made for my dear wife Printed in ABS, no supports, acetone-bathed, glued, silver spray-painted. Rigid and shiny! Instructions You need 20x20cm work area of your heated bed to print this right sized. Tree was split in two parts to made a whole thing a lot more durable and easier to print (easier than one-piece vertical) Also this approach does not need any supports, so you don't need to clean and cut parts before acetone bath. I did 1 minute acetone bath two times (with 20minutes break) to smooth surface. But as i want to keep this nice layered structure on a trunk, i stop at this point. Parts glued with super-glue (you need to be quick when you connect glued pieces – you got about 2-3 seconds before bastards will snap to each other forever) I suggest you glue this in several iterations: main trunk, then child trunks (one by one) and then leaves. Child trunks and leaves – is quite flexible, so you could glue and align them with ease. Silver coating was made with spraycan, just shake a can a lot before paint )) Model was made in Blender, you could find .blend file at sources tab as well as whole .STL and parts STLs ready to slice&print.
With this file you will be able to print Jewellery tree with your 3D printer. Click on the button and save the file on your computer to work, edit or customize your design. You can also find more 3D designs for printers on Jewellery tree.
