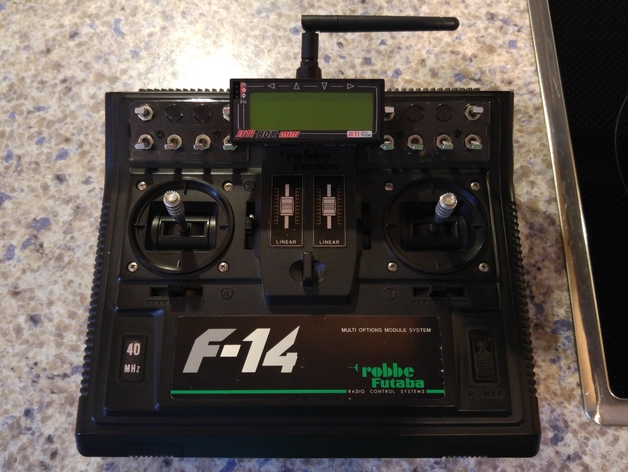
Jetibox on Futaba F14 Robbe
thingiverse
Jetbox Installation Made Easy - A Step-by-Step Guide to Upgrading Your Futaba F14 Robbe First, it's time to remove the power indicator from your Jetbox. This simple yet crucial step will pave the way for a seamless installation process. To do this, follow these easy steps. Remove the Power Indicator 1. Locate the power indicator on your Jetbox. 2. Gently pry it off using a small screwdriver or a similar tool. 3. Once removed, set it aside for future use. Install the Holder Now that the power indicator is out of the way, it's time to install the new holder. This will provide a secure and stable base for your Jetbox. 1. Take the new holder and align it with the designated mounting points on your Jetbox. 2. Gently screw it into place using the provided screws. 3. Make sure it is securely fastened to prevent any movement during use. Tips and Reminders * Always refer to the manufacturer's instructions for specific guidance on installation procedures. * Use caution when handling electrical components to avoid damage or injury. * If you're not comfortable with this installation, consider consulting a professional for assistance. That's it! With these simple steps, you've successfully removed the power indicator and installed the holder on your Futaba F14 Robbe Jetbox. Enjoy a smoother and more efficient flying experience with your upgraded Jetbox.
With this file you will be able to print Jetibox on Futaba F14 Robbe with your 3D printer. Click on the button and save the file on your computer to work, edit or customize your design. You can also find more 3D designs for printers on Jetibox on Futaba F14 Robbe.
