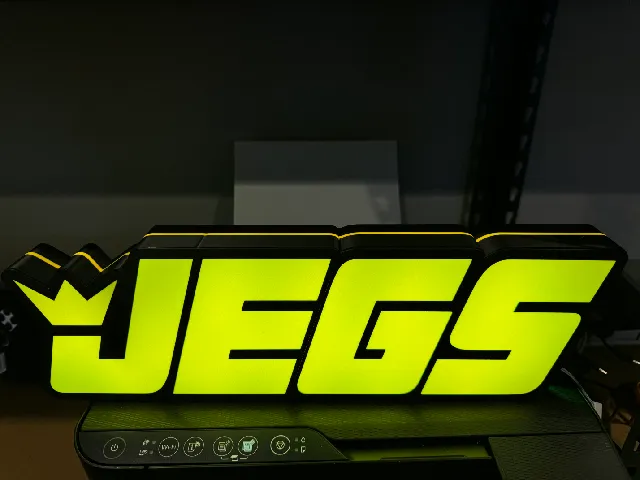
Jegs Lightbox
prusaprinters
This is my Jegs Lightbox and what I used to assemble it.Bambu Labs P1S/AMS.04 Nozzle10% Gyroid InfillFilaments used for this project:Elegoo PLA - BlackElegoo PLA - YellowSoftware:-Fusion360-Bambu Studio Materials:-LED kit (1 meter) - white or RGB-Power source via USB or AC adapter (Usually supplied with kits) Tools:-Glue gun with glue sticks-Hobby knife-Soldering iron with solder (If required for assembling led kit)-Scissors-Super glue*Due to the size of the display, some panels may need to be plastic welded or joined together by means of a flat soldering iron tip or other methods. Please conduct in a well ventilated area as smoke from plastic maybe be harmful.**Use “Caution” when handling “sharp” tools, “hot” equipment and electrical devices - follow your led kits user manual for installation.I hope you enjoy this lightbox as much as I do and save a spot in you man-cave for more to come.I greatly appreciate a ”follow” as it would help to inspire me to release more content throughout this journey, as always thank you for stopping by.
With this file you will be able to print Jegs Lightbox with your 3D printer. Click on the button and save the file on your computer to work, edit or customize your design. You can also find more 3D designs for printers on Jegs Lightbox.
