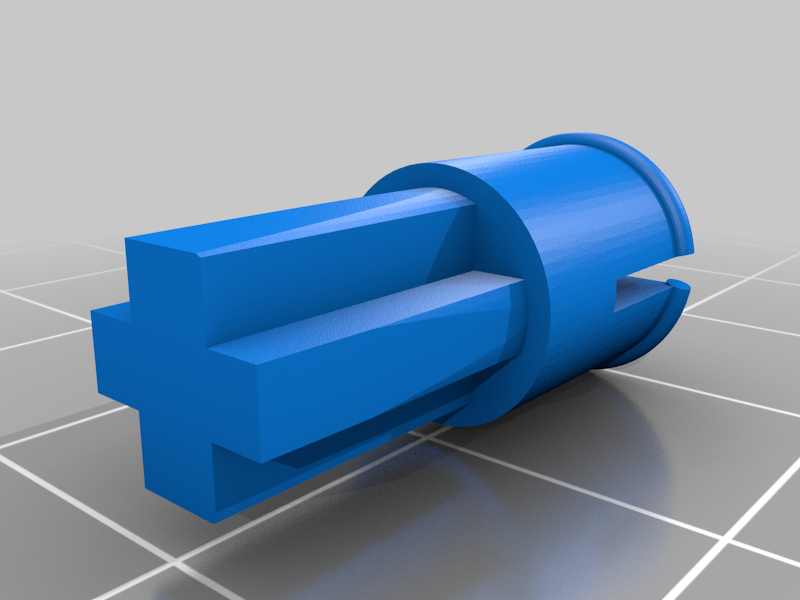
JBL Studio Monitor Grill Pegs
thingiverse
To affix a grille on vintage JBL Studio monitors such as the 4425, you must start by ensuring that the monitor is securely positioned on a flat surface and turned off. Next, locate the grille attachment screws on the back of the monitor. Gently pry open the existing grille by inserting a thin screwdriver into the seam between the grille and the monitor's cabinet. Once the old grille is completely removed, inspect the area for any residual adhesive or debris. Using a soft cloth, wipe down the grill mounting points to ensure a clean surface for attachment. Now, take your new grille and align it with the mounting points on the back of the monitor. Securely fasten the grille using the provided screws, making sure they are tightened evenly to prevent damage to the monitor's cabinet. Finally, inspect your work to ensure that the grille is securely attached and the monitor looks great.
With this file you will be able to print JBL Studio Monitor Grill Pegs with your 3D printer. Click on the button and save the file on your computer to work, edit or customize your design. You can also find more 3D designs for printers on JBL Studio Monitor Grill Pegs.